Troubleshooting Earring Post Length: Thick Lobes & Cartilage Fixes
Learn how to measure and fix earring post length issues for thick lobes and cartilage. Stop embedding, swelling, and snagging with our expert guide.

The Hidden Cause of Ear Pain: Why Earring Post Length Matters
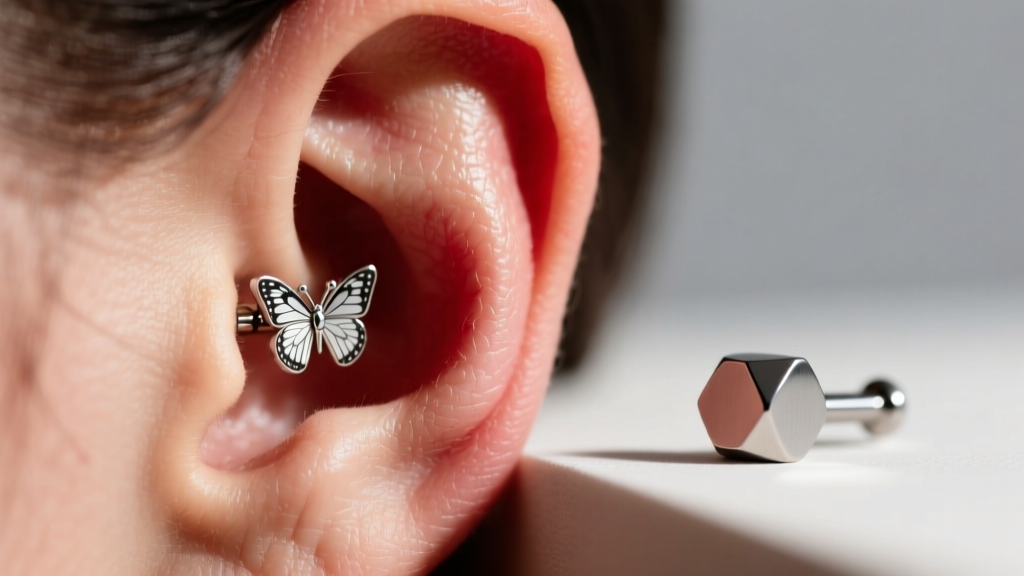
When an ear piercing causes persistent pain, redness, or irritation, most people immediately blame the metal alloy or their cleaning routine. However, the most frequent culprit is entirely mechanical: incorrect earring post length. Whether you are dealing with a freshly pierced lobe, a thick earlobe that swells in humid weather, or a sensitive helix cartilage piercing, wearing a post that is too short or too long introduces severe biomechanical stress to the fistula (the piercing channel).
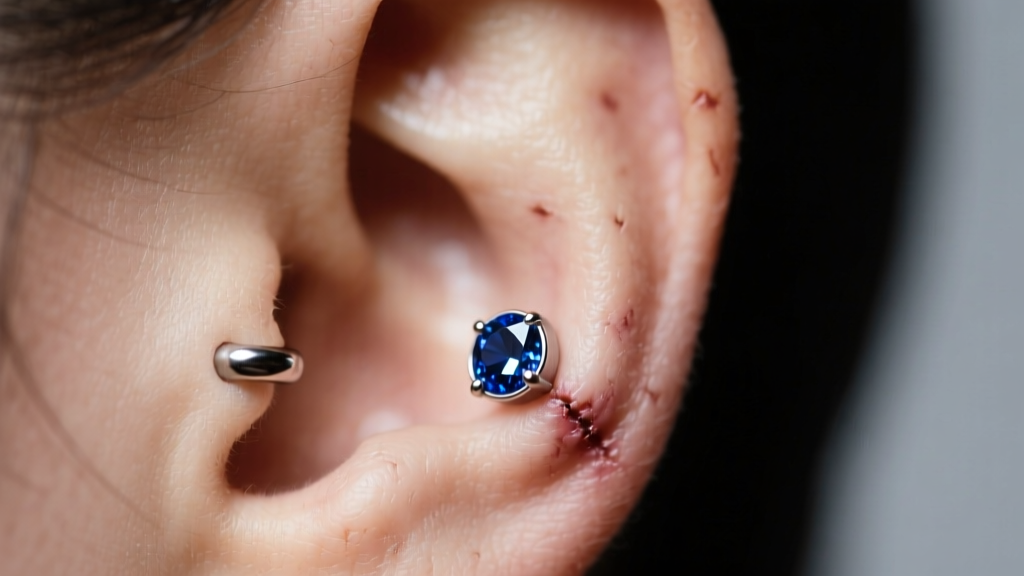
A post that is too short leads to embedding, a condition where the skin swells over the jewelry backing, cutting off circulation and potentially requiring surgical removal. Conversely, a post that is too long creates a lever effect. Every time the earring is bumped, the long post acts as a fulcrum, tearing the delicate tissue inside the piercing channel and leading to irritation bumps, hypertrophic scarring, or the dreaded "cheese-cutter effect," where a heavy earring slowly migrates downward through the lobe.
According to the Association of Professional Piercers (APP), proper jewelry dimensions are just as critical as material biocompatibility for successful healing and long-term comfort. In this comprehensive troubleshooting guide, we will break down the exact millimeter requirements for every ear anatomy type and show you how to permanently fix your earring post length issues.
Standard Earring Post Length Chart & Failure Modes
Commercial fashion earrings typically feature a standardized post length of 10mm to 11mm (approximately 3/8" to 7/16"). While this fits a large portion of the population, it completely ignores anatomical diversity. Below is a diagnostic chart to help you identify where your current jewelry falls and what failure modes to watch for.
| Post Length | Imperial Equivalent | Best Anatomical Fit | Common Failure Mode if Misused |
|---|---|---|---|
| 5mm - 6mm | 3/16" - 1/4" | Healed tragus, thin rook, snug | Poking inner ear canal (tragus); severe embedding if swelling occurs. |
| 8mm | 5/16" | Standard helix, conch, thin lobes | Snagging on hair/clothing; irritation bumps from excessive movement. |
| 10mm - 11mm | 3/8" - 7/16" | Standard commercial lobe studs | Embedding in thick lobes; cheese-cutter effect if the earring head is heavy. |
| 12mm - 14mm | 1/2" - 9/16" | Thick earlobes, initial lobe piercings | Too long for healed thin lobes, causing the post to poke the neck/jawline. |
Troubleshooting Thick Earlobes and Swelling
If you have naturally thick earlobes (measuring over 8mm in depth) or experience seasonal swelling, standard 10mm butterfly-back studs are a recipe for disaster. The traditional butterfly clutch pushes directly against the back of the lobe, trapping moisture, dead skin cells, and bacteria against the wound. When the lobe swells even slightly, the rigid metal wings bite into the flesh.
The Flatback Labret Solution
The ultimate fix for thick lobes is abandoning the butterfly clutch entirely in favor of flatback labret studs. A flatback features a smooth, flat titanium or gold disc that sits flush against the back of the ear. This distributes pressure evenly across a wider surface area, completely eliminating the pinpoint pressure that causes embedding. For thick lobes, you will typically need a post length of 12mm or 14mm to accommodate the tissue depth while leaving just enough room for the front setting to sit comfortably without pulling.
Understanding Gauge vs. Length
Do not confuse post length with gauge (thickness). Standard lobe earrings are usually 20-gauge (0.8mm) or 18-gauge (1.0mm). However, if you are wearing a heavy gold or gemstone top on a thin 20-gauge post, the weight combined with the thin metal will cause the jewelry to tilt forward, creating an uneven angle that irritates the piercing. Upgrading to a 16-gauge (1.2mm) or 14-gauge (1.6mm) post provides a rigid, stable pillar that prevents tilting, even on thicker, heavier lobes.
Cartilage Conundrums: Helix, Tragus, and Conch Sizing
Cartilage piercings are notoriously unforgiving when it comes to improper earring post length. Because cartilage lacks the blood supply of soft tissue, it swells unpredictably and heals much slower, often taking 9 to 12 months to fully mature.
"The most common cause of a persistent tragus bump is a post that is 1mm too long. The extra length allows the jewelry to wiggle, and the back of the post repeatedly strikes the sensitive skin of the inner ear canal, causing referred pain and inflammation." - Professional Piercing Biomechanics Review
Tragus Fixes: The tragus is a thick piece of cartilage situated directly over the ear canal. Once healed, you must downsize to a 5mm or 6mm post. If your post is 8mm or longer, the back will scrape your ear canal every time you sleep on a pillow or wear headphones.
Helix & Conch Fixes: A standard healed helix usually requires an 6mm or 8mm post. If you are experiencing an irritation bump (a small, fluid-filled sac near the exit hole), it is almost always caused by a post that is 1-2mm too long, allowing the jewelry to act as a lever when caught on hair or masks.
How to Measure Your Exact Post Length Requirement
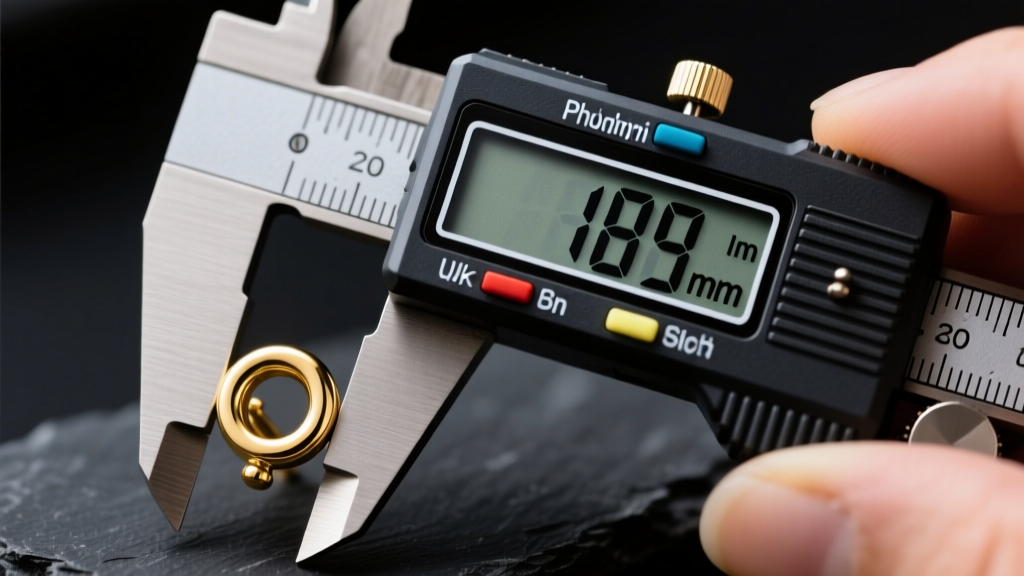
Guessing your earring post length leads to costly mistakes and damaged tissue. To find your exact requirement, you need a pair of digital calipers (available for under $15 at any hardware store). Do not use a standard ruler, as the margin of error is too high for millimeter-precise jewelry.
- Remove a well-fitting earring: Take out an earring that currently feels comfortable and does not cause swelling or poking.
- Zero the calipers: Turn on your digital calipers and close the jaws completely, pressing the zero button.
- Measure the wearable area: Clamp the calipers gently around the wearable surface of the post. This is the distance from the inside of the front setting to the inside of the back disc. Do not include the threading pin or the decorative gem in your measurement.
- Account for swelling: If you are measuring for a brand new piercing, add 2mm to 3mm to your healed measurement to accommodate the initial inflammatory phase.
Material Grades and Sourcing Custom Lengths
When troubleshooting post length, you must simultaneously audit your jewelry material. If you are buying extended 12mm or 14mm posts from cheap fashion retailers, you are likely exposing a larger surface area of your skin to nickel and brass alloys, which the Mayo Clinic identifies as primary triggers for contact dermatitis and delayed healing.
For custom lengths, you must seek out body jewelry brands that machine their pieces from ASTM F136 implant-grade titanium or solid 14k/18k nickel-free gold. Brands like NeoMetal, Anatometal, and BVLA offer threadless (press-fit) or internally threaded labret posts in exact 1mm increments (e.g., 6mm, 7mm, 8mm, 9mm, 10mm, 11mm, 12mm). Threadless jewelry is highly recommended for troubleshooting length issues, as the bendable pin allows for a custom, friction-fit tension that will not unscrew and fall out over time.
Final Troubleshooting Checklist
- Is the backing digging in? Switch to a flatback labret and increase post length by 2mm.
- Is the earring tilting forward? Increase the gauge thickness (from 18G to 16G) to provide structural rigidity.
- Is the back poking your neck or ear canal? Downsize your post length by 1mm to 2mm once all swelling has completely subsided.
- Are you getting recurring irritation bumps? Verify your post is not acting as a lever; ensure the jewelry sits completely flush against the skin without any wiggling room.
By treating earring post length as a precise anatomical requirement rather than a one-size-fits-all afterthought, you can eliminate chronic ear pain, protect your piercings from migration, and ensure your jewelry sits perfectly flush for a comfortable, lifetime wear.