How to Fix Slipping and Tangling in Earrings with Chain and Cuff
Troubleshoot common issues with earrings with chain and cuff. Learn expert fixes for slipping cartilage cuffs, tangled chains, and lobe pulling.

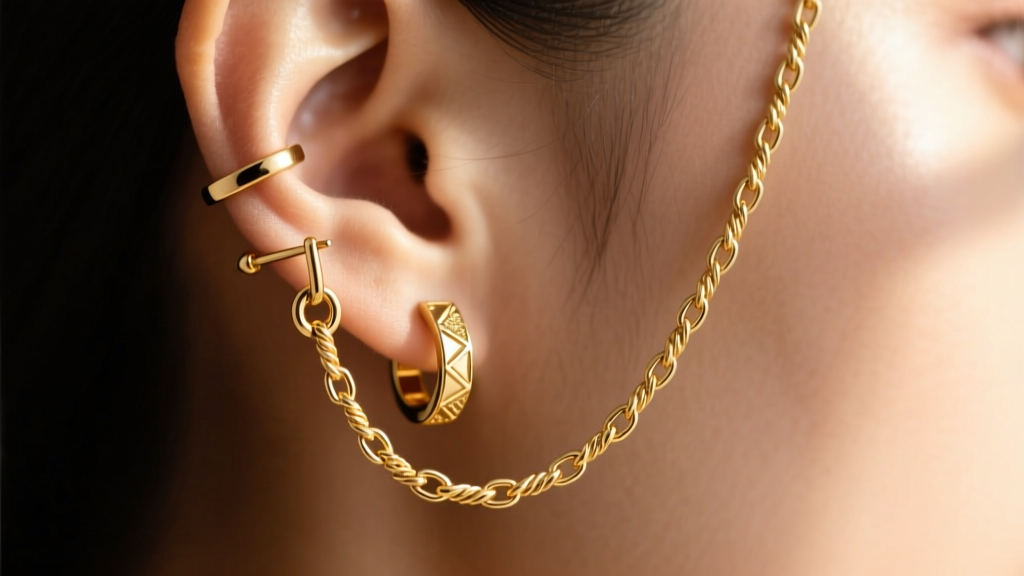
The Biomechanics of Chain and Cuff Earrings
Earrings with chain and cuff designs represent one of the most visually striking trends in contemporary ear styling, bridging the gap between the earlobe and the upper helix. However, the structural reality of connecting two distinct anatomical zones with a flexible metal link creates a unique set of mechanical challenges. Unlike a standard stud or hoop, a chain-and-cuff setup must account for the independent movement of the earlobe, the rigid curvature of the cartilage, and the varying tension required to keep the cuff secured without a piercing.
As of 2026, jewelry designers have introduced advanced micro-clasps and tension-adjusted cuffs to mitigate these issues, yet consumers still frequently encounter slipping cuffs, tangled chains, and lobe strain. Troubleshooting these problems requires a deep understanding of jewelry gauges, metallurgical properties, and ear anatomy. Below, we break down the exact failure points of chain-and-cuff earrings and provide professional-grade solutions to optimize your wear.
Troubleshooting Cartilage Cuff Slippage
The most frequent complaint regarding earrings with chain and cuff configurations is the cuff sliding off the helix. This rarely happens due to poor design alone; it is usually a mismatch between the cuff's internal gauge and the thickness of your specific cartilage fold.
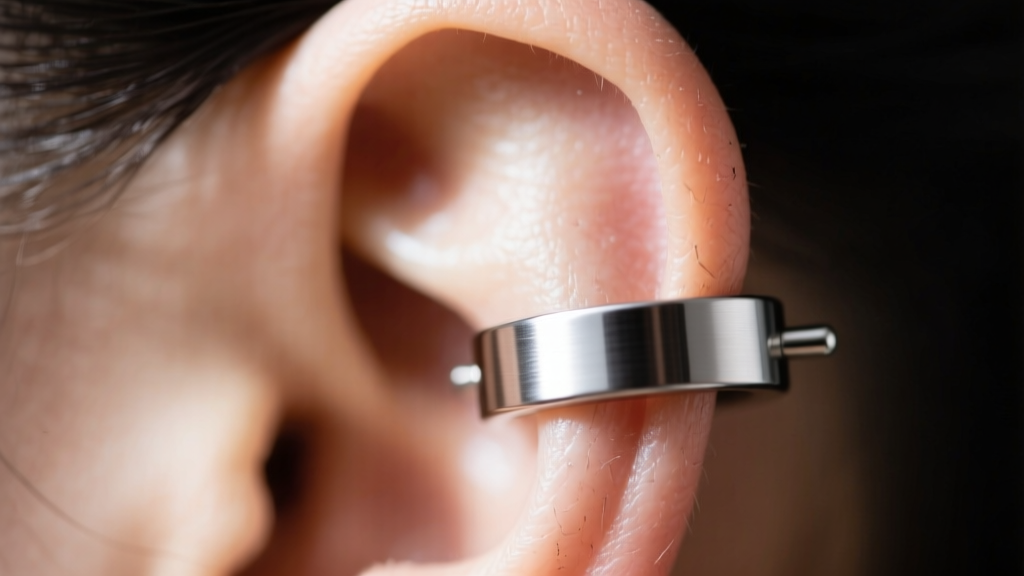
Understanding Gauge and Tension
Most mass-market ear cuffs are manufactured at 20-gauge (0.81mm) or 18-gauge (1.02mm) wire thickness. If your upper helix is thicker than the cuff's internal diameter, the metal is forced outward, destroying the tension required to grip the ear. Conversely, if the cartilage is too thin, the cuff will rotate and slide down the ear when weighed down by the chain.
- The Squeeze Test: Never use pliers to tighten a cuff, as this will mar the finish and weaken the metal's crystalline structure. Instead, use your thumb and forefinger to gently compress the cuff.
- Material Matters: Only attempt to adjust the tension of cuffs made from ASTM F136 implant-grade titanium or niobium. These metals possess excellent "memory" and malleability. Attempting to bend a brass or cheap alloy cuff will result in micro-fractures and snapping.
- The 16-Gauge Upgrade: If your cartilage is prominent, abandon standard cuffs and seek out 16-gauge (1.29mm) tension cuffs or clickers designed for the helix, which offer a deeper internal channel to lock onto the ear's anatomy.
Solving Chain Tangling and Hair Snagging
The chain bridge connecting the lobe to the cuff acts as a snare for loose hair, sweater threads, and even the cuff itself. The root cause of tangling lies in the chain's link profile and the clasp mechanism.
Chain Link Profiles: Cable vs. Box
Standard cable chains (oval links interlocked in a uniform pattern) are the most common but also the most prone to tangling. The gaps between the oval links easily catch fine hair and the edges of the cartilage cuff. To solve this, look for earrings that utilize a box chain or wheat chain. Box chains feature square, interlocking plates that lay completely flat, eliminating the gaps that cause snagging. Wheat chains, with their woven, directional links, offer a smooth surface that allows hair to slide off rather than catch.
Upgrading the Clasp
The connection point at the lobe or cuff often uses a spring-ring clasp. These are notorious for failing under the lateral pull of a chain-and-cuff setup. Upgrade your earring by taking it to a local jeweler to have the spring ring replaced with a 5mm lobster clasp. Lobster clasps feature a solid internal spring mechanism that remains closed under tension, drastically reducing the chance of the chain detaching and whipping around your ear.
Addressing Lobe Piercing Strain and Drooping
When the cartilage cuff catches on a sweater or hair, the sudden kinetic energy is transferred directly down the chain to the earlobe piercing. Over time, this repetitive micro-trauma can cause the lobe piercing to stretch, droop, or even tear.
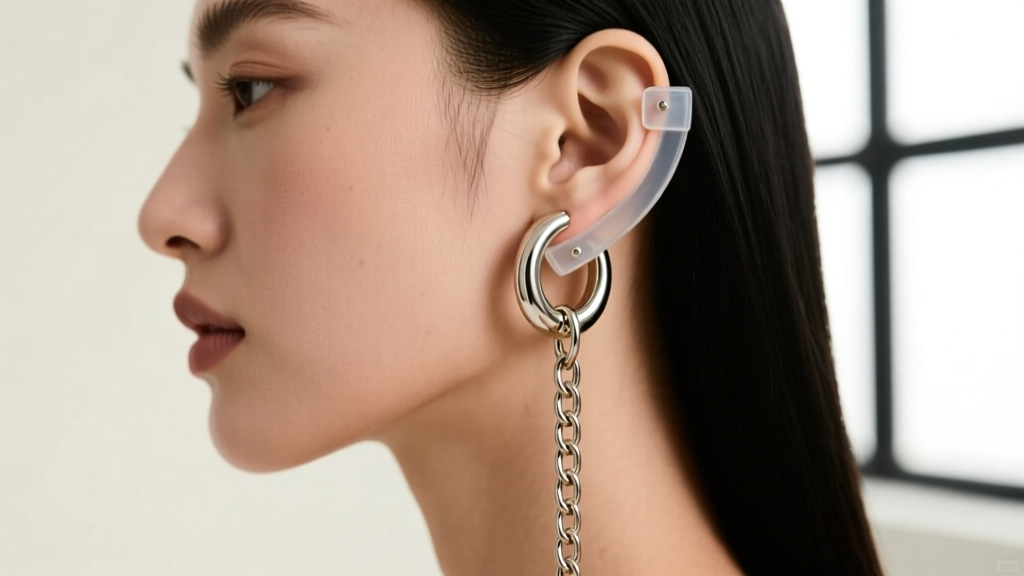
Distributing the Weight Load
Standard "butterfly" friction backs are entirely inadequate for chain-and-cuff earrings. They provide a point-load of pressure that concentrates the chain's drag on a single millimeter of the earlobe. To troubleshoot this, implement the following support systems:
- Silicone O-Rings: Replace the butterfly back with a medical-grade silicone O-ring or disc back. The wider surface area (typically 8mm to 10mm in diameter) distributes the lateral pull of the chain across a broader section of the lobe.
- Flat-Back Labret Conversion: For a permanent, professional-grade fix, have a piercer swap the lobe stud for an internally threaded 18-gauge or 16-gauge flat-back labret post. The flat disc rests flush against the back of the ear, providing a structural anchor that is virtually impossible to pull through the piercing hole.
- Chain Slack Optimization: Ensure the chain has exactly 3mm to 5mm of slack when your head is in a neutral position. If the chain is taut, everyday movements like looking down will pull on the lobe. If it is too loose, it will loop and catch on the cuff.
Troubleshooting Matrix: Quick Fixes
| Issue | Root Cause | Expert Solution |
|---|---|---|
| Cuff slides down helix | Cartilage thickness exceeds cuff gauge | Upgrade to a 16g tension cuff or gently compress an 18g titanium cuff |
| Chain snags on hair | Cable chain link gaps | Swap to a box chain or PVD-coated wheat chain |
| Lobe piercing feels sore | Lateral drag from chain tension | Use a 10mm silicone disc back or convert to a flat-back labret post |
| Chain detaches randomly | Spring-ring clasp failure | Replace with a 5mm lobster clasp or opt for laser-welded permanent links |
Metal Allergies and the "Green Ear" Phenomenon
Because chain-and-cuff earrings cover a large surface area of the ear and neck, any metallurgical flaws are quickly magnified. The "green ear" effect or contact dermatitis is usually caused by the chain, which is often the cheapest component of the earring set.
Many manufacturers use brass or copper cores plated with a thin layer of gold or silver. Once the plating wears away from friction against the neck, the base metals oxidize and react with the skin's natural oils and sweat. According to the Association of Professional Piercers, implant-grade titanium (ASTM F136) and niobium are the only universally safe metals for prolonged skin contact, as they contain zero nickel. For those who prefer the look of gold, the American Academy of Dermatology recommends sticking to 14k or 18k solid gold, or high-quality PVD (Physical Vapor Deposition) coated titanium, which bonds the gold color at a molecular level, preventing the flaking associated with traditional electroplating.
Final Maintenance Protocol
To maintain the structural integrity of your earrings with chain and cuff, never store them hanging on a standard jewelry tree, as the chain will wrap around the branches and weaken the links. Instead, lay them flat in a lined jewelry box, fastening the clasp to the cuff's jump ring to create a closed, tangle-free loop. Clean the chain weekly with a soft microfiber cloth and a mild, ammonia-free jewelry cleaner to remove sebum buildup that can degrade the metal over time.


