Fix Floppy Designs: Troubleshooting Free Seed Bead Earring Patterns
Struggling with warped shapes or heavy dangles? Learn expert troubleshooting tips to fix common flaws in free seed bead earring patterns.

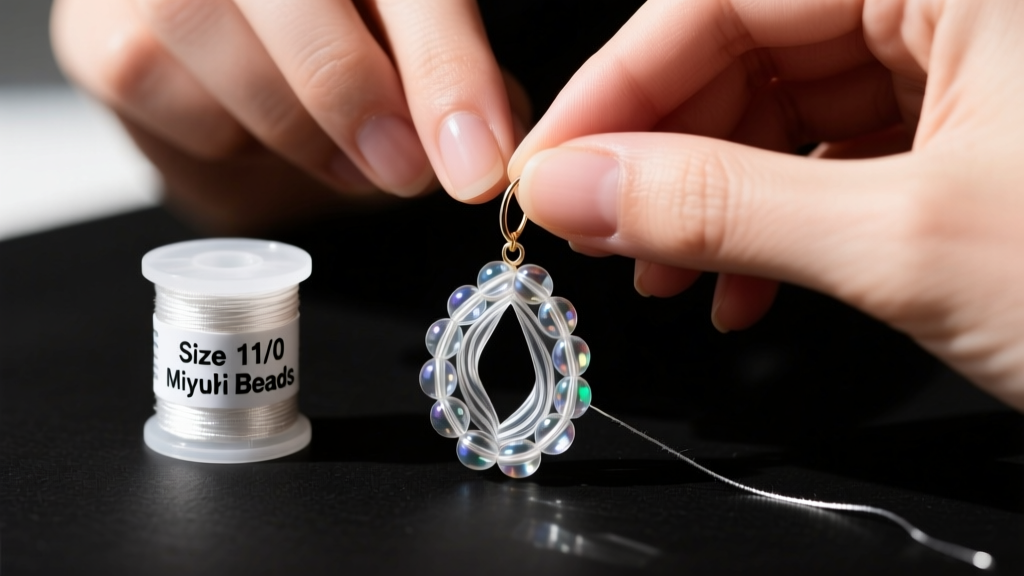
Downloading free seed bead earring patterns is one of the most exciting ways to expand your jewelry-making repertoire without financial risk. However, as any experienced beader knows, free patterns often come with hidden structural pitfalls. Because many of these designs are shared by hobbyists rather than rigorously tested by technical editors, you may encounter severe floppiness, warped geometric shapes, thread snapping, or findings that pull painfully on the earlobe.
Troubleshooting these issues requires a deep understanding of beadwork mechanics, thread physics, and material tolerances. In this guide, we will dissect the most common failures found in free seed bead earring patterns and provide expert-level solutions to salvage your designs and create structurally sound, professional-grade earrings.
The Hidden Flaws in Free Seed Bead Earring Patterns
When you source patterns from community forums or independent blogs, the material lists are often vague. A pattern might simply call for "11/0 seed beads" and "beading thread." This lack of specificity is the root cause of 90% of structural failures in beadwork. According to the technical guidelines at Interweave Beading, the difference in diameter between a Japanese Miyuki 11/0 and a Czech 11/0 can be up to 0.3mm. In a tight peyote or herringbone stitch, this fraction of a millimeter compounds with every row, resulting in a warped, cupped, or buckled earring component.
Furthermore, free patterns rarely account for the drape and weight of the finished piece. A design that looks stiff and structured on a digital mockup may collapse under the weight of glass beads when suspended from an ear wire. To fix these inherent design flaws, you must learn to adapt and reinforce the pattern before you even string your first bead.
Troubleshooting Structural Floppiness and Warping
Thread Tension and Material Upgrades
If your finished earring feels like limp fabric rather than a structured accessory, your thread choice and tension are likely to blame. Many free patterns recommend nylon threads like Nymo or Silamide. While excellent for soft, draping fringe, these threads lack the structural rigidity needed for standalone geometric dangles.
- The Fix for Stiffness: Swap standard nylon for a braided gel-spun polyethylene thread like Fireline 6lb or 8lb test. Fireline possesses virtually zero stretch, locking your beads into a rigid matrix.
- The Fix for Fringe: If the pattern includes fringe that tangles or bends, use WildFire .006. Its thermally fused coating gives fringe a memory-like stiffness that prevents tangling while maintaining movement.
- Tension Calibration: When working brick stitch or peyote stitch, pull your thread at a 45-degree angle to the beadwork edge after every three beads. This seats the beads deeply into the interlocking grooves, eliminating the "gapping" that causes warping.
The 11/0 vs. 15/0 Substitution Trap
A frequent troubleshooting nightmare occurs when beaders substitute Toho beads for Miyuki beads (or vice versa) in a rigid pattern. While both are labeled "11/0", Toho 11/0 beads have a slightly larger outer diameter and a much larger hole. If a free pattern was designed using Miyuki Delicas (which are perfect cylinders), substituting Toho Treasures will cause the beadwork to ruffle and warp outward because the Treasures are marginally wider at the edges.
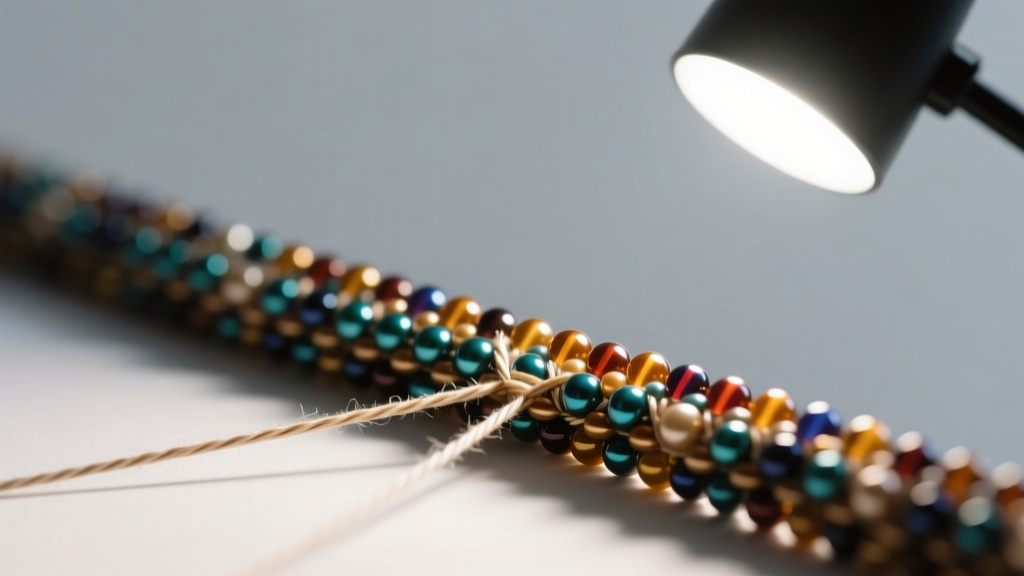
Solution: Always match the exact brand and shape (cylinder vs. round) specified by the designer. If you must substitute, reduce your thread tension by 10% and add a pass-through of a thinner thread, like Fireline 4lb, to allow the beads to settle without forcing them into a distorted arch.
Solving Weight and Finding Failures
Seed bead earrings can be surprisingly heavy. A 2.5-inch beaded chandelier earring can easily exceed 12 grams. If you attach a heavy beadwork component to a flimsy 24-gauge French hook, the wire will bend, the earring will hang at an awkward forward tilt, and the wearer will experience earlobe fatigue.
To troubleshoot finding failures, you must match the ear wire's gauge and style to the dimensional weight of your beadwork. Beadaholique suggests using leverbacks or kidney wires for medium-to-heavy dangles to distribute the weight across the cartilage of the ear rather than just the soft lobe tissue.
| Beadwork Dimensions | Estimated Weight | Recommended Finding | Wire Gauge |
|---|---|---|---|
| Under 1 inch (Studs/Small Drops) | < 5 grams | Standard French Hook | 22-gauge |
| 1 to 2.5 inches (Medium Dangles) | 5 - 12 grams | Leverback or Kidney Wire | 20-gauge |
| Over 2.5 inches (Statement/Chandelier) | 12+ grams | Omega Clip or Ear Cuff Base | 18-gauge / Clip-on |
Pro-Tip for Forward-Tilting Studs: If you are adapting a free pattern for a beaded stud and it droops forward on the ear, the post is likely too thin or the backing is too small. Solder or glue your beadwork to a 10mm stainless steel pad with a 20-gauge post, and use a wide, flat silicone earring back (like those from EarNuts) to provide a wider base of support against the back of the earlobe.
Reinforcing Fringe and Drop Elements
Fringe is the most vulnerable part of any seed bead earring pattern. In free patterns, the drop lines are often single-strand, making them highly susceptible to snapping if caught on a sweater or hair.
"Never rely on a single pass of thread for a drop line longer than one inch. The shear force of a glass bead's edge against a taut thread will eventually cut through even the strongest gel-spun line."
The Reinforcement Technique: When executing the drop lines in your pattern, always use a double-needle technique or pass back through the entire drop line a second time. If the pattern calls for a 3-inch fringe, thread your needle back up through the entire column of beads, skipping every third bead to create a microscopic "slack" loop. This prevents the thread from pulling too tightly and snapping under the dynamic movement of the wearer's head.
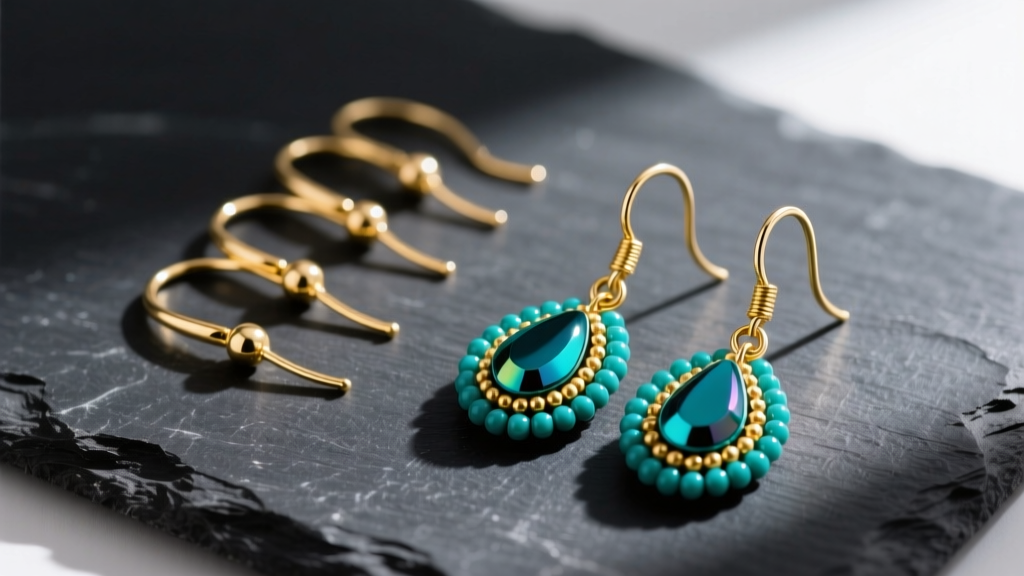
Additionally, if the pattern features a heavy focal bead at the end of a fringe (such as a 4mm Swarovski crystal or a metal charm), place a tiny 15/0 seed bead directly above and below the focal bead. This acts as a buffer, preventing the sharp edges of the crystal or metal from sawing through your beading thread over time.
Expert Checklist for Pattern Adaptation
Before you begin stitching any free seed bead earring patterns you find online, run the design through this structural troubleshooting checklist to ensure a flawless finish:
- Verify Bead Brand: Does the pattern specify Miyuki, Toho, or Czech? Purchase the exact brand to maintain geometric integrity.
- Test the Thread: Is the thread appropriate for the stitch? Use Fireline for rigid peyote/brick stitch, and conditioned Nymo for herringbone or soft fringe.
- Check the Findings: Do you have the correct gauge ear wires to support the estimated weight of the finished piece?
- Plan for Backing: If the pattern is a flat brick stitch component, do you have Lapislace or Ultrasuede to back the beadwork and prevent curling against the skin?
- Map the Tension: Identify areas in the pattern with sharp increases or decreases, and plan to use a smaller needle (like a size 12 or 13) to navigate tight turns without splitting the thread.
By applying these professional troubleshooting techniques, you can elevate any free seed bead earring pattern from a fragile hobby project into a durable, high-end piece of wearable art. Remember that beadwork is an engineering discipline as much as an artistic one; respecting the physics of your materials is the key to mastering the craft.


