Gage Earrings Sizing Issues: How to Fix Stuck or Slipping Jewelry
Struggling with gage earrings that won't fit or keep falling out? Learn expert troubleshooting for gauge sizing, stretched lobes, and threading issues.

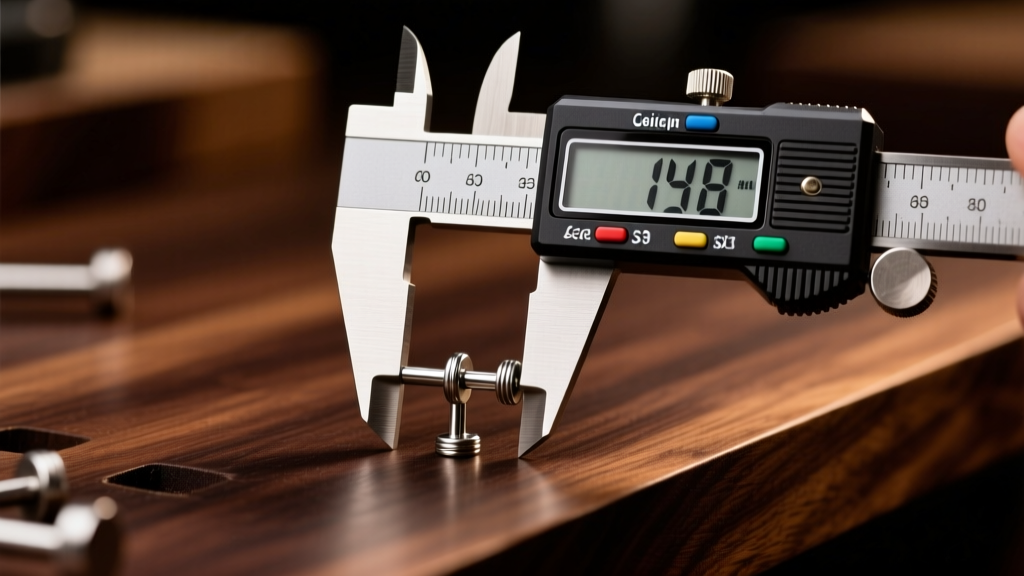
If you have ever found yourself searching for "gage earrings" because your jewelry won't fit, you are not alone. The confusion surrounding ear piercing sizes leads to thousands of ruined piercings, lost jewelry, and unnecessary pain every year. First, let us clear up the terminology: the correct spelling is gauge (specifically the American Wire Gauge, or AWG, system). However, "gage" is a universally recognized phonetic misspelling that even some major retailers use. Regardless of how you spell it, misunderstanding this measurement system is the root cause of 90% of earring sizing disasters.
Whether you are dealing with a heavy dangle earring slowly slicing through your lobe, or you are trying to force a thick cartilage barbell into a hole that is too small, troubleshooting your earring sizing requires a mix of anatomical knowledge and mechanical precision. In this comprehensive guide, we will break down the exact failure modes of improperly sized earrings and provide actionable, professional-grade solutions to save your piercings.
The AWG System Explained: Why Higher Numbers Mean Thinner Jewelry
The most counterintuitive aspect of buying body jewelry is the AWG inverse scale. In the gauge system, the higher the number, the thinner the metal. A standard earlobe piercing done at a mall kiosk with a piercing gun is usually 20G or 22G. A standard lobe piercing done by a professional with a needle is typically 16G or 14G. When you stretch your ears, you move down the numbers toward 0G, 00G, and beyond.
To troubleshoot your current jewelry issues, you must know your exact millimeter (mm) diameter. Relying on the word "gage" or "gauge" alone is dangerous because manufacturing tolerances vary wildly between cheap overseas retailers and professional body jewelers. Below is the definitive conversion chart you need to keep on hand.
| Gauge (AWG) | Millimeters (mm) | Common Use Case |
|---|---|---|
| 20G | 0.81 mm | Standard mall-kiosk lobe piercings, delicate nose studs |
| 18G | 1.02 mm | Standard cartilage (helix/tragus), some earlobes |
| 16G | 1.29 mm | Professional standard for lobes and most cartilage |
| 14G | 1.63 mm | Standard for stretched lobes, daith, and rook piercings |
| 12G | 2.05 mm | First stage of intentional lobe stretching |
| 10G | 2.59 mm | Common stretched lobe size |
| 8G | 3.26 mm | Stretched lobes, heavy gauge ear cuffs |
| 6G | 4.11 mm | Stretched lobes |
| 4G | 5.19 mm | Stretched lobes |
| 2G | 6.54 mm | Stretched lobes |
| 0G | 8.25 mm | Stretched lobes (often considered the "point of no return") |
Troubleshooting 3 Common Gage Earrings Disasters
When your jewelry size does not match your piercing's anatomy or the physical weight of the ornament, structural failure is inevitable. Here is how to fix the three most common sizing-related emergencies.
Disaster 1: The "Cheese-Cutter" Effect
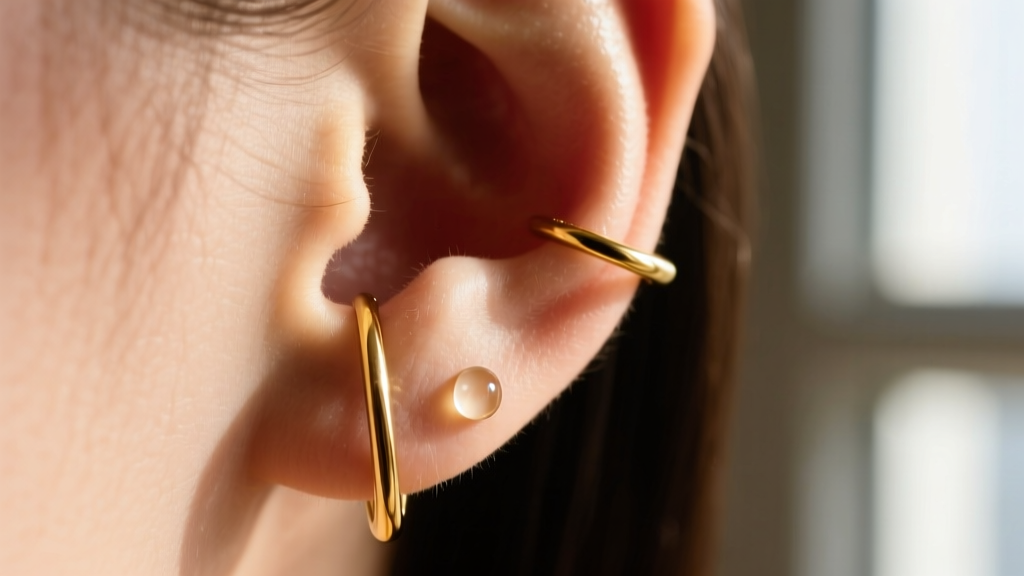
The Problem: You are wearing a heavy statement dangle or a thick hoop on a 20G or 22G wire. The downward force concentrates entirely on a microscopic surface area of your fistula (the skin tube of the piercing). Over time, gravity and weight act like a wire cheese cutter, slowly migrating the piercing downward until it splits the lobe entirely.
The Fix: You must distribute the weight. If your piercing is currently 20G, you need to visit a professional piercer to safely stretch the lobe to 16G or 14G using a taper and proper stretching protocols. Once the lobe is healed at a thicker gauge, the wider surface area of a 14G (1.63mm) post will support heavy dangles without cutting the tissue. If you cannot stretch immediately, swap the dangle for a lightweight hollow titanium hoop, or use silicone O-rings behind the earring back to distribute pressure against the rear of the lobe.
Disaster 2: Forced Insertion and Micro-Tears
The Problem: You bought a beautiful 14G barbell, but your lobe is only healed at 16G. You attempt to force the thicker jewelry through the hole, causing blunt force trauma, micro-tears, and immediate swelling.
The Fix: Never force jewelry. If the resistance is anything more than a gentle glide, stop immediately. To safely upsize by a single half-step (e.g., 16G to 14G), use a sterilized steel insertion taper. Lubricate the taper and the jewelry threads with pure, cold-pressed jojoba oil or water-based lubricant. Gently guide the taper through the fistula, and immediately follow it with the new jewelry. If you experience sharp pain or see blood, your tissue is not ready. Downsize back to your original 16G earring and wait another 4 to 6 weeks.
Disaster 3: Cross-Threading and Stuck Internally Threaded Earrings
The Problem: You have a high-quality internally threaded earring (where the screw is on the post, not the decorative end), but it is stuck in your ear. You are twisting it blindly, risking cross-threading the metal or tearing the inside of your piercing.
The Fix: Internally threaded jewelry from premium brands (priced between $25 and $60 per piece) uses precision-machined threads that can lock up if bodily fluids or soap residue dry in the grooves. First, apply a warm, damp compress to the area for five minutes to dissolve any crusties. Next, put on a pair of nitrile or latex medical gloves. The rubber grip will give you the torque needed to unscrew the end without slipping. If the decorative end is completely stripped or seized, a professional piercer can use sterilized hemostats to grip the post securely while unscrewing the gem.
Material Matters When Resizing Stretched Piercings
When troubleshooting sizing issues in stretched lobes, the material of your "gage" earrings is just as critical as the millimeter diameter. Tissue that has been stretched or is recovering from a sizing error is highly reactive and prone to contact dermatitis.
- ASTM F-136 Implant-Grade Titanium: This is the gold standard for troubleshooting angry, irritated piercings. It contains zero nickel and is completely non-porous. If your lobe is swollen from a sizing error, downsizing to a lightweight, internally threaded titanium labret stud is the fastest way to reduce inflammation.
- 316L Surgical Steel: While acceptable for fully healed, standard-sized piercings, surgical steel contains trace amounts of nickel. If your ear is experiencing micro-tears from a forced insertion, the nickel can leach into the open wound, causing a localized allergic reaction that mimics an infection.
- Porous Organics (Wood, Bone, Stone): Never use organic materials to troubleshoot sizing issues or stretch ears. These materials harbor bacteria in their microscopic pores and can cause severe blowouts if worn in unhealed or recently resized tissue.
For authoritative guidelines on which materials are safe for healing and resizing, always refer to the Association of Professional Piercers (APP) jewelry standards.
Step-by-Step Recovery for Blown Out Lobes
A "blowout" occurs when you force a gauge size that is too large, causing the fistula to tear and push a tube of scar tissue out the back of the earlobe. This is the ultimate sizing disaster, but it can often be salvaged without surgery if caught immediately.
- Downsize Immediately: Remove the jewelry that caused the blowout. Clean the area with sterile saline wound wash. Insert a piece of implant-grade titanium jewelry that is 2 to 3 sizes smaller than the size that caused the blowout. This relieves the pressure and allows the tissue to retract.
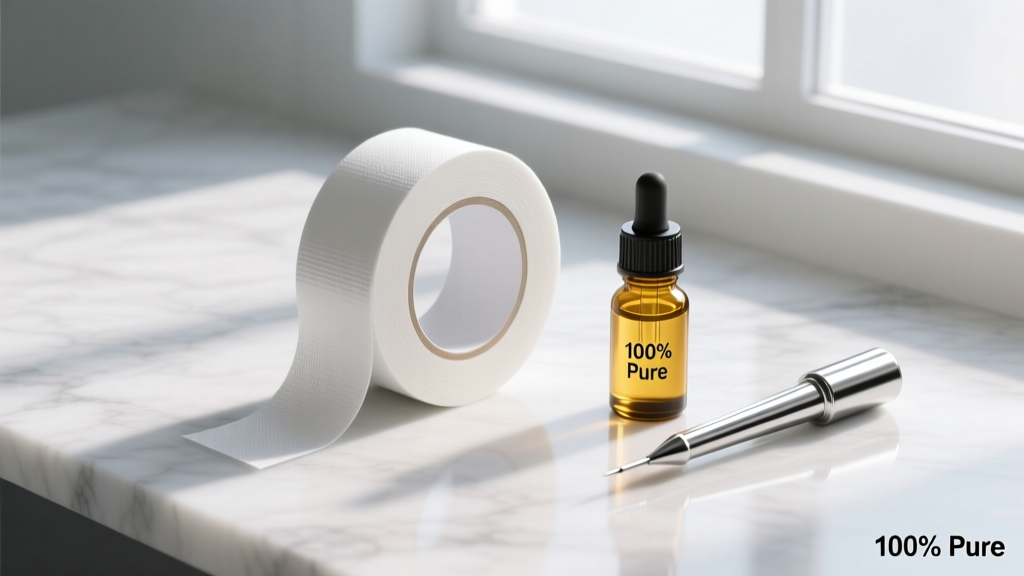
- Massage with Jojoba Oil: Twice a day, gently massage the lobe with pure jojoba oil to promote blood flow and maintain tissue elasticity. Do not massage if the skin is broken or bleeding.
- The PTFE Tape Method (For Future Resizing): Once the blowout is completely healed (which can take 2 to 3 months), do not jump back up to the larger size using metal tapers. Instead, use PTFE (Teflon) stretching tape. Wrap 2 to 3 layers of the tape around your current, comfortable jewelry. Wear it for a week, then unwrap one layer and replace it with fresh tape. This micro-stretches the tissue by fractions of a millimeter, entirely eliminating the risk of future blowouts.
Final Thoughts on Sizing and Fit
Troubleshooting earring sizing is not about brute force; it is about respecting the biological limits of your tissue and the mechanical realities of the AWG system. Whether you are searching for "gage earrings" or professionally sourced body jewelry, always verify the exact millimeter thickness with digital calipers before insertion. When in doubt, consult an APP-certified professional piercer who can assess your fistula health, measure your current gauge accurately, and provide a safe, customized stretching or downsizing plan. Your piercings are permanent modifications—treat the math behind them with the precision it demands.


