Troubleshooting Earrings Large Studs: Fix Drooping Lobes
Struggling with heavy jewelry? Learn how to troubleshoot earrings large studs, prevent lobe sagging, and use support patches for comfort.

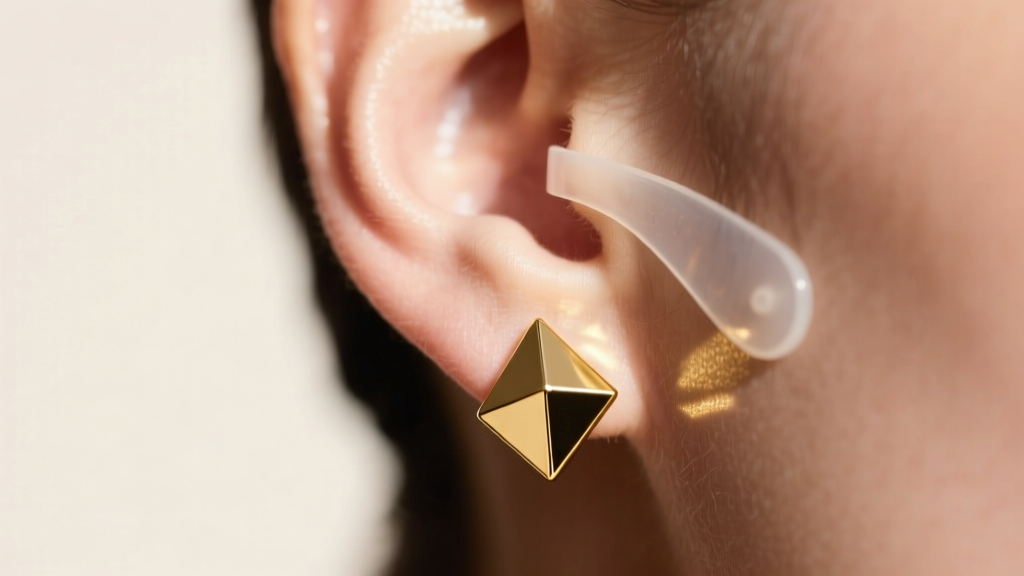
The evolution of ear styling has pushed boundaries, with architectural shapes, heavy gemstones, and oversized metallic domes taking center stage. However, when curating a collection of earrings large studs often become the centerpiece, bringing a hidden biomechanical challenge: gravity. The human earlobe is not engineered to bear significant loads, and wearing heavy jewelry without proper support leads to micro-tears, stretched piercing channels, and the dreaded forward droop.
Troubleshooting these issues requires moving beyond basic fashion advice and into the realm of material science, gauge specifications, and tissue rehabilitation. Whether you are dealing with a newly stretched hole or a post that constantly bends, this guide provides actionable, expert-level solutions to keep your heavy studs sitting perfectly flush and upright.
The Biomechanics of Lobe Sagging and Tissue Stress
The auricular lobule (earlobe) is entirely devoid of cartilage. Instead, it is composed of dense connective tissue, adipose (fat) tissue, and a network of blood vessels. When you wear heavy earrings large studs exert a continuous downward and outward torque on the fistula (the piercing channel).
According to the Association of Professional Piercers (APP), prolonged stress on this tissue causes the collagen fibers to break down and elongate. A standard lightweight stud weighs between 1 and 3 grams. However, oversized architectural studs or those featuring solid 14k gold and large cabochon stones can easily weigh between 12 and 25 grams. This 800% increase in weight transforms the earring post into a lever, slowly cutting through the tissue in a phenomenon known as the 'cheese-cutter effect.'
Identifying Your Specific Failure Mode
- The Forward Tilt: The earring face points toward the floor. This occurs when the weight of the front design outpaces the counterbalance of the earring back, combined with a slightly enlarged fistula.
- The Elongated Slit: The circular piercing hole stretches into a vertical oval or slit. This is a direct result of sheer vertical force on a post that is too thin.
- The Post Bend: The metal wire warps behind the ear. This is a material failure, indicating the earring's gauge is insufficient for its overall mass.
Gauge and Material Specifications for Heavy Studs
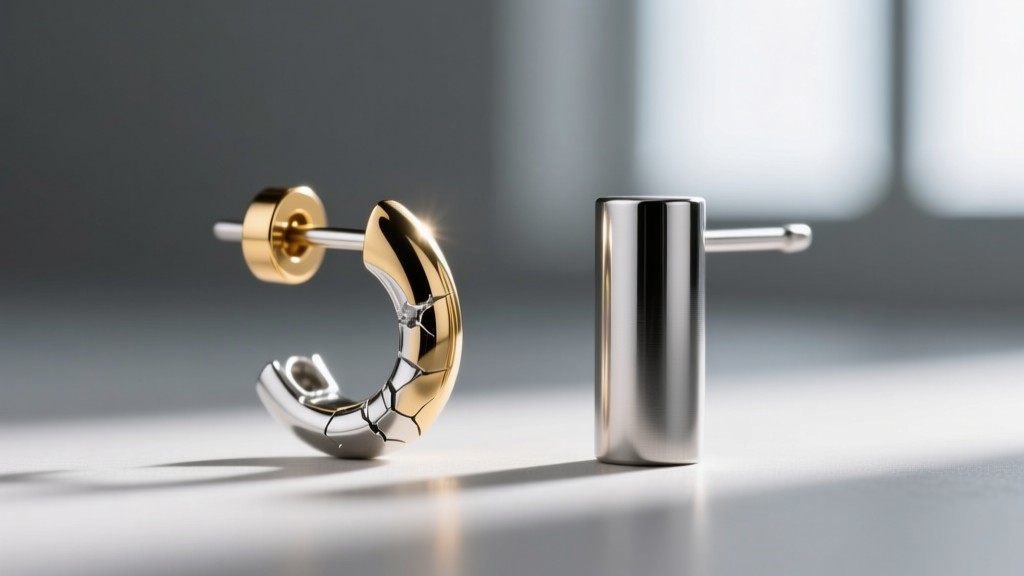
If your earrings large studs feature substantial weight, the factory-standard 20-gauge (0.81mm) or 18-gauge (1.0mm) posts are fundamentally inadequate. To troubleshoot and prevent structural failures, you must upgrade the post thickness and evaluate the metal density.
The Gauge Thickness Matrix
| Gauge Size | Millimeter (mm) | Max Recommended Weight | Best Use Case |
|---|---|---|---|
| 20G | 0.81mm | Under 4g | Standard lightweight studs, delicate gems |
| 18G | 1.02mm | 4g - 8g | Medium hoops, standard drop earrings |
| 16G | 1.29mm | 8g - 15g | Heavy geometric studs, small solid gold domes |
| 14G | 1.60mm | 15g - 25g+ | Oversized architectural studs, heavy cabochons |
Note: Transitioning from a 20G to a 14G post requires gradual stretching. Never force a 14G post into a standard 18G fistula, as this will cause immediate tissue blowout.
Material Density and Weight Distribution
Not all metals are created equal when managing heavy loads. Tungsten and stainless steel (316L) are incredibly dense, adding unnecessary gram weight to an already heavy design. For heavy studs, Grade 23 Titanium (Ti-6Al-4V ELI) is the superior choice. It is 45% lighter than surgical steel, hypoallergenic, and possesses a higher tensile strength, meaning a 16G titanium post will resist bending far better than an 18G steel post. If you prefer gold, opt for 14k over 18k or 24k; the alloy metals in 14k gold provide necessary structural rigidity that pure gold lacks.
Mechanical Fixes: Backs, Patches, and Counterweights
When the design of the earring itself cannot be altered, you must modify the support system. The standard butterfly friction back is the primary culprit for the forward tilt, as its small surface area digs into the lobe, offering zero structural lift.
Adhesive Lobe Support Patches
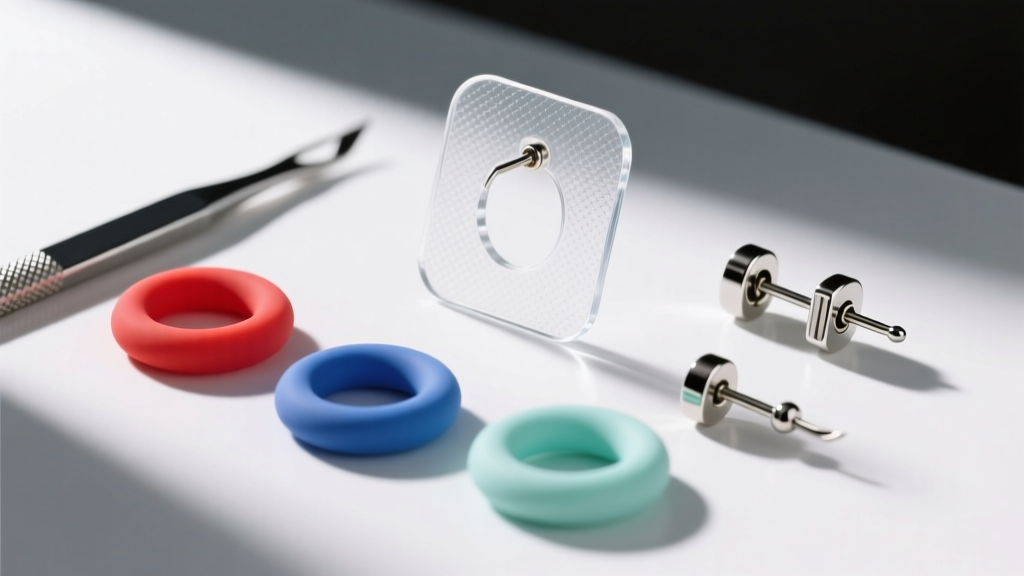
Products like BlingDots or generic silicone earlobe support patches are adhesive-backed, medical-grade foam or silicone discs with a slit in the center. You apply the patch to the back of the earlobe, insert the post through the slit, and secure the back. The patch increases the surface area distributing the weight from a 2mm pinpoint to a 15mm circular area, effectively eliminating the cheese-cutter effect and providing a rigid backboard that stops the forward tilt.
Silicone O-Rings and Tension Discs
For a non-adhesive solution, replace butterfly backs with thick silicone O-rings (often sold as 'earring stabilizers'). A 10mm wide, 2mm thick silicone disc grips the post tightly and rests flush against the back of the lobe. The high-friction silicone prevents the heavy front from pulling the back upward, maintaining a 90-degree angle.
Locking and Screw Backs
Heavy studs often work themselves loose due to the pendulum effect of walking. Upgrading to locking clutch backs (which feature a mechanical snap-lock groove on the post) or screw-on backs ensures the support disc remains firmly pressed against the lobe, providing continuous counter-tension.
Long-Term Lobe Rehabilitation and Tissue Care
If your heavy earrings large studs have already caused visible stretching, sagging, or thinning of the lower lobe tissue, simply changing the earring back is not enough. You must actively rehabilitate the collagen matrix of the earlobe.
Dermatologist Insight: The American Academy of Dermatology notes that while scar tissue and stretched skin have limited natural elasticity, consistent topical treatments and mechanical resting can significantly improve tissue plumpness and prevent further migration of the fistula.
The 3-Step Rehabilitation Protocol
- The 30-Day Rest Period: Remove all heavy and large-diameter jewelry. Wear only lightweight, 14G or 12G implant-grade titanium labret studs to keep the channel open without applying downward pressure.
- Cutaneous Massage: Twice daily, massage the earlobe with pure Jojoba oil or Vitamin E oil. Use your thumb and index finger to gently pinch and roll the tissue around the fistula. This stimulates local blood flow and encourages fibroblast activity, which aids in collagen production.
- Silicone Scar Gel Application: If the bottom of the piercing hole has become dangerously thin (less than 2mm of tissue remaining), apply a medical-grade silicone scar gel at night. Silicone creates a hydrating microenvironment that signals the skin to thicken and rebuild the dermal layer.
Knowing When to Seek Professional Intervention
There is a threshold where at-home troubleshooting fails. If the tissue below your piercing has stretched to the point of a 'split' (where the hole merges with the bottom edge of the lobe), or if the lobe hangs more than 1.5 centimeters lower than its natural baseline, conservative methods will not reverse the damage.
In these cases, consult a board-certified dermatologic or plastic surgeon for an earlobe reduction or lobuloplasty. This minor in-office procedure involves excising the stretched epithelial lining of the fistula and suturing the healthy connective tissue back together. Post-surgery, you must wait a minimum of 12 to 16 weeks before re-piercing, and you must strictly adhere to the 14G titanium and support-patch protocols outlined above to ensure the repaired lobe can safely handle your favorite statement pieces.


