How to Get Flat Back Earrings Out: Buying Guide for Easy Removal
Learn how to get flat back earrings out with our buyer's guide. Compare threadless vs threaded styles, materials, and removal tools for stuck jewelry.

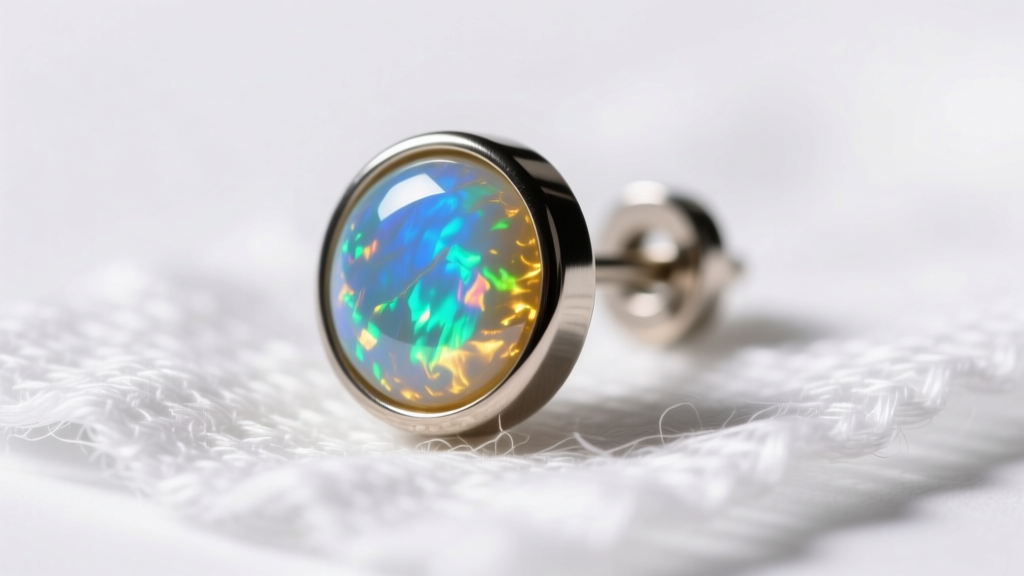
Flat back earrings, commonly known as labret studs, are the gold standard for cartilage piercings, lobes, and nostrils. Their flush-fitting disc provides unparalleled comfort, especially for side sleepers. However, their secure engineering often leads to a frustrating dilemma: they can become incredibly difficult to remove. Whether you are dealing with a jammed mechanism, crust buildup, or swelling, understanding how to get flat back earrings out starts long before you actually attempt removal. It begins with the purchasing decision.
As a buyer, selecting the right threading mechanism, metal grade, and post length is the ultimate preventative measure against stuck jewelry. This comprehensive buying guide will teach you what to look for when shopping for flat backs, ensuring your next jewelry change is seamless, safe, and pain-free.
The Anatomy of a Flat Back Earring: Why They Get Stuck
A standard flat back earring consists of three main components: the flat disc base, the straight post (shaft), and the decorative end (gem, bead, or motif). The connection point between the post and the decorative end is where removal issues originate.
Flat backs typically get stuck for three primary reasons:
- Tissue Swelling: Caused by allergic reactions to poor-quality metals or posts that are too short, leading to tissue embedding.
- Cross-Threading: Occurs when screw-in ends are forced into the post at an incorrect angle, stripping the micro-threads.
- Overtensioning: In threadless (press-fit) jewelry, bending the pin too aggressively creates a locking seal that finger strength alone cannot break.
Threadless vs. Internally Threaded: The Buyer’s Dilemma
When shopping for high-quality flat backs, you will encounter two primary connection types. According to the Association of Professional Piercers (APP), you should absolutely avoid externally threaded jewelry, as the threads scrape through the fistula (piercing channel) and easily strip. But between threadless and internally threaded, which is easier to manage?
| Feature | Threadless (Press-Fit) | Internally Threaded |
|---|---|---|
| Connection Mechanism | Tension-based bent pin | Screw-in micro-threads on post |
| Risk of Cross-Threading | Zero | Moderate (if forced) |
| Removal Difficulty | Requires grip strength & leverage | Requires twisting torque |
| Best For | High-movement areas, frequent changers | Heavy ends, secure long-term wear |
Buying Advice for Threadless Jewelry
Threadless jewelry uses a small pin on the decorative end that you bend slightly before inserting into the hollow post. The tension holds it in place. When buying threadless ends, look for brands that use 14k or 18k solid gold or implant-grade titanium pins, as softer metals can snap under the pressure of removal tools. To remove them later, you must break the tension seal by pulling the end and post in opposite directions while applying a slight bending motion.
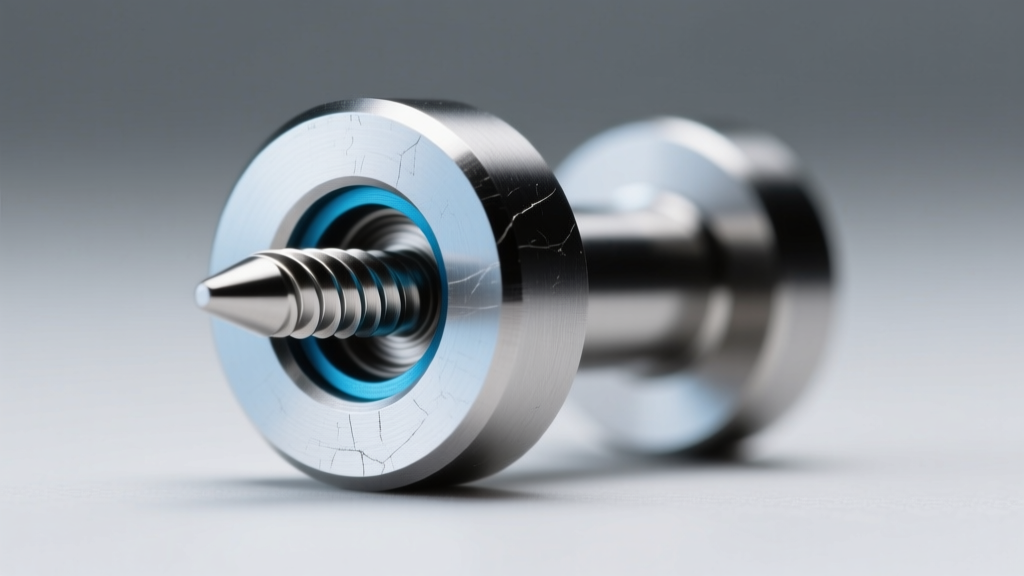
Buying Advice for Internally Threaded Jewelry
Internally threaded posts have the screw mechanism inside the shaft. When purchasing, check the thread pitch. High-end brands like BVLA and Anatometal use precision-machined threads (typically 0.9mm or 1.2mm pitch depending on the gauge). If you buy cheap, mass-produced threaded jewelry, the tolerances are often loose, leading to debris buildup that acts like cement, jamming the screw mechanism permanently.
Material Grades: The Hidden Cause of Stuck Jewelry
One of the most overlooked reasons people struggle to figure out how to get flat back earrings out is localized swelling caused by metal sensitivities. When your body rejects an alloy, the tissue swells around the flat disc, effectively burying it and making it impossible to grip.
Always verify the exact metallurgical grade before purchasing:
- ASTM F-136 Implant-Grade Titanium: The absolute best choice. It contains zero nickel and is highly biocompatible. Refer to the ASTM F136 standard for titanium to verify authenticity. This prevents the swelling that traps jewelry.
- Niobium: Another highly reactive, hypoallergenic metal that is excellent for sensitive piercings.
- 316L Surgical Steel: Contains 8-10% nickel. While fine for fully healed, non-sensitive lobes, it can cause subclinical swelling in cartilage piercings, tightening the fistula around the post and making removal a nightmare.
- Acrylic or BioFlex: Avoid these for long-term wear. They are porous, harbor bacteria, and can degrade, causing the post to warp or stick to the tissue.
Step-by-Step: How to Get Flat Back Earrings Out Safely
Once you have invested in high-quality, properly sized jewelry, removal is a matter of physics and friction. Never use brute force, as this can tear the piercing channel or damage the jewelry.
Method 1: Removing Threadless (Press-Fit) Flat Backs
- Prep your grip: Put on a pair of nitrile or latex medical gloves. The rubber coating exponentially increases your friction coefficient, preventing your fingers from slipping off the smooth metal or gemstone.
- Pinch and Pull: Use your dominant hand to grip the decorative end and your non-dominant hand to grip the flat back disc through the back of the ear.
- Apply Leverage: Pull firmly in opposite directions while simultaneously applying a very slight bending pressure (as if trying to snap a twig). This mimics the insertion angle and releases the tension pin.
- The Floss Trick: If the gemstone is too small to grip, wrap a piece of waxed dental floss tightly around the decorative end to create a makeshift handle for better leverage.
Method 2: Removing Internally Threaded Flat Backs
- Clean the area: Use a sterile saline spray to soften and remove any dried lymph or crust that may be acting as a glue around the seam.
- Stabilize the post: Reach behind your ear and hold the flat disc completely still. If the post spins, you will never generate enough torque to unscrew the end.
- Twist Counter-Clockwise: Remember the golden rule: 'Lefty-loosey'. Grip the decorative end with gloved fingers and twist counter-clockwise.
- Warm water soak: If the threads are seized due to soap scum or hard water deposits, submerge your ear in a cup of warm water for 3 minutes to dissolve the buildup before trying again.
Essential Removal Tools to Keep in Your Kit
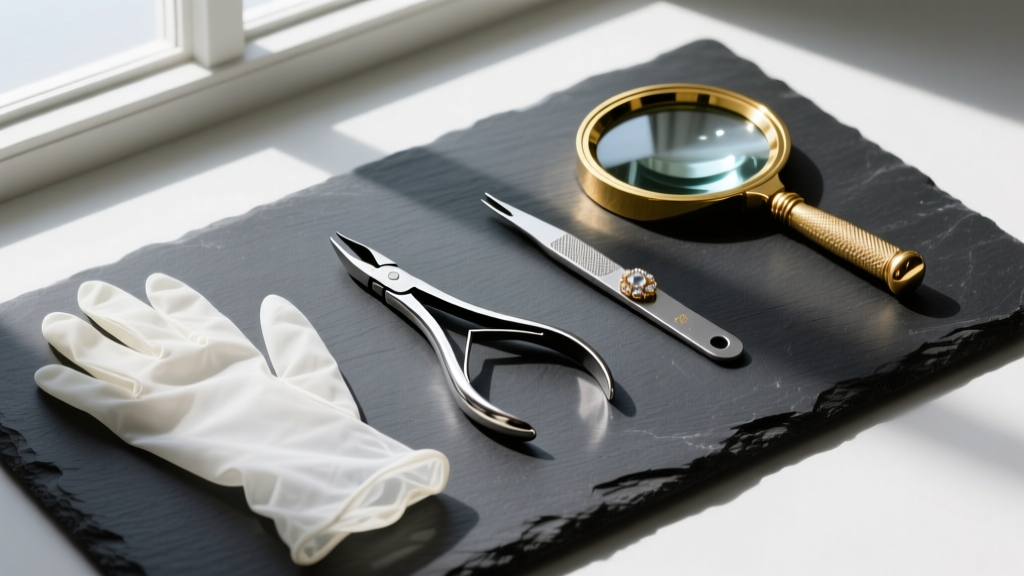
If you wear flat back earrings regularly, especially in hard-to-reach areas like the conch or forward helix, relying on bare fingers is a recipe for failure. Add these affordable tools to your jewelry buying list:
- Rubber-Tipped Hemostats: These locking forceps allow you to clamp onto the flat back disc behind the ear, holding it perfectly still while your other hand unscrews or pulls the front end. Pro-tip: Wrap the metal jaws in medical tape or buy silicone-tipped versions to avoid scratching PVD coatings or solid gold.
- Nitrile Examination Gloves: Essential for breaking the seal on tight threadless pins.
- Magnifying Mirror: A 10x magnification mirror with a suction cup allows you to visually confirm that you are gripping the correct component and not accidentally pulling on the piercing tissue.
Expert Insight: Never use standard metal pliers from a toolbox on high-end body jewelry. The hardened steel teeth will instantly crush 14-gauge or 16-gauge posts and permanently mar the finish of precious metals. Always use tools specifically padded for body jewelry.
Post Length & Gauge: Sizing for Prevention
Buying the correct size is just as critical as the material. If a post is too long, it will snag on hair and clothing, causing micro-trauma that leads to irritation bumps and crust buildup, which eventually cements the jewelry in place. If it is too short, the tissue will swell over the flat disc, embedding it.
- Standard Gauges: Cartilage piercings (helix, conch, flat) are typically pierced at 16G (1.2mm) or 14G (1.6mm). Nostrils and standard lobes often use 18G (1.0mm). Always buy jewelry that matches your exact piercing gauge to prevent thread stripping.
- Post Lengths: For healed cartilage, a 6mm (1/4 inch) or 8mm (5/16 inch) post is standard. If you are buying jewelry for a fresh piercing or an irritated one, opt for a 10mm (3/8 inch) post to accommodate swelling, then downsize to a shorter post once healed to prevent snagging.
When to See a Professional Piercer
If you have tried the glove method, the floss trick, and warm soaks, but the jewelry remains immovable, stop immediately. Continuing to force a stuck flat back can result in severe tissue tearing, keloid formation, or broken jewelry components embedded in the skin. Visit an APP-certified professional piercer. They possess specialized tools, such as micro-jewelry vices and sterile ring-opening pliers, designed to safely dismantle seized jewelry without harming the fistula. Consider the $15 to $30 removal fee an investment in the long-term health of your piercing.


