Beginner Guide to Gauged Earrings: Sizes, Stretching & Care
Discover everything about gauged earrings in our beginner guide. Learn ear stretching sizes, safe tapering methods, and the best hypoallergenic materials.

What Are Gauged Earrings? Understanding the Basics
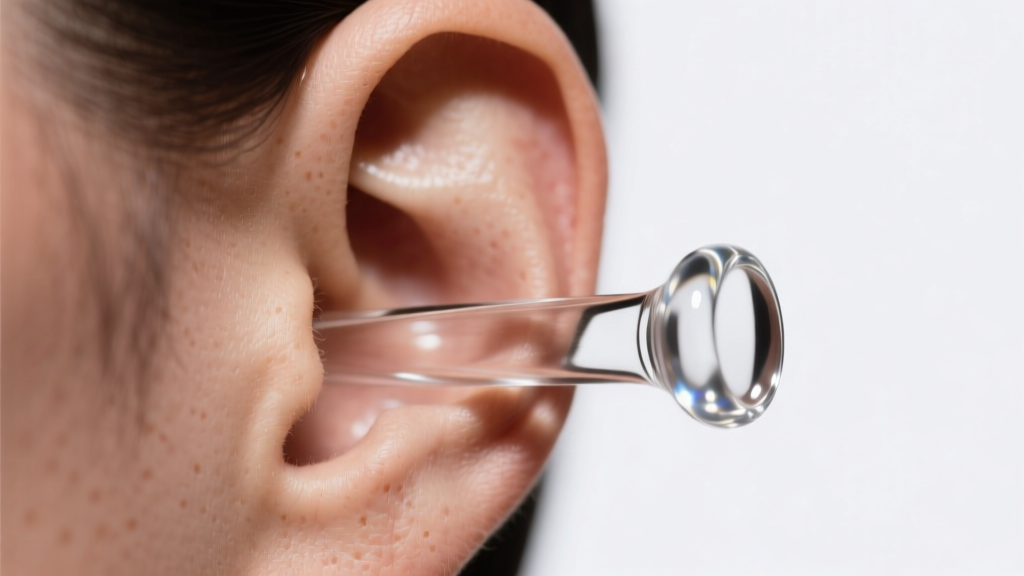
If you have been exploring alternative body jewelry, you have likely encountered the term gauged earrings. However, the terminology can be slightly misleading for beginners. In the body modification community, "gauge" technically refers to the thickness of the jewelry post, not the jewelry itself. When people refer to gauged earrings, they are typically talking about jewelry designed for stretched earlobes or cartilage piercings, such as plugs, tunnels, and flesh tunnels.
Standard ear piercings are usually done at 20-gauge (20G) or 18-gauge (18G). Stretching the ear involves gradually increasing the diameter of the fistula—the tube of scar tissue that forms the piercing channel—to accommodate larger, statement-making jewelry. Whether you are aiming for a subtle 14G stretch or a bold 00G tunnel, understanding the biomechanics of your ear tissue and the physics of jewelry sizing is critical for long-term ear health.
Demystifying the Gauge System: A Size Conversion Chart
The most confusing aspect for beginners is the American Wire Gauge (AWG) system. Unlike standard measurements where a larger number means a larger size, the gauge system is inverse. The smaller the gauge number, the thicker the jewelry. Once you pass 0G (8mm), the sizing transitions into fractions of an inch or millimeters, such as 00G (10mm) or 1/2 inch (12mm).
Below is a comprehensive conversion chart to help you navigate gauged earrings sizes:
| Gauge Size | Millimeters (mm) | Inches (Fraction) | Best Beginner Jewelry Type |
|---|---|---|---|
| 14G | 1.6 mm | 1/16" | Captive Bead Rings, Standard Tapers |
| 12G | 2.0 mm | 5/64" | Single Flare Glass Plugs |
| 10G | 2.5 mm | 3/32" | Single Flare Plugs, Tunnels |
| 8G | 3.2 mm | 1/8" | Single Flare Plugs, Tunnels |
| 6G | 4.0 mm | 5/32" | Tunnels, Saddle Plugs |
| 4G | 5.0 mm | 3/16" | Tunnels, Saddle Plugs |
| 2G | 6.0 mm | 1/4" | Tunnels, Eyelets |
| 0G | 8.0 mm | 5/16" | Tunnels, Flared Plugs |
| 00G | 10.0 mm | 3/8" | Tunnels, Flared Plugs |
Note: The widely accepted "point of no return"—the size at which a stretched lobe is unlikely to shrink back to a standard piercing size on its own—is generally considered to be between 0G (8mm) and 00G (10mm). However, tissue elasticity varies wildly from person to person.
How to Start Stretching: Tapers vs. Tape Wrapping
Patience is the golden rule of ear stretching. Rushing the process leads to micro-tears, scar tissue buildup, and catastrophic blowouts. According to the Association of Professional Piercers (APP), you should only stretch when your current jewelry moves effortlessly and the tissue feels completely relaxed. There are two primary methods for beginners:
1. The Taper Method
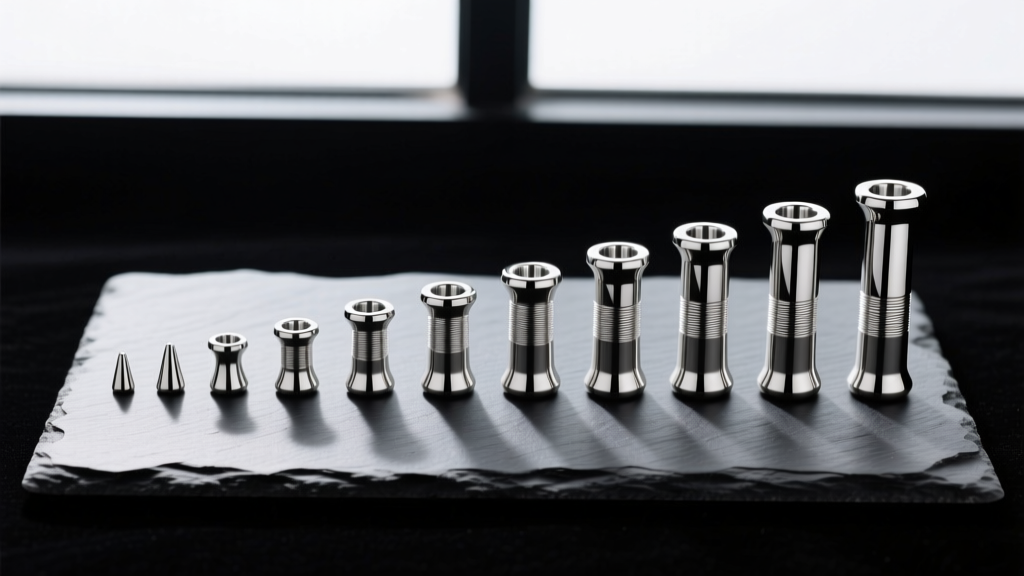
Tapers are conical pieces of metal or acrylic used to gradually push a larger size through the fistula. To use a taper, apply a water-based lubricant to the taper and your earlobe. Slowly insert the narrow end of the taper, pushing it through over several minutes. Once the taper is flush with your lobe, tape it in place and leave it for a few days before inserting the actual plug. Warning: Never wear tapers as daily jewelry. They are unevenly weighted and can cause your piercing to stretch at an angle, leading to thinning lobes.
2. The Tape Wrapping Method (Dead Stretching)
Dead stretching involves using your current jewelry and wrapping it in PTFE (Polytetrafluoroethylene) tape to incrementally increase its diameter. This method is highly favored by professionals because it puts less blunt force trauma on the fistula. Wrap 2 to 3 layers of PTFE tape around your plug, reinsert it, and wait a week or two. Once it feels loose, add another layer. This mimics the natural, gradual expansion of tissue and significantly reduces the risk of tearing.
Material Science: What to Wear in Fresh Stretches
When you stretch your ear, you are creating a fresh, open wound. The material of your gauged earrings dictates how well that wound heals. Porous materials harbor bacteria and can cause severe contact dermatitis in vulnerable tissue.
- Implant-Grade Titanium (ASTM F-138): The absolute gold standard for fresh stretches. It is completely nickel-free, highly polished, and biocompatible. Look for the ASTM F-138 standard certification when purchasing.
- Borosilicate Glass: Non-porous, incredibly smooth, and easily sterilized. Glass single-flare plugs are often preferred by piercers for initial stretches because they do not have the sharp threading or O-ring grooves that can scrape the delicate fistula.
- Surgical Steel (316L): Acceptable for fully healed stretches, but contains trace amounts of nickel. Avoid in fresh stretches if you have metal sensitivities.
Expert Warning: Never wear acrylic, silicone, or untreated organic materials (like raw wood or bone) in a freshly stretched ear. Acrylic is micro-porous and traps dead skin cells and bacteria, leading to foul odors and severe infections. Silicone is too grippy and can create a vacuum seal, trapping moisture and causing necrosis.
Common Beginner Mistakes and Troubleshooting
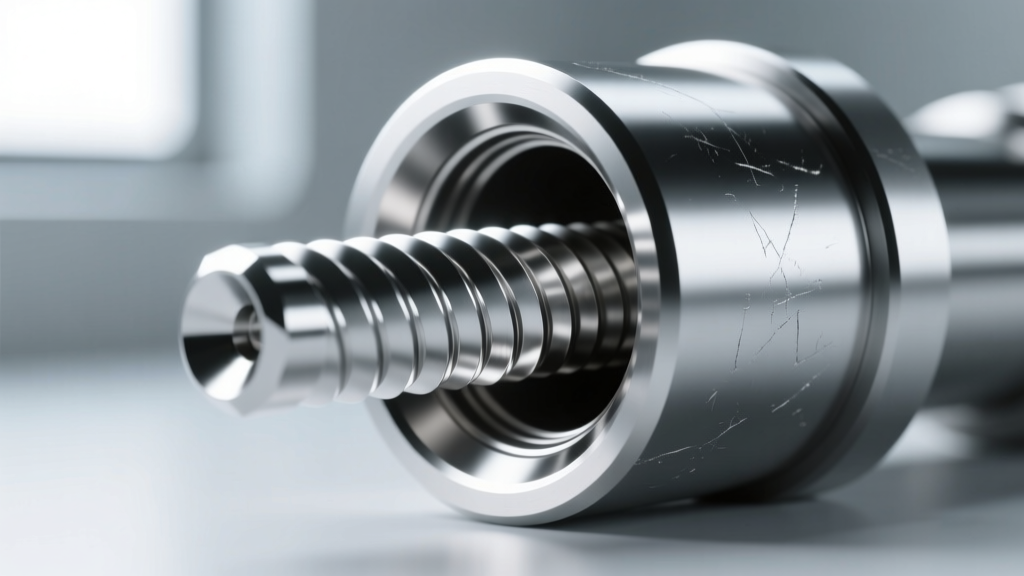
Even with the best intentions, beginners often encounter roadblocks. Understanding failure modes is crucial for maintaining healthy gauged earrings and lobes.
The Blowout
A blowout occurs when you stretch too quickly, forcing the fistula to push outward through the back of the earlobe. It looks like a red, angry ring of tissue protruding behind the jewelry. The Fix: Immediately downsize your jewelry by two or three sizes to relieve pressure. Massage the area daily with pure jojoba oil to encourage tissue remodeling. Do not attempt to stretch again until the blowout has completely flattened and healed, which can take several months.
Lobe Thinning
If you jump sizes (e.g., going from 8G straight to 2G) or wear excessively heavy stone or metal tunnels daily, the bottom of your fistula will bear all the weight. Over time, the tissue thins out, leaving a fragile strip of skin holding up your jewelry. The Fix: Wear lightweight materials like wood or hollow glass, and perform daily upward lobe massages to stimulate blood flow to the thinned area.
Sticky or Smelly Ears
This is caused by a buildup of sebum, dead skin cells, and bacteria trapped between the jewelry and the skin. The Fix: Clean your lobes daily with a mild, fragrance-free glycerin soap. Avoid harsh chemical washes or rubbing alcohol, which strip the skin of natural oils and cause micro-cracking.
Daily Maintenance and Aftercare for Gauged Ears
Healthy stretched lobes require a consistent maintenance routine. Once your gauged earrings are fully healed, the goal is to keep the tissue elastic and moisturized.
Twice a week, remove your jewelry and massage your lobes with pure, cold-pressed jojoba oil or vitamin E oil. These oils closely mimic the skin's natural sebum and help maintain the elasticity of the fistula, making future stretches easier and preventing the dreaded "dry, crusty" lobe syndrome. Additionally, practice "ear sweeps" by gently running a clean finger around the inside of the fistula to manually exfoliate dead skin cells that soap might miss.
By respecting your body's natural healing timelines and investing in high-quality, body-safe materials, you can enjoy beautiful, healthy gauged earrings for a lifetime. Always consult with a professional piercer if you experience persistent pain, excessive swelling, or signs of infection.


