Gift Guide: How to Take Off Starter Earrings With Safety Backs
Gifting an upgrade? Learn how to take off starter earrings with safety backs safely, heal the lobe, and transition to milestone jewelry gifts.

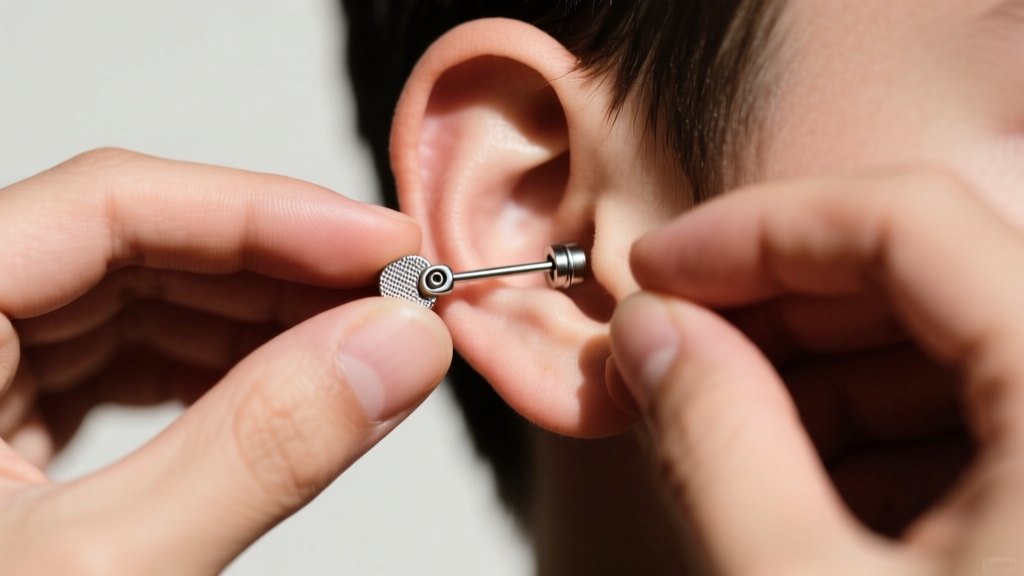
The Milestone Gift: Upgrading from Starter Studs
Gifting jewelry is a timeless tradition for marking life’s major milestones. Whether you are celebrating a child’s 10th birthday, a Sweet 16, or a high school graduation in 2026, presenting a beautifully crafted piece of fine jewelry is a memorable gesture. However, if the recipient received their first ear piercings at a mall kiosk or pediatrician's office a few months prior, they are likely still wearing the initial medical-grade starter studs. Before you can gift and insert a high-end upgrade, you must navigate a common hurdle: learning how to take off starter earrings with safety backs.
Starter earrings are intentionally designed to be difficult to remove. Piercing professionals and mall kiosks use specialized safety clasps to prevent children or newly pierced individuals from accidentally pulling the jewelry out during the initial 6-to-8-week healing window. While this security feature is excellent for healing, it becomes a major frustration when it is time to swap the starter jewelry for a gifted upgrade. This comprehensive guide will walk you through the anatomy of these stubborn backs, provide a step-by-step removal framework, and offer expert recommendations for the perfect milestone upgrade gifts.
Anatomy of a Safety Back (And Why They Stick)
To safely remove the earring, you first need to understand the mechanics of the clasp. Standard "butterfly" friction backs rely on simple tension. Safety backs, however, employ secondary locking mechanisms. According to the Association of Professional Piercers (APP), understanding jewelry mechanics is crucial for preventing tissue trauma during removal.
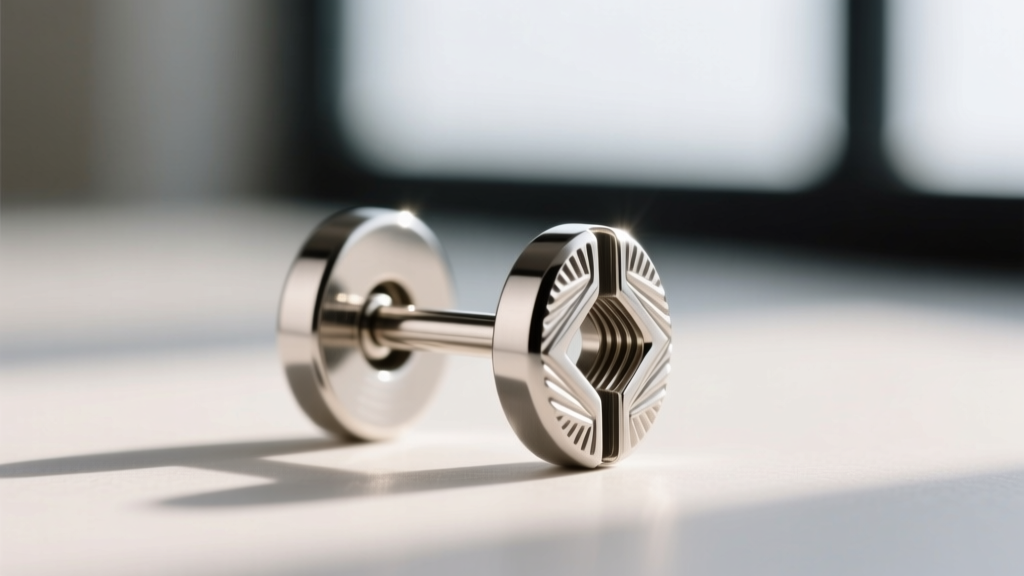
- The Grooved Post: Most safety backs feature a post with a deep, machined groove near the tip. The internal metal tab of the clutch snaps into this groove, creating a physical lock rather than just surface friction.
- The Screw-Back Clutch: Some premium starter kits use a threaded post where the safety back literally screws onto the earring, similar to a nut on a bolt.
- Gauge Thickness: Starter earrings are typically 20-gauge (0.81mm) or 18-gauge (1.02mm). However, some piercing guns use thick 14-gauge (1.6mm) posts that can cause the "cheese-cutter effect" in delicate lobes, making the skin swell slightly over the metal and trapping the safety back.
Step-by-Step: How to Take Off Starter Earrings With Safety Backs
Do not simply yank the earring. Pulling forcefully can tear the delicate fistula (the piercing channel) and cause bleeding or scarring. Follow this professional framework for painless removal.
Step 1: Preparation and Hygiene
Wash your hands thoroughly with antibacterial soap. Cleanse the front and back of the earlobe with a sterile saline wound wash. This softens any dried lymphatic fluid or sebum that may be acting as a biological glue around the post.
Step 2: The Grip Enhancement
The primary reason parents and individuals fail to remove safety backs is a lack of grip. The metal clasps are small and smooth. Put on a pair of textured nitrile medical gloves. The rubber texture provides immense friction, allowing you to grip the tiny clutch without your fingers slipping.
Step 3: The Push-Pull Technique (For Grooved Posts)
Hold the front stud completely still with your non-dominant hand. With your gloved dominant hand, grip the safety back firmly. Instead of pulling straight back, apply a slight forward pressure on the front stud while gently wiggling the back side-to-side (not twisting). This side-to-side micro-movement helps the internal metal tab disengage from the machined groove on the post.
Step 4: The Twist Technique (For Screw-Backs)
If the post is threaded, grip the front stud securely and turn the safety back counter-clockwise. If it feels stuck, do not force it; apply a warm, damp compress to the earlobe for three minutes to relax the tissue and loosen any debris in the threads, then try again.
Troubleshooting Stuck Backs: What Not to Do
When panic sets in, people often resort to dangerous methods. Below is a troubleshooting matrix for stubborn safety backs, highlighting safe solutions versus actions that cause tissue damage.
| Problem Scenario | Safe Solution (Do This) | Dangerous Method (Avoid This) |
|---|---|---|
| Fingers keep slipping off the metal clutch. | Use textured nitrile gloves or wrap a small rubber band around the clutch for grip. | Using metal pliers, which can crush the clutch and pinch the earlobe skin. |
| Skin is swollen over the post groove. | Apply a warm saline compress for 5 minutes to reduce edema, then use the push-pull method. | Pulling aggressively, which causes micro-tears in the fistula and invites infection. |
| Screw-back is cross-threaded and won't turn. | Apply a drop of sterile saline to lubricate, turn clockwise slightly to reset threads, then counter-clockwise. | Forcing the twist, which will permanently fuse the metal components together. |
Note: If the earring is deeply embedded or the earlobe is hot, red, and oozing pus, stop immediately. The American Academy of Dermatology (AAD) advises seeking professional medical care for infected piercings rather than attempting at-home jewelry removal, as removing the jewelry can trap an abscess inside the tissue.
The 2026 Upgrade Gift Guide for Freshly Freed Lobes
Once the starter earrings are successfully removed, the lobe is ready for its upgrade. As we move through 2026, the standard for gifted jewelry has shifted dramatically away from generic "surgical steel" (a marketing term with no guaranteed alloy standards) toward verified, body-safe materials. When selecting a milestone gift, prioritize the following materials and styles:
1. Implant-Grade Titanium (ASTM F-136)
For recipients with sensitive skin or nickel allergies, implant-grade titanium is the gold standard. Brands like Neometal offer threadless titanium ends that snap securely into a hollow post. Because there is no sharp pin to push through the ear, threadless jewelry is incredibly comfortable and virtually impossible to lose, making it a brilliant gift for active teens.
2. Solid 14k or 18k Gold (Nickel-Free)
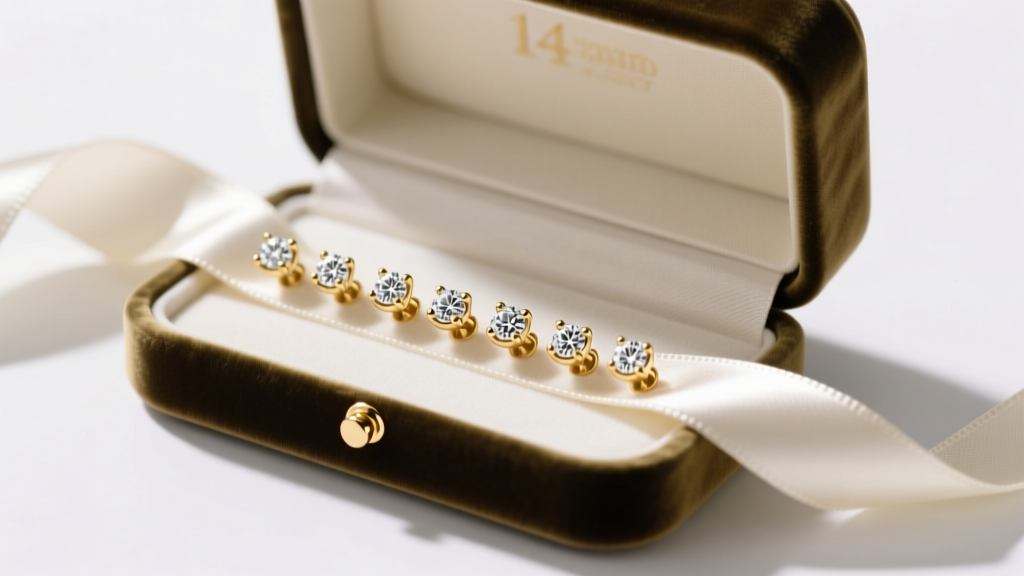
For major milestones like graduations, solid gold is the ultimate gift. Look for reputable piercing jewelers like BVLA or Maria Tash. Ensure the gold is alloyed specifically for body jewelry (nickel-free). Avoid gold-plated or gold-filled options, as the thin layer of gold will eventually wear off, exposing the reactive base metal underneath to the piercing channel.
3. The Huggie Hoop Transition
If the recipient prefers hoops over studs, gift a pair of 14k gold huggies with a secure clicker closure. Ensure the inner diameter is at least 10mm to 12mm to accommodate any residual swelling or curvature in the healing fistula. Avoid continuous captive bead rings for newly upgraded lobes, as they are difficult to insert without professional ring-opening pliers.
Aftercare for the Transition Period
Removing a starter earring that has been worn for months often leaves a small, temporary "divot" or indentation in the earlobe where the thick post and tight safety back compressed the tissue. This is normal. To ensure the lobe is perfectly prepped for the new gifted jewelry:
- Massage the Lobe: Gently massage the earlobe with a drop of pure jojoba oil or vitamin E oil to encourage blood flow and tissue elasticity.
- Downsize the Gauge: If the starter earring was a thick 16-gauge or 14-gauge, consider gifting an 18-gauge or 16-gauge upgrade. The slightly thinner post will glide through the channel without causing friction or irritation.
- Maintain Hygiene: Continue spraying the area with sterile saline once a day for the first week after inserting the new gift jewelry, as the fistula will need a few days to adjust to the new metal and weight.
By understanding the mechanics of safety backs and selecting high-quality, body-safe upgrade pieces, you transform a potentially frustrating jewelry swap into a seamless, joyful milestone experience.


