Master Your Hoop Earrings Style: A Step-by-Step Stacking Guide
Master your hoop earrings style with our step-by-step stacking guide. Learn gauge sizing, clasp mechanics, and face-shape matching.

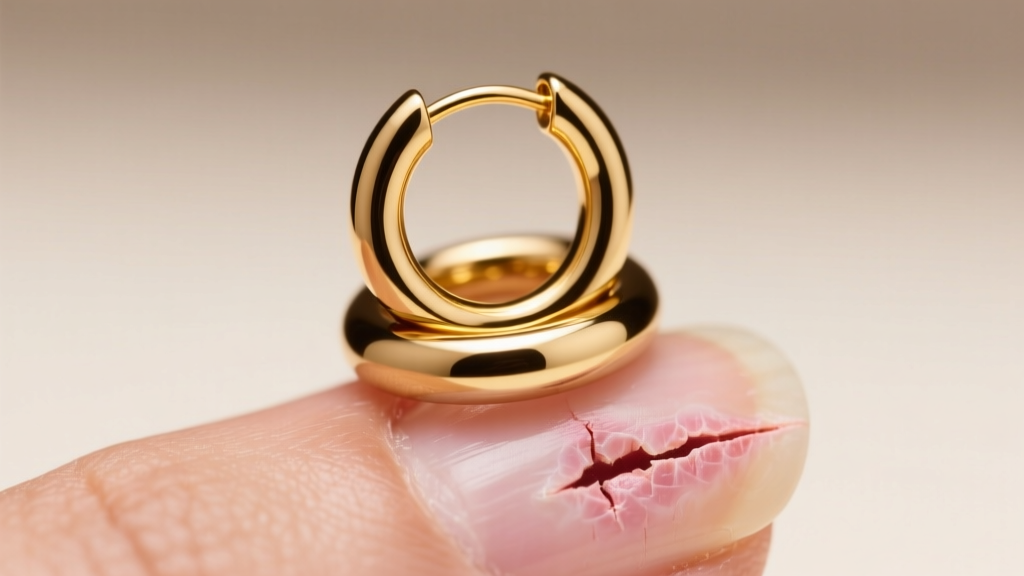
Hoops are the undisputed workhorses of any jewelry collection, yet mastering a cohesive hoop earrings style requires more than just slipping a circle of metal through a piercing. Whether you are building a curated ear stack, selecting the perfect everyday lobe hoop, or navigating cartilage anatomy, the difference between a chaotic look and a masterful one lies in precise proportions, gauge compatibility, and clasp mechanics.
This step-by-step guide will walk you through the technical and aesthetic decisions required to perfect your hoop earrings style, moving beyond generic advice into the specific geometry and metallurgy that professional piercers and stylists use.
The Anatomy of a Perfect Hoop Earrings Style
Before building a stack, you must understand the relationship between hoop diameter, wire thickness (gauge), and ear placement. A hoop that is too large for a forward helix will catch on hair and bend, while a hoop that is too thick for a standard lobe piercing can cause migration or tearing.
| Diameter (mm) | Best Placement | Standard Gauge | Recommended Clasp |
|---|---|---|---|
| 8mm - 12mm | Tragus, Micro-Helix, Nostril | 18g or 16g | Clicker or Segment Ring |
| 13mm - 18mm | Upper Lobe, Lower Helix, Conch | 16g or 14g | Hinged Huggie or Clicker |
| 20mm - 30mm | Standard Lobe (1st Hole) | 20g, 18g, or 16g | Latch-back or Endless |
| 35mm - 50mm+ | Standard Lobe (Statement) | 18g or 16g | Saddle-back or Thick Latch |
Step 1: Map Your Ear Anatomy and Piercing Gauges
The foundation of any successful hoop earrings style is respecting your piercing's original gauge. Standard earlobe piercings done with a gun are typically 20g (0.81mm) or 18g (1.02mm). Cartilage piercings done by a professional with a needle are almost universally 16g (1.29mm) or 14g (1.63mm).
Attempting to force a 20g wire into a 16g cartilage piercing will result in the wire sliding around, creating a cheese-cutter effect that can slowly slice through the tissue. Conversely, if your cartilage has shrunk to fit a 16g hoop, wearing a 14g will cause micro-tears. Always verify your gauge with a digital caliper if you are unsure, and prioritize biocompatible metals for cartilage. The Association of Professional Piercers strongly recommends implant-grade titanium (ASTM F136) for any cartilage hoops, as it contains zero nickel and will not react to the body's natural acidity.
Step 2: Select the Right Clasp Mechanism
The clasp dictates both the security and the silhouette of your hoop. Choosing the wrong mechanism is the most common failure point in styling.
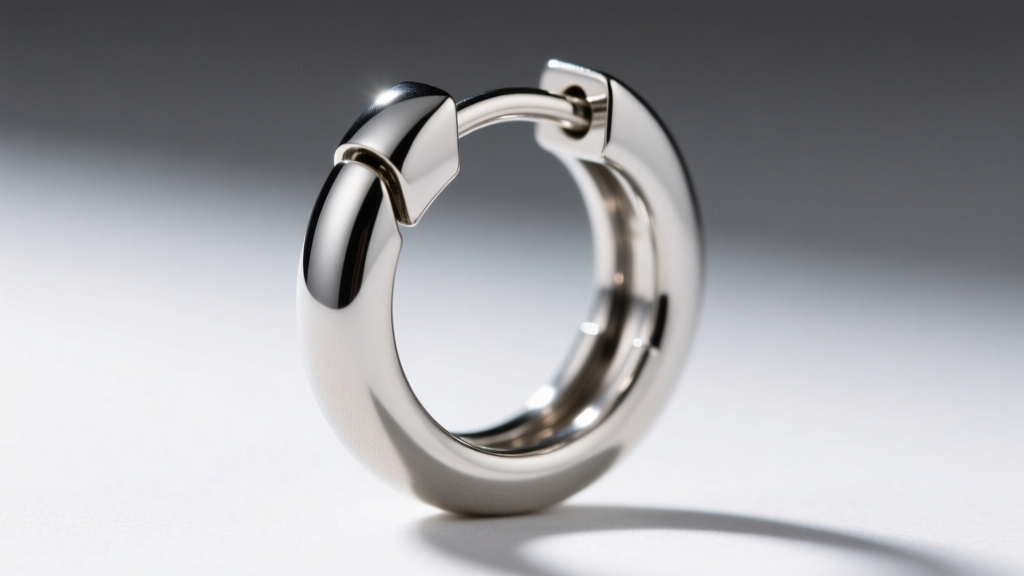
- Clicker (Hinged): Features a post that snaps into a locking groove. Best for: Cartilage, conch, and tragus. Pros: Extremely secure, flush closure. Cons: If the post bends, the clicker will pop open unexpectedly.
- Endless (Continuous): A single wire where one slightly tapered end slides into the hollow opposite end. Best for: Seamless lobe looks. Pros: No visible hinge or clasp line. Cons: Difficult to insert; prone to warping if pulled apart incorrectly.
- Latch-Back (Saddle): The classic hinged hoop with a grooved post that clicks into a saddle. Best for: Medium to large statement lobe hoops. Pros: Easy to put on. Cons: The post can catch on pillows during sleep, bending the wire and ruining the closure.
Step 3: Build a 3-Piece Hoop Stack (Step-by-Step)
To achieve a balanced hoop earrings style across multiple piercings, use the "Anchor, Bridge, Accent" framework. This prevents the ear from looking cluttered while maintaining a cohesive metallic theme.
- The Anchor (Lobe 1): Choose a medium hoop (22mm - 28mm) with a substantial wire thickness (16g or 14g). This grounds the stack. A classic 14k solid gold latch-back works perfectly here.
- The Bridge (Lobe 2 or Flat/Helix): Select a huggie (13mm - 16mm) that sits flush against the earlobe or hugs the cartilage tightly. This provides a visual stepping stone between the large anchor and the smaller accents. Opt for a textured or diamond-encrusted clicker to add visual interest without increasing the physical footprint.
- The Accent (Tragus or Upper Helix): Use a micro-hoop (9mm - 11mm). Keep the design minimalist—a plain, high-polish titanium or gold clicker. The goal is to draw the eye upward without competing with the Bridge piece.
Pro Tip: When stacking hoops, alternate the orientation. If your lobe hoop hangs straight down, angle your helix clicker slightly forward. This creates dynamic movement rather than a rigid, parallel lineup.
Step 4: Adapt Your Hoop Earrings Style to Face Shape
Hoops frame the jawline and cheekbones. The geometry of the hoop should contrast with, rather than mimic, your natural bone structure.

- Round Faces: Avoid perfectly circular, wide hoops which emphasize facial width. Instead, opt for elongated oval hoops, rectangular "squircle" hoops, or teardrop-shaped dangles that create a vertical line, visually elongating the face.
- Square Faces: Angular jawlines benefit from softening elements. Medium to large circular hoops (35mm+) with rounded, polished edges soften the lower third of the face. Avoid boxy or geometric hoop shapes.
- Heart Faces: With a wider forehead and narrow chin, choose hoops that are slightly wider at the bottom. Teardrop hoops or bottom-heavy oval hoops help balance the chin area.
- Oval Faces: The most versatile shape. You can pull off chunky, architectural statement hoops as well as micro-huggies. Just ensure the wire thickness is proportional to your earlobe size to avoid a heavy, dragging look.
Material Grades and 2026 Pricing Realities
Understanding metallurgy is crucial for maintaining your hoop earrings style over time. According to the Gemological Institute of America (GIA), the karat weight and alloy mix dictate both the color and the structural integrity of gold jewelry.
- Gold-Filled (14/20): Contains 5% solid gold mechanically bonded to a brass core. Excellent for budget-conscious buyers ($30-$50 per pair), but the brass will eventually expose at the high-friction clasp points.
- Vermeil: Sterling silver base plated with at least 2.5 microns of gold. Better for sensitive skin than gold-filled, but the plating will wear off the post over 1-2 years of daily use ($60-$90).
- Solid 14k Gold: 58.5% pure gold alloyed with copper, silver, or zinc for strength. The absolute sweet spot for everyday hoops. It will not tarnish, flake, or cause contact dermatitis. Expect to pay $140-$250 for a quality pair of seamless 20mm hoops in the current market.
Troubleshooting Common Hoop Failures
Even high-end hoops experience mechanical wear. Here is how to fix the two most common issues without ruining your jewelry:
Fixing a Popping Clicker
If your cartilage clicker keeps snapping open, the male post (the pin) has lost its upward tension. Do not use standard metal pliers, as they will crush the wire and scratch the gold. Instead, use nylon-jaw pliers (available at any jewelry supply store or online for under $15). Grip the pin gently and bend it upward by exactly 1 to 2 degrees. Test the snap. If it is too tight, you risk bending the female locking groove, which is unfixable.
Realigning a Warped Endless Hoop
Continuous hoops often develop a gap where the post no longer slides into the tube. This happens when users pull the ends laterally (side-to-side) to open them. To fix a warped endless hoop, grip both sides of the break and gently twist them in opposite directions (like wringing out a towel) to realign the wire's plane. Always open and close endless hoops by twisting, never by pulling apart.


