Hooped Pearl Earrings DIY & Buyer's Guide 2026
Master the hooped pearl earrings DIY process or shop smart. Our 2026 guide covers pearl grades, wire gauges, and metal purity for custom jewelry.
The Anatomy of Hooped Pearl Earrings
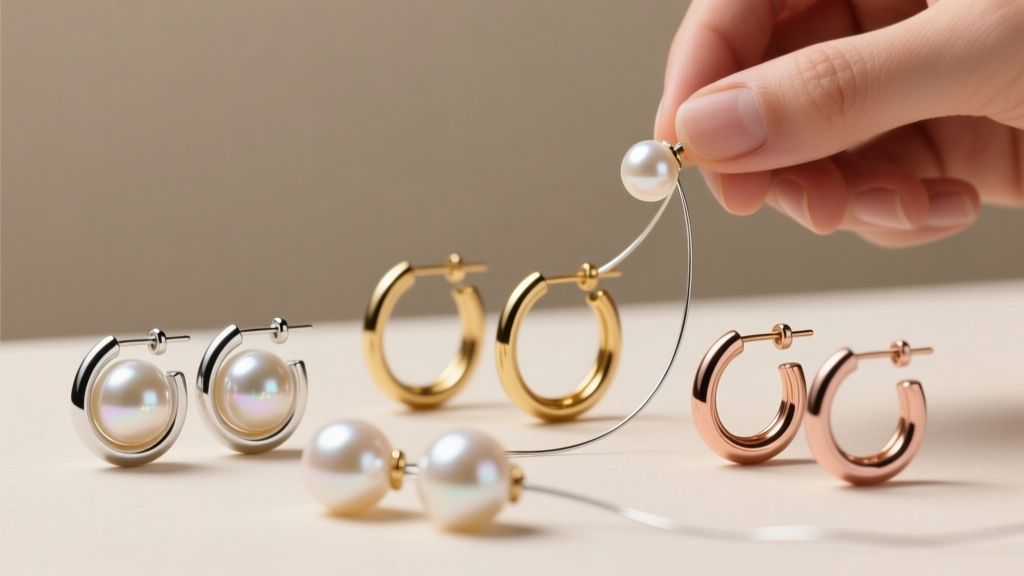
Pearl hoops represent the perfect intersection of classic elegance and modern versatility. Whether you are browsing high-end jewelry counters or diving into a hooped pearl earrings diy project, understanding the structural anatomy of these pieces is critical. A standard hooped pearl earring consists of three main components: the hoop base (which dictates the gauge and clasp mechanism), the pearl (which varies by nacre thickness, luster, and drill type), and the connection hardware (which secures the pearl to the hoop).
In 2026, the trend has shifted heavily toward modular jewelry—pieces that allow the wearer to swap out charms and pearls based on the occasion. This makes understanding the baseline specifications of your hoops more important than ever. If you are buying pre-made, you need to know what metal stamps and pearl grades to demand. If you are taking the DIY route, you need to understand wire hardness, drill hole diameters, and structural tolerances.
Buying Guide: What to Look For in Pre-Made Pairs
If you are purchasing finished hooped pearl earrings, the retail market is flooded with misleading terminology. To ensure you are getting genuine value, you must scrutinize both the metal and the pearl.
Metal Purity and Hoop Gauges
For everyday wear, the hoop should be crafted from solid 14k gold, 18k gold, or platinum. Gold vermeil (a thick layer of gold over sterling silver) is acceptable for occasional wear, but the friction of sliding pearls on and off the hoop will eventually wear down the plating. Pay close attention to the wire gauge of the hoop itself. An 18-gauge (1.02mm) hoop offers the best balance of durability and comfort for standard earlobe piercings. Anything thinner than 20-gauge (0.81mm) risks bending under the weight of a heavy South Sea or Edison pearl.
Pearl Grading and Nacre Thickness
According to the Gemological Institute of America (GIA), pearl value is determined by luster, surface quality, shape, and nacre thickness. When buying Akoya pearl hoops, insist on a nacre thickness of at least 0.4mm. Anything less is considered "bead-nucleated with thin nacre" and will eventually peel or chip against the metal hoop. For Freshwater pearls, which are typically solid nacre, focus on the luster grade (look for AAA or Gem-grade) rather than nacre thickness.
| Pearl Type | Average Size for Hoops | Luster Profile | Price Range (Per Pair) |
|---|---|---|---|
| Freshwater (Round) | 6mm - 8mm | Soft to High | $40 - $120 |
| Akoya (Hanadama) | 7mm - 9mm | Mirror-like | $250 - $600 |
| Tahitian (Drop) | 9mm - 11mm | Metallic/Peacock | $400 - $900+ |
| Edison (Baroque) | 10mm - 13mm | High/Orient | $80 - $200 |
The DIY Route: Sourcing Components for Custom Hoops
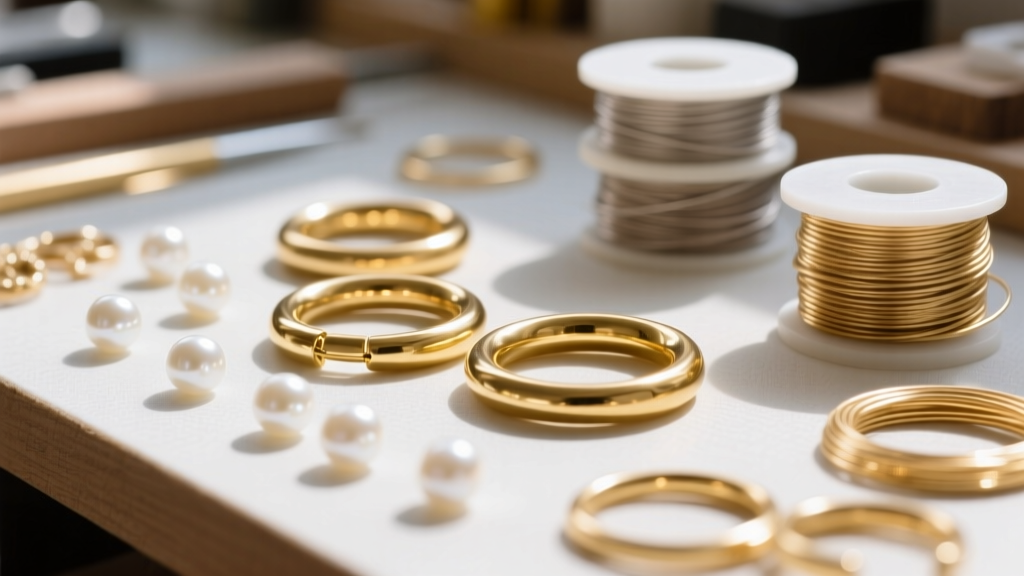
Creating your own custom jewelry is highly rewarding, but the search for hooped pearl earrings diy tutorials often leaves out the critical metallurgical details. You cannot simply buy any craft store wire and expect it to hold a heavy pearl securely. Here is exactly what you need to source to build professional-grade pearl hoops.
1. Selecting the Right Hoop Base
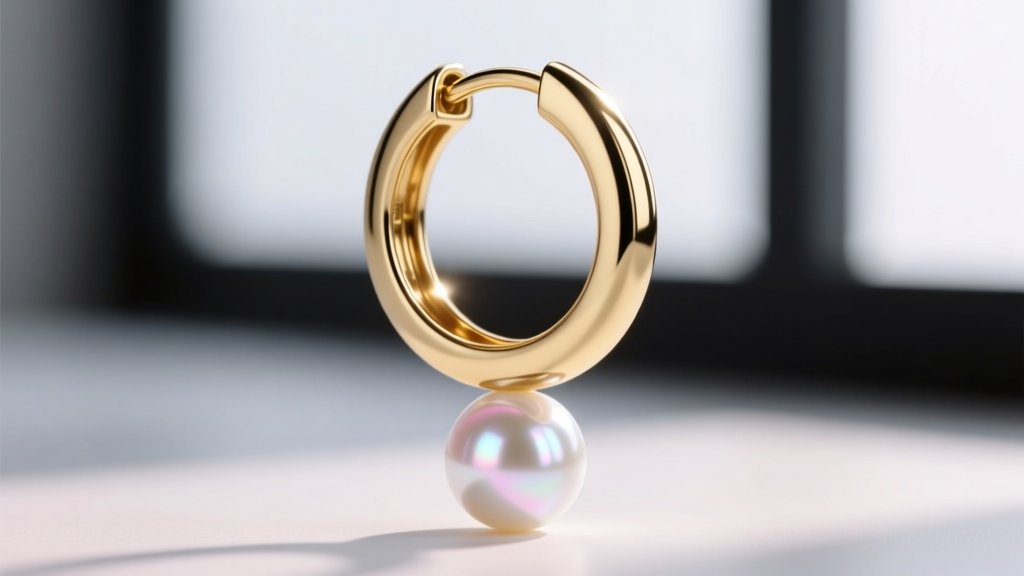
For DIY projects, latch-back hoops or continuous (endless) hoops are your best options. Latch-backs feature a hinged post that clicks into a catch, providing a secure gap where you can slide on a pearl charm before closing. Continuous hoops rely on friction and tension; they are excellent for permanent charm attachments but require precise bending to close.
2. Understanding Pearl Drill Types
This is where most DIY beginners fail. Pearls come in two drill styles:
- Full-Drilled: The hole goes completely through the pearl. These are meant for stringing or passing a headpin through. If you slide a full-drilled pearl directly onto a hoop, it will spin wildly and scratch against the metal.
- Half-Drilled: The hole only goes halfway into the pearl. These are designed to be mounted on a peg using jeweler's epoxy. To use these on a hoop, you must first wire-wrap a custom peg or use a specialized pearl enhancer bail.
3. Wire Selection for Wrapping
If you are wrapping a full-drilled pearl onto a hoop using a headpin or custom wire, you must choose the correct wire hardness. According to Rio Grande's wire guidelines, half-hard wire is the industry standard for wrapping and making loops. Dead-soft wire will bend out of shape under the weight of the pearl, while full-hard wire is too brittle and will snap when bent. For a luxurious finish that won't flake like plated wire, use 14/20 Gold-Filled wire in 22-gauge (0.64mm). This thickness is robust enough to hold a pearl but thin enough to wrap neatly around an 18-gauge hoop base.
"The biggest mistake DIY jewelers make is pairing a heavy, large-drill-hole bead with a thin hoop, causing the pearl to spin wildly and scratch the nacre against the metal. Always use a silicone bead stopper or a tight wire-wrap to lock the pearl in place."
Step-by-Step: Assembling the DIY Pearl Hoop
Once you have your 18-gauge solid gold latch-back hoops, your full-drilled AAA Freshwater pearls, and your 22-gauge half-hard gold-filled wire, follow this structural framework:
- Create the Bail: Cut a 2-inch piece of 22-gauge wire. Thread it through the full-drilled pearl.
- Secure the Base: Using chain-nose pliers, bend the wire flush against the bottom of the pearl to create a tight 90-degree angle. This prevents the pearl from sliding off the bottom.
- Form the Loop: Use round-nose pliers to create a wrapped loop at the top of the pearl. Ensure the loop's inner diameter is slightly larger than the hoop's wire thickness (approx. 1.2mm).
- Attach to Hoop: Open the latch-back hoop, slide the wrapped loop onto the hoop wire, and click the latch securely shut.
- Add Friction Guards: For added security and to protect the pearl's nacre, slide a tiny 1mm silicone O-ring or a decorative metal bead cap between the pearl and the hoop wire.
Cost Breakdown: Custom DIY vs. Fine Jewelry Retail
Is the DIY route actually more cost-effective? When comparing fine jewelry retail markups against raw material sourcing, the savings are substantial, provided you are buying high-quality components.
| Component / Service | Retail Pre-Made Cost | DIY Sourcing Cost |
|---|---|---|
| 14k Solid Gold Latch-Back Hoops (Pair) | $180 - $250 | $65 - $90 |
| AAA Round Freshwater Pearls (8mm Pair) | $120 - $180 | $25 - $40 |
| Assembly & Labor Markup | $150 - $300 | $0 (Your Time) |
| Total Estimated Cost | $450 - $730 | $90 - $130 |
Troubleshooting Common DIY Failures
Even with the right materials, structural failures can occur. Here is how to troubleshoot the most common issues encountered when making pearl hoops:
- The Pearl Spins Upside Down: This happens when the center of gravity is off. The drill hole through the pearl must be perfectly centered. If you are using a slightly off-center baroque pearl, use a small drop of G-S Hypo Cement inside the drill hole where the wire passes through to lock it in the correct orientation.
- The Hoop Snaps at the Clasp: If you are using continuous hoops, repeatedly opening and closing them by bending the wire back and forth will cause metal fatigue and eventual snapping. Always open continuous hoops by twisting the ends laterally (side-to-side), never by pulling them apart vertically.
- Nacre Chipping: If your pearl is clicking against a metal jump ring or the hoop base, you are missing a buffer. Always use a soft buffer like a 14k gold bead cap or a micro-silicone spacer between the hard metal and the organic pearl surface.
Care and Maintenance for Pearl Hoops
Pearls are organic gemstones with a Mohs hardness of just 2.5 to 3.0, making them incredibly susceptible to scratching and chemical damage. Whether you bought your hoops or built them, strict maintenance is required.
Never use ultrasonic cleaners or steam cleaners on pearl jewelry; the high-frequency vibrations will shatter the nacre, and the heat will melt the internal epoxy if half-drilled pearls are used. Instead, wipe the pearls down with a damp, lint-free microfiber cloth after every wear to remove skin oils and acidic sweat, which can dull the luster over time. Store your hooped pearl earrings in a soft silk pouch, completely separate from diamond or sapphire jewelry, which will easily gouge the pearl's surface upon contact.
By mastering the material specifications and structural nuances outlined in this guide, you can confidently navigate the market for pre-made pairs or successfully execute your own custom jewelry projects, ensuring your pearls remain secure, lustrous, and perfectly balanced for years to come.


