Mastering Earring Closures: How to Choose, Secure, and Repair
Learn how to choose, upgrade, and repair earring closures. Step-by-step guide on gauge sizes, internal threading, and fixing hinged clickers.

The Hidden Mechanics of Earring Security
Losing a favorite piece of jewelry is a frustrating experience, but it is rarely an accident. In the vast majority of cases, a lost earring is the direct result of a mechanical failure in the earring closures. Whether you are wearing delicate diamond studs, heavy statement hoops, or cartilage huggies, the backing mechanism is the unsung hero of your jewelry collection. Yet, most consumers never consider the engineering behind these tiny components until a post slips out or a hinge snaps.
As a jewelry specialist, I see countless clients dealing with bent posts, stripped threads, and weakened springs. This comprehensive, step-by-step guide will teach you how to evaluate, upgrade, and repair your earring closures. By understanding gauge tolerances, threading types, and tension maintenance, you can secure your investments and wear your jewelry with absolute confidence.
Step 1: Match the Closure to Your Piercing Gauge
The most common cause of closure failure and subsequent tissue irritation is a mismatch between the earring post gauge and the actual piercing channel. Standard friction backs (butterfly clutches) are typically manufactured in 20-gauge (0.81mm) or 18-gauge (1.02mm) thicknesses. However, many cartilage piercings and older lobe piercings naturally stretch or are initially pierced at 16-gauge (1.29mm) or 14-gauge (1.63mm).
Avoiding the Cheese-Cutter Effect
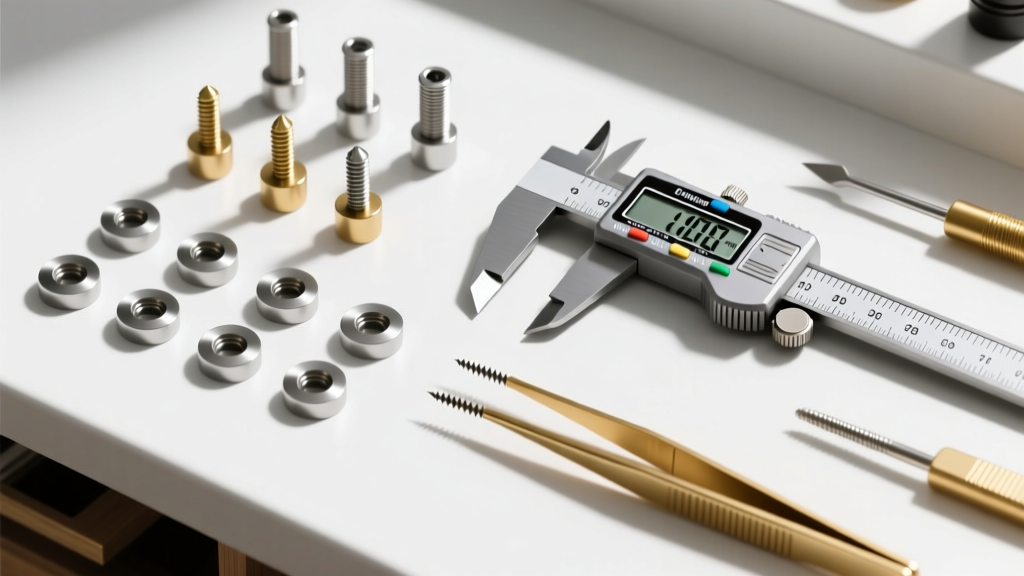
When you force a thin 20-gauge post with a standard friction back into a 14-gauge hole, the earring lacks structural support. The heavy backing pulls the thin wire downward, creating a 'cheese-cutter effect' that slowly migrates the piercing downward through the tissue. According to the Association of Professional Piercers (APP), maintaining proper gauge alignment is critical for tissue health. Always measure your existing jewelry with a digital caliper before purchasing replacement closures or upgrading to screw-backs.
Step 2: Understand Threading (Internal vs. External)
If you are upgrading from push-backs to screw-back earring closures, you must understand the difference between internal and external threading. Externally threaded posts have the screw pattern carved into the post itself. When pushed through a fresh or tight piercing, these sharp threads act like a file, tearing the delicate fistula (the tunnel of healed skin).
Internally threaded earring closures feature a smooth post with a threaded hole at the end; the screw is located on the backing itself. This allows the smooth metal to glide through the piercing without causing micro-tears. For any cartilage piercing, tragus, or helix, internally threaded closures or threadless push-pin systems are the only acceptable standards for long-term wear.
Step 3: Evaluate Your Closure Options
Not all earring closures are created equal. Your lifestyle, activity level, and the weight of the earring should dictate your choice of backing. Below is a structured comparison to help you make an informed decision.
| Closure Type | Security Rating | Best For | Avg. Price Range | Common Failure Mode |
|---|---|---|---|---|
| Friction (Butterfly) | Low | Lightweight studs, occasional wear | $5 - $15 | Slipping off during sleep or hair brushing |
| Screw Back | Medium-High | Valuable diamond studs, active lifestyles | $25 - $60 | Cross-threading or stripping the metal |
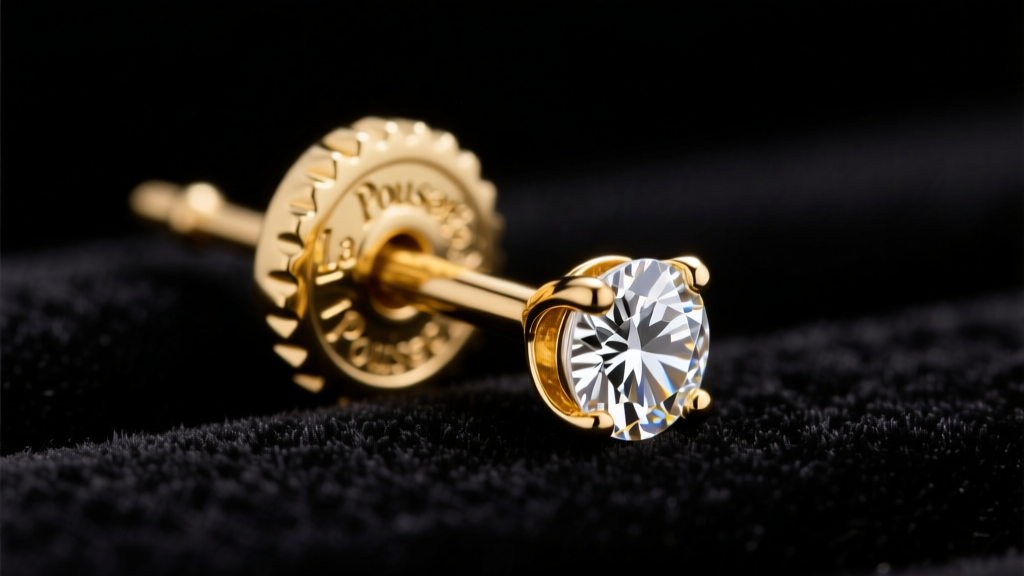
| La Pousette (Locking) | Very High | Heavy drops, high-value heirlooms | $80 - $200+ | Spring mechanism clogging with debris |
| Hinged Clicker | High | Hoops, huggies, cartilage rings | $40 - $150 | Hinge pin bending or debris blocking the snap |
| Leverback | Medium | Dangle earrings, drop styles | $15 - $45 | Loss of spring tension over time |
Step 4: Step-by-Step Troubleshooting for Common Failures
Even high-quality earring closures require occasional maintenance. Here is how to troubleshoot and repair the most frequent mechanical issues without damaging your jewelry.
Reviving a Loose Leverback
Leverbacks rely on a tiny piece of shaped wire acting as a spring. Over time, repeatedly opening the lever causes the metal to fatigue and lose its tension, leaving the earring prone to falling out. To fix this, you will need a pair of nylon-jaw pliers (never use standard steel pliers, as they will mar the gold or silver). Gently grip the curved 'spring' portion of the leverback wire and apply a minuscule amount of inward pressure. Test the snap against the catch; repeat until the satisfying 'click' returns.
Unclogging a Hinged Clicker
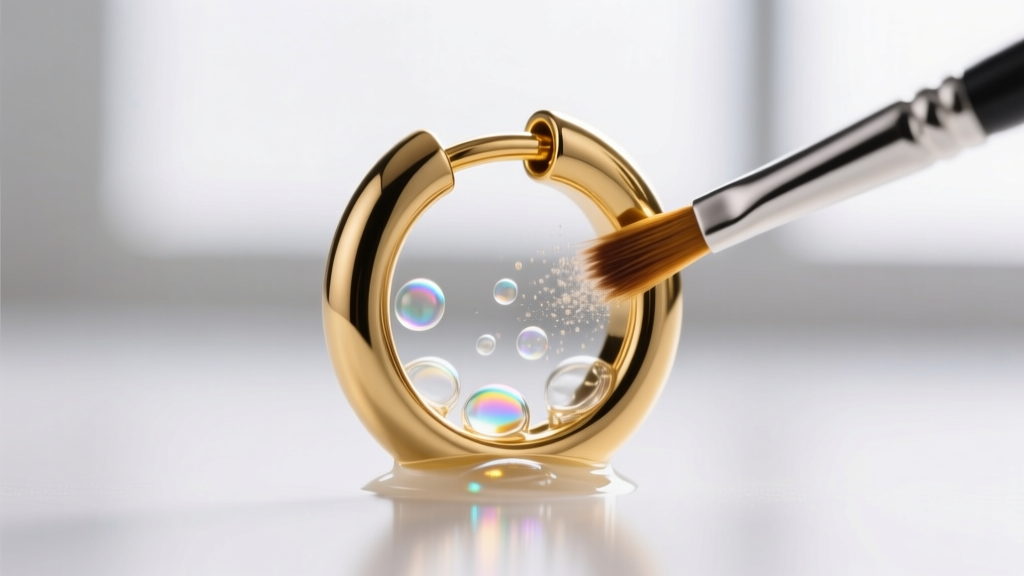
Hinged clickers are the gold standard for cartilage hoops, but they are highly susceptible to failing when soap scum, dead skin cells, or lotion build up inside the hinge joint. If your clicker no longer snaps shut securely, do not bend the post to force it. Instead, soak the earring in a small ultrasonic jewelry cleaner filled with warm water and a drop of mild dish soap for three minutes. If you lack an ultrasonic machine, submerge it in 90% isopropyl alcohol and gently agitate the hinge with a soft micro-brush. Dry completely before attempting to close.
Expert Insight: Never use lotion or oils to 'lubricate' a stiff earring closure. Petroleum-based products attract dust and harden inside the microscopic tolerances of screw threads and La Pousette springs, permanently seizing the mechanism.
Step 5: Upgrading to High-Security Locking Systems
For diamond studs or gemstones valued over $1,000, standard screw backs are often insufficient due to the risk of user error (failing to tighten them fully after cleaning). Upgrading to a La Pousette or 'butterfly lock' clutch is a vital step in jewelry preservation. These closures feature a dual-spring mechanism that slides onto a specially notched post and locks into place with an audible click. To remove them, you must simultaneously pinch two tiny metal tabs on the side of the clutch.
When having a jeweler swap your standard posts for notched locking posts, ensure they are using laser welding rather than traditional soldering, especially if your earrings feature heat-sensitive stones like emeralds, opals, or tension-set diamonds. Laser welding applies localized heat, preventing thermal shock to the gemstones while ensuring the new closure mechanism is perfectly aligned.
Step 6: Material Degradation and Tarnish Prevention
The longevity of your earring closures is heavily dependent on the metal alloy used. Pure 24k gold is too soft to hold the tension required for a screw back or a spring mechanism. Therefore, closures are typically cast in 14k or 18k gold, or platinum. However, the copper and zinc alloys mixed into 14k gold can oxidize when exposed to the sulfur in sweat and the chlorine in tap water, leading to tarnish that increases friction on screw threads.
According to the Gemological Institute of America (GIA), proper storage and cleaning are essential to maintaining the structural integrity of gold alloys. To prevent oxidation from degrading your earring closures, always remove your earrings before swimming or showering. Store them in an anti-tarnish cloth pouch or a sealed box with silica gel packets to control ambient humidity. If your screw backs feel 'gritty' when turning, they likely have microscopic tarnish buildup; a quick polish with a jeweler's cloth will restore smooth operation.
Final Thoughts on Earring Security
Treating your earring closures as an afterthought is a costly mistake. By taking the time to verify your gauge sizes, insisting on internal threading for cartilage, and performing basic tension maintenance on your hinges and leverbacks, you dramatically reduce the risk of losing your cherished pieces. Whether you are securing a simple pair of titanium huggies or a pair of heirloom diamond drops, mastering these small mechanical details ensures your jewelry stays exactly where it belongs: on your ears.


