How to Remove a Stud Earring: Expert Guide to Stuck Backs & Swelling
Learn how to remove a stud earring safely with our expert technical guide. Discover solutions for stuck butterfly backs, screw-backs, and embedded posts.

The Anatomy of a Stuck Stud Earring
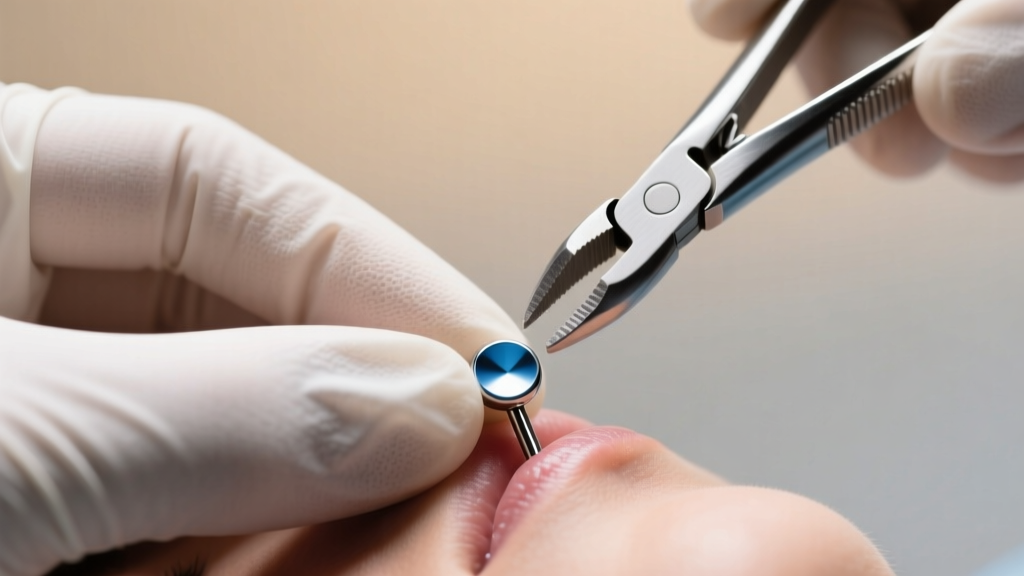
Understanding how to remove a stud earring safely requires a foundational knowledge of body jewelry mechanics and ear anatomy. When a stud becomes stuck, the issue almost always stems from one of three variables: mechanical failure of the backing mechanism, accumulation of keratin and sebum acting as an adhesive, or tissue swelling that physically engulfs the jewelry. In 2026, the shift toward high-quality, internally threaded, and threadless jewelry has reduced these incidents, but commercial-grade friction backs and low-quality alloys still cause daily complications in piercing studios and emergency rooms alike.
Before attempting removal, identify the post gauge. Standard commercial lobe studs are typically 20-gauge (0.81mm) or 18-gauge (1.02mm). Professional cartilage studs, such as labrets or tragus studs, are usually 16-gauge (1.29mm) or 14-gauge (1.63mm). Applying excessive force to a 20-gauge post will bend the metal, potentially trapping the backing permanently or tearing the fistula (the piercing channel). Always approach removal with clean hands, adequate lighting, and the correct mechanical leverage.
Troubleshooting Specific Backing Mechanisms
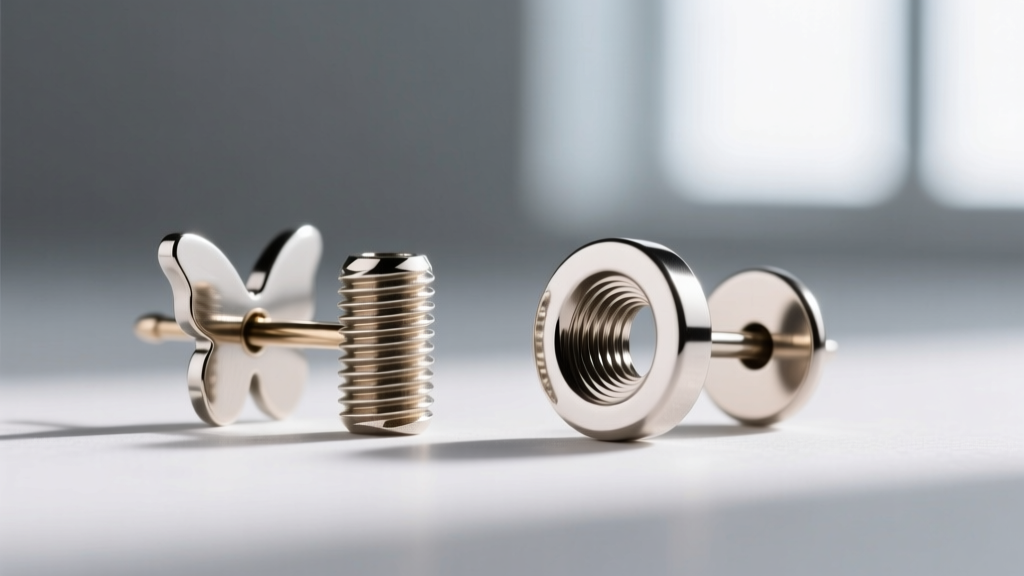
The method for removal depends entirely on the locking mechanism securing the post. Misidentifying the backing type is the most common reason for tissue trauma during DIY removal.
The Butterfly Friction Back (Push Back)
Butterfly backs rely on tension and friction. Over time, dead skin cells, dried saline, and sebum can calcify between the metal scroll and the post, essentially gluing the backing in place. To remove a stuck butterfly back, do not simply pull. Instead, apply a warm saline compress for five minutes to soften the biological debris. Next, don a pair of nitrile medical gloves—the added friction is often enough to grip the smooth metal. Pinch the front of the stud firmly between your thumb and index finger to stabilize the post, and use your other hand to gently rock the butterfly back side-to-side while pulling outward. If the post begins to bend, stop immediately to avoid snapping the metal inside the ear.
Screw-Back and Flat-Back (Labret) Studs
Internally threaded flat-back studs (where the screw mechanism is inside the decorative front or the backing) are the gold standard recommended by the Association of Professional Piercers (APP). To remove them, grip the flat disc at the back of the ear and twist the front decorative piece counter-clockwise. If it is stuck, cross-threading or biological buildup is usually the culprit. Apply a single drop of sterile jojoba oil to the front seam, wait three minutes, and try again. Never use pliers on the decorative gem setting, as this will crush the prongs and ruin the stone.
Threadless (Push-Pin) Studs
Threadless jewelry uses tension rather than screws. The pin on the decorative front is slightly bent before insertion to create a spring-like lock inside the hollow post. To remove a threadless stud, you must pull the front and back apart while applying a slight twisting motion. Gripping the front gem and the back disc with two pairs of rubber-tipped pliers or hemostats provides the necessary leverage to break the tension seal without damaging the fistula.
Mechanical Failure Modes and Removal Tools
| Backing Mechanism | Standard Gauge Range | Recommended Removal Tool | Common Failure Mode |
|---|---|---|---|
| Butterfly Friction | 20G - 18G | Nitrile gloves, warm saline | Sebum calcification, post bending |
| External Screw | 20G - 16G | Rubber grip pads | Thread stripping, cross-threading |
| Internal Screw (Flat-back) | 16G - 14G | Hemostats (locking forceps) | Overtightening, biological glue |
| Threadless (Push-Pin) | 18G - 12G | Two pairs of hemostats | Pin bent too deeply, tension lock |
Managing Embedded Earrings (Medical & Technical Approach)
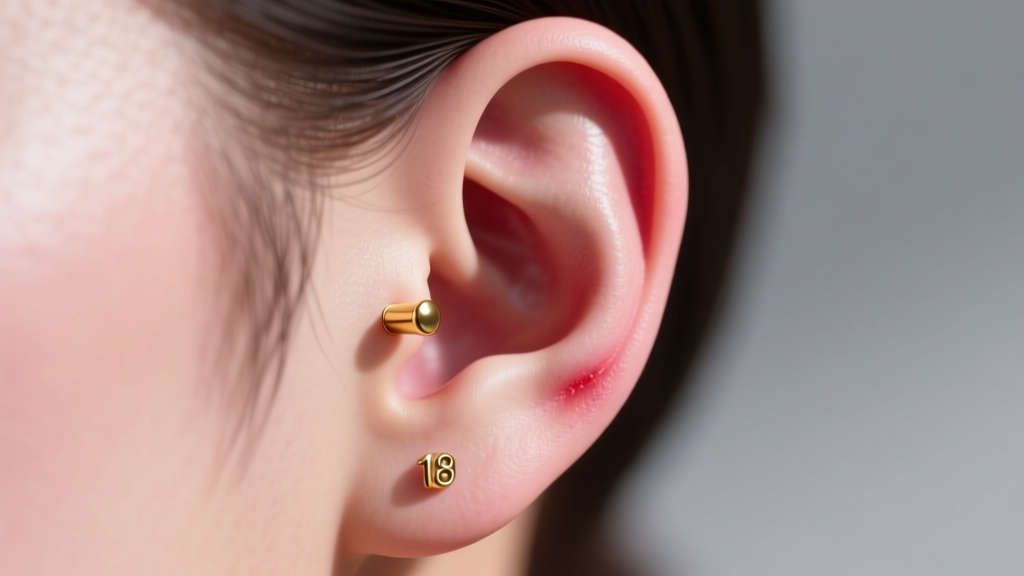
An embedded earring occurs when the tissue swells over the jewelry, completely hiding the front or the back. This is frequently caused by allergic contact dermatitis. According to the Mayo Clinic, nickel is a primary trigger for contact dermatitis. Many cheap 'surgical steel' earrings contain 8-10% nickel, which leaches into the tissue, triggering a massive histamine and lymphatic response that swallows the jewelry. If you are dealing with embedded earrings, upgrading to ASTM F-136 implant-grade titanium in the future is non-negotiable.
Step-by-Step Embedded Removal
- Assess the Depth: If the jewelry is completely buried under the skin and you cannot feel the hard edge of the metal through the tissue, do not attempt to cut it out yourself. Seek medical attention to avoid severe scarring or nerve damage.
- Locate the Backing: If the front is embedded but you can feel the flat-back disc behind the earlobe, use a pair of curved locking hemostats to clamp securely onto the back disc.
- Apply Downward Pressure: Gently push the hemostat forward (away from the head) to force the post back through the front of the fistula. This compresses the swollen tissue and exposes the front gem.
- Use an Insertion Taper: If the post is too short to push through, a professional piercer will use a steel insertion taper. The taper is lubricated with sterile saline and pushed through the back of the ear, gradually stretching the swollen fistula and pushing the embedded stud out the front simultaneously.
Expert Warning: Never use a razor blade or craft knife to dig an embedded earring out of the earlobe. The ear contains a complex network of micro-vessels, and unsterile DIY surgery frequently leads to perichondritis (cartilage infection) or permanent keloid scarring.
Preventative Maintenance and Lubrication
The best way to handle a stuck stud earring is to prevent it from sticking in the first place. For long-term wear, especially with flat-back labrets in the cartilage, biological buildup is inevitable. Incorporate a weekly maintenance routine: apply a single drop of pure, cold-pressed jojoba oil to the front and back of the jewelry. Jojoba oil closely mimics human sebum and safely breaks down keratin plugs without irritating the piercing channel. Avoid using rubbing alcohol or hydrogen peroxide, as these harsh astringents dry out the fistula, causing micro-tears that lead to hypertrophic scarring and make future removal significantly more painful.
When to Seek Professional Piercer or Medical Intervention
Knowing your limits is a critical part of jewelry management. You should visit an APP-certified professional piercer if the jewelry is threadless and you lack the hand strength to break the tension seal, or if a screw-back is stripped and spinning freely. Piercers possess specialized tools like reverse-tweezers, hemostats, and precision tapers designed specifically for micro-jewelry extraction.
However, you must bypass the piercing studio and go directly to an urgent care clinic or dermatologist if you observe signs of a systemic infection. Red streaks radiating from the earlobe, a fever, or thick, foul-smelling green discharge indicate a bacterial infection that requires prescription oral antibiotics. A professional piercer can remove the jewelry, but only a licensed medical doctor can prescribe the necessary medication to treat the underlying infection and prevent sepsis or abscess formation.


