How to Fix a Bump on Earring Piercing: Step-by-Step Guide
Learn how to safely treat a bump on earring piercing with our step-by-step guide. Discover causes, jewelry swaps, and aftercare routines for fast healing.

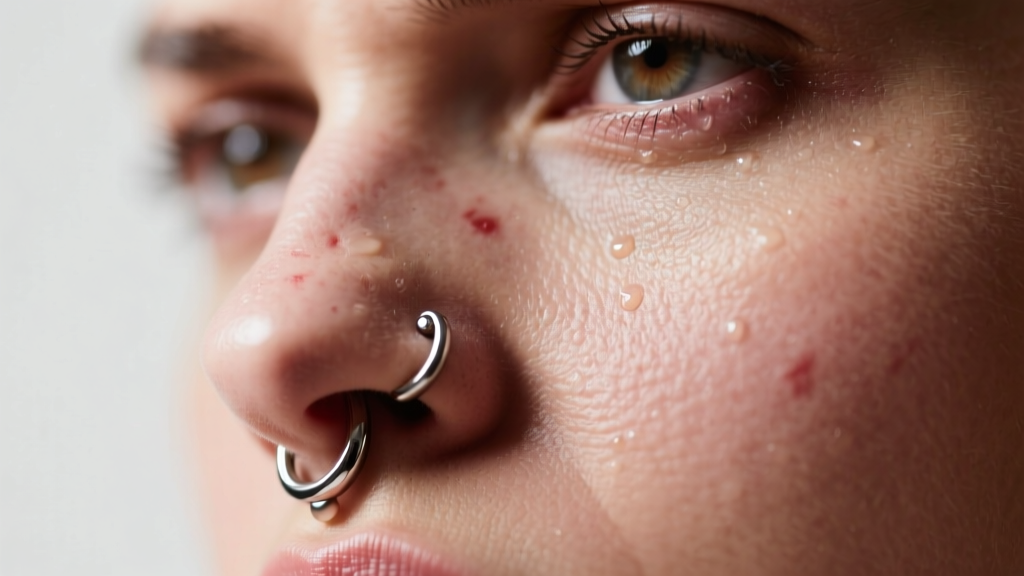
Discovering a bump on earring piercing sites can be incredibly frustrating, especially when you have diligently followed your aftercare routine. Whether it has appeared on a fresh helix piercing or a years-old lobe piercing, these localized swellings are your body's inflammatory response to friction, pressure, or improper jewelry. As piercing professionals and jewelry experts, we see these irritation bumps daily. The good news? The vast majority of them are not permanent and can be resolved without medical intervention if you address the root cause immediately.
This comprehensive, step-by-step guide will walk you through the exact biomechanics of piercing bumps, how to audit your current jewelry setup, and the specific aftercare protocols required to flatten the tissue and restore your piercing's health.
Understanding the Anatomy of a Piercing Bump
Before applying any treatment, you must accurately identify the type of bump you are dealing with. The term 'piercing bump' is a colloquial catch-all, but clinically, it usually refers to one of three distinct tissue reactions. Misidentifying a keloid as a simple irritation bump can lead to ineffective treatments and prolonged frustration.
| Bump Type | Clinical Name | Characteristics | Primary Cause |
|---|---|---|---|
| Irritation Bump | Hypertrophic Scarring | Small, localized, stays within the piercing boundary, may secrete clear lymph. | Friction, angle issues, improper jewelry fit. |
| Granuloma | Pyogenic Granuloma | Red, raw, bleeds very easily, highly vascular, grows rapidly. | Chronic moisture, trauma, foreign body reaction. |
| Keloid | Keloid Scar | Hard, rubbery, grows beyond the original piercing site, genetic predisposition. | Genetic overproduction of collagen during wound healing. |
According to the Mayo Clinic's overview on keloids, true keloids are relatively rare and require dermatological intervention, such as corticosteroid injections or cryotherapy. If your bump is growing larger than the original piercing hole and spreading across the ear, consult a doctor. However, 95% of the time, a bump on earring piercing sites is a hypertrophic irritation bump caused by mechanical stress.
Step 1: Audit Your Current Jewelry (The Usual Suspects)
The most common culprit behind an irritation bump is the jewelry itself. If the metal is irritating or the fit is incorrect, no amount of saline soaking will heal the bump. You must remove the source of the trauma.
Check the Material Grade
For healing or irritated piercings, the only acceptable metals are implant-grade titanium (ASTM F136), niobium, or solid 14k/18k gold. Avoid 'surgical steel' or 'stainless steel' (ASTM F138), as these contain nickel that can leach into the fistula (the healing tissue tube) and cause contact dermatitis, manifesting as a bump.
Evaluate the Jewelry Style and Fit
If you have a bump on a cartilage piercing (like a helix, conch, or tragus), you should absolutely not be wearing a butterfly-back earring or a hoop. Hoops move constantly, acting like a cheese wire that slices through the delicate fistula tissue. Butterfly backs trap dead skin cells and bacteria against the skin.
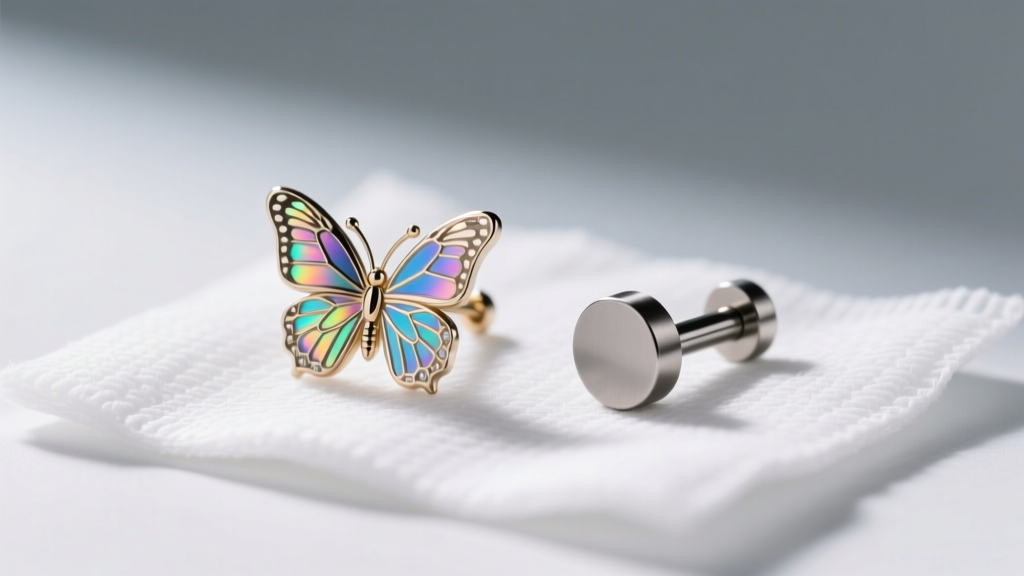
Instead, you need an implant-grade titanium flat-back labret. The post length is critical:
- Too Long: A post that is too long (e.g., 8mm or 10mm when the ear is only 4mm thick) allows the jewelry to wiggle. This micro-movement tears the healing cells inside the fistula, triggering the body to produce excess scar tissue (the bump) to stabilize the jewelry.
- Too Short: A post that is too tight will embed into the skin, restricting blood flow and lymphatic drainage, leading to severe swelling and blowouts.
Visit a professional piercer to have them measure your tissue thickness and swap your jewelry for a perfectly fitted flat-back labret, typically in a 16-gauge (1.2mm) or 14-gauge (1.6mm) thickness for cartilage stability.
Step 2: Implement the LITHA Method and Sterile Saline
Once your jewelry is optimized, you must change your daily habits. The piercing community and the Association of Professional Piercers (APP) universally recommend the LITHA method: Leave It The Hell Alone.
'Do not twist, turn, or slide your jewelry. The friction damages the fragile epithelial cells lining the fistula and introduces surface bacteria deep into the wound channel.' - APP Aftercare Guidelines
The Proper Saline Soak Protocol
You need to clean the area twice a day using a sterile, isotonic saline solution. Do not make your own sea salt mixture at home. Homemade solutions are almost always hyper-tonic (too salty), which dehydrates the tissue and causes chemical burns that worsen the bump.
- Purchase a canned sterile wound wash containing only two ingredients: 0.9% sodium chloride and water (e.g., NeilMed Piercing Aftercare or H2Ocean).
- Spray the saline directly onto the front and back of the piercing, or saturate a piece of sterile non-woven gauze and hold it against the area for 3 to 5 minutes.
- After soaking, gently pat the area completely dry with a clean paper towel or use a hair dryer on the 'cool' setting. Moisture trapped behind the ear is a primary trigger for granulomas and bumps.
Step 3: Address the Angle and Pressure Points
If your jewelry is perfect and your cleaning routine is flawless, the bump might be caused by sleeping pressure or a poor initial piercing angle.
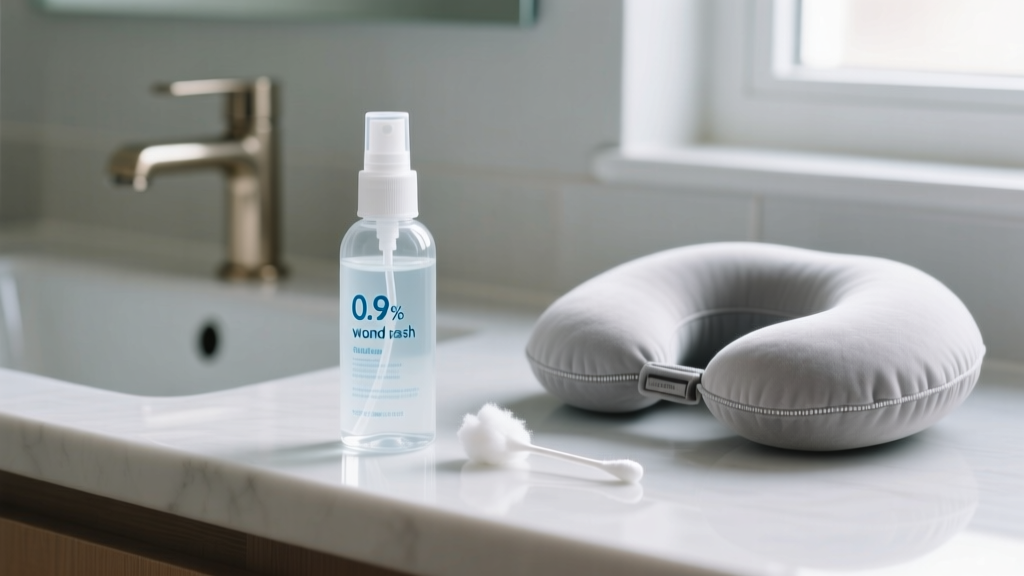
The Travel Pillow Hack
Sleeping on a healing or irritated cartilage piercing applies sustained, asymmetric pressure to the fistula. This forces the jewelry to sit at an angle inside the tissue, causing the body to build a bump on the side bearing the most weight. To prevent this, sleep with your ear nestled in the center hole of a U-shaped travel neck pillow. This completely eliminates nocturnal pressure and friction from your pillowcase.
Assessing the Piercing Angle
If the bump persists for months despite perfect aftercare, the original piercing angle may be flawed. Cartilage piercings must be done at a precise 90-degree angle to the tissue plane. If a helix was pierced at a slant, the jewelry will constantly torque against the tissue. In this scenario, the bump is a structural warning sign. You will need to consult an APP-certified piercer to discuss retiring the piercing, allowing it to heal, and eventually repiercing it at the correct anatomical angle.
Common Mistakes That Make Piercing Bumps Worse
In the panic to get rid of a bump, many people turn to internet hacks that cause severe chemical burns and permanent tissue damage. Avoid these dangerous 'remedies' at all costs:
- Tea Tree Oil: Highly concentrated and caustic. Applying essential oils directly to an open fistula causes contact dermatitis, severe drying, and chemical burns that will make the bump twice as large.
- Aspirin Paste: Crushing aspirin and mixing it with water creates a highly acidic paste. This literally burns the skin off, leaving a raw, weeping wound that is highly susceptible to staph infections.
- Chamomile Soaks: While chamomile is soothing in tea, it is a member of the ragweed family. Applying it to a compromised piercing frequently triggers severe allergic reactions and localized swelling.
- Hydrogen Peroxide or Rubbing Alcohol: These harsh astringents destroy the healthy, newly formed white blood cells trying to heal your fistula, resetting the healing clock to zero.
When to See a Professional Piercer or Dermatologist
While most bumps on earring piercing sites will flatten out within 2 to 4 weeks of implementing the steps above, you must know when to seek professional help. If the bump is accompanied by thick, foul-smelling yellow or green pus, if the ear feels hot to the touch, or if red streaks begin radiating from the piercing site down your neck, these are signs of a bacterial infection, not a simple irritation bump. Remove the jewelry immediately to prevent the hole from closing over an abscess, and visit an urgent care clinic or your primary care physician for a course of oral antibiotics.
For persistent, painless bumps that refuse to shrink after a month of perfect jewelry fit and LITHA aftercare, book a consultation with a reputable, APP-certified professional piercer. They can assess the tissue health, downsize your post length, and provide personalized guidance to get your ear back to perfect health.


