Master How to Draw Earrings: Step-by-Step Jewelry Design Guide
Learn how to draw earrings with our step-by-step jewelry design guide. Master metal reflections, gemstone facets, and precise scale for CAD handoffs.

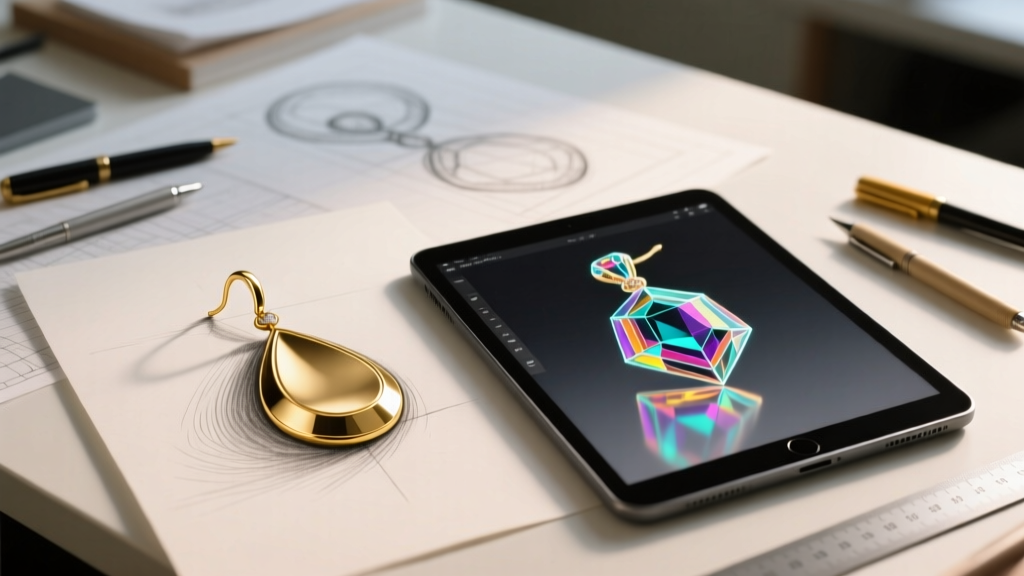
The Intersection of Art and Engineering in Jewelry Illustration
Jewelry illustration bridges the gap between a fleeting conceptual idea and a tangible, wearable asset. When learning how to draw earrings, designers must balance artistic flair with rigorous technical accuracy. Unlike drawing a flowing gown or a landscape, rendering earrings requires a deep understanding of metallurgy, gemology, and spatial mechanics. A beautiful sketch that ignores the physical limitations of a 20-gauge earring post or the structural integrity of a hidden clicker hinge will fail during the 3D CAD modeling and casting phases.
This comprehensive guide moves beyond basic fashion sketching. We will explore the precise methodologies used by professional jewelry designers to render studs, hoops, and drop earrings, ensuring your 2D concepts are perfectly primed for 3D manufacturing.
Essential Tools for Technical Jewelry Rendering
Before mapping out facets and reflections, you must select the right medium. Professional jewelry rendering typically falls into two categories: traditional drafting and digital illustration.
Traditional Drafting Media
- Drafting Film (Vellum): Unlike standard paper, vellum allows for precise erasing and layering. It is essential for creating orthographic views (top, front, side) required by CAD modelers.
- Mechanical Pencils (0.3mm and 0.5mm): Use a 2H lead for initial geometric layouts and an HB for final outlines. The 0.3mm tip is crucial for drawing the 1.02mm thickness of an 18-gauge earring post to scale.
- Designers Gouache: Opaque white gouache (such as Winsor & Newton) is the industry standard for painting the sharp, high-contrast specular highlights on polished metals and diamond tables.
Digital Illustration Setup
For digital artists using Procreate or Adobe Fresco, the brush engine must mimic traditional media. Use a hard-edged 'Technical Pen' brush for outlines and a soft 'Airbrush' with high opacity for metallic gradients. Always work on a canvas sized to at least 4000x4000 pixels to ensure the intricate facet lines of a gemstone remain crisp when zoomed in.
Step-by-Step: How to Draw Earrings for Technical Accuracy
To master earring illustration, we must break down the two most fundamental silhouettes: the gemstone stud and the hinged hoop.
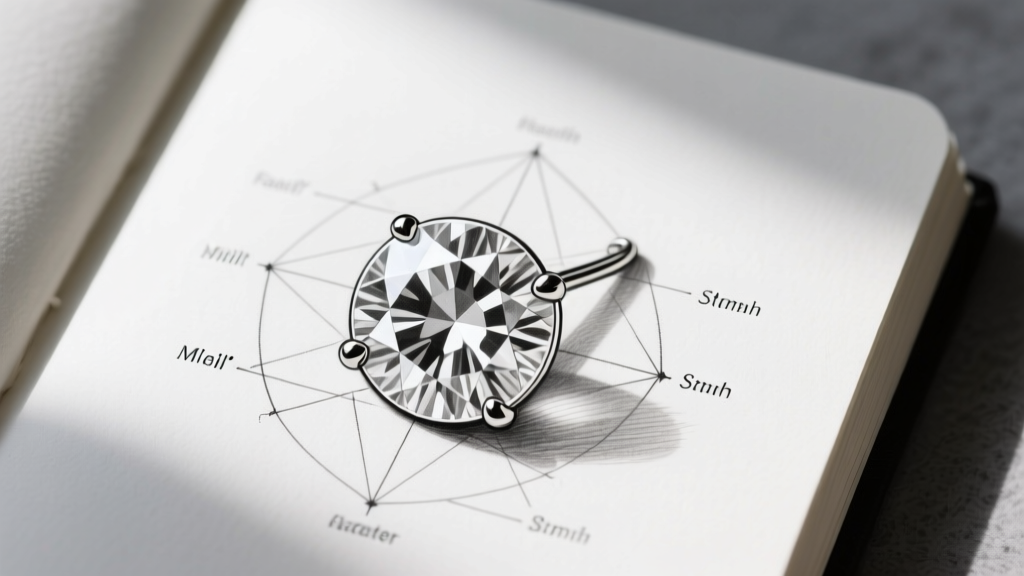
1. The Classic Diamond Stud (Round Brilliant)
A standard 1-carat round brilliant diamond measures approximately 6.5mm in diameter. According to the Gemological Institute of America (GIA), a round brilliant features 57 or 58 facets. When drawing this earring from a top-down perspective:
- The Outline: Draw a perfect 6.5mm circle. Inside, draw a smaller octagon representing the 'table' (the flat top facet), which typically comprises 53% to 58% of the diamond's total diameter.
- The Crown Facets: Connect the corners of the octagon to the outer circle using kite-shaped bezel facets and triangular star facets. Symmetry is paramount; use a digital grid or a traditional compass to ensure equal spacing.
- Shading: Diamonds do not have local color; they reflect their environment. Leave the table facet mostly white with one sharp diagonal highlight. Shade the pavilion facets (visible through the table) with varying degrees of cool gray to simulate depth and light return.
2. The Textured Huggie Hoop
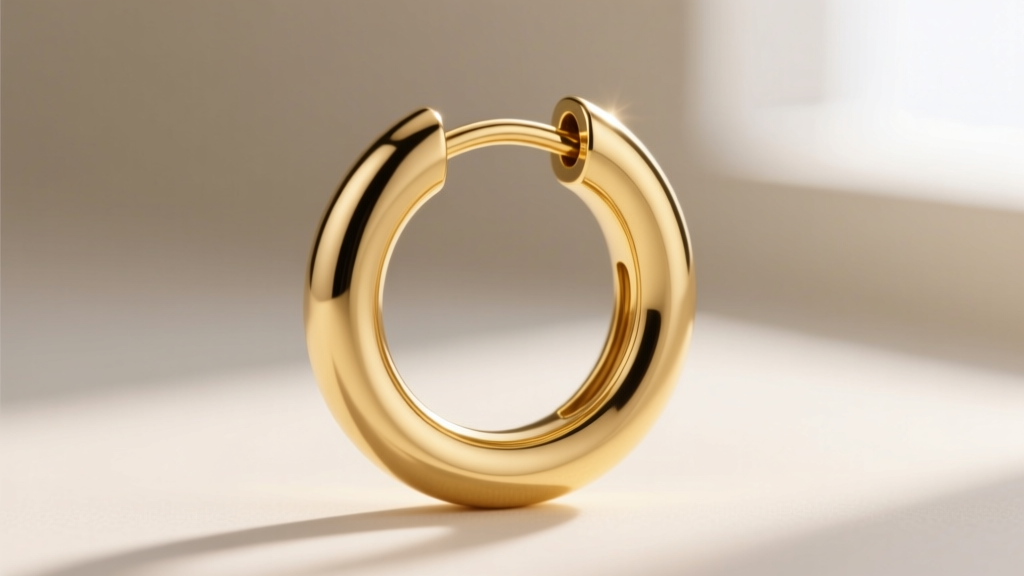
Huggies are small hoops (typically 10mm to 15mm in diameter) that 'hug' the earlobe. Drawing them requires a firm grasp of perspective and mechanical joints.
- The Ellipse: A hoop viewed at a 3/4 angle is an ellipse, not a circle. Draw a 12mm outer ellipse and a concentric inner ellipse to establish a 2mm tube thickness.
- The Hinge Mechanism: Most modern huggies use a 'clicker' hinge. On the side profile, indicate the hinge seam with a delicate 0.1mm line. Use dashed lines to represent the internal locking pin that snaps into the opposite end of the hoop.
- Texture Mapping: If the hoop features a hammered or milgrain texture, map the texture density. Texture should compress and become denser as the surface curves away from the viewer's eye, following the contour of the ellipse.
Mastering Metal Reflections: A Shading Matrix
Different metal alloys reflect light in distinctly different ways. Understanding these optical properties is what separates amateur sketches from professional technical renderings. Below is a shading matrix to guide your contrast levels.
| Metal Type | Highlight (Specular) | Midtone (Base Color) | Core Shadow | Reflected Light |
|---|---|---|---|---|
| 14k Yellow Gold | Sharp, bright white | Pale, muted yellow | Warm, dark ochre | Soft amber bounce |
| 18k Yellow Gold | Intense, crisp white | Rich, saturated yellow | Deep bronze/brown | Golden-yellow bounce |
| White Gold (Rhodium) | High-contrast, sharp | Cool, neutral silver-gray | Near-black, hard edge | Crisp, cool gray |
| Platinum (950) | Softer, slightly diffused | Warm, heavy gray | Deep charcoal | Subtle, warm bounce |
Expert Note: White gold is almost always plated with rhodium to achieve a bright white finish. When rendering white gold, use the highest contrast between your highlights and core shadows. Platinum, conversely, has a naturally heavier, more 'patina-like' luster; its highlights should be slightly softer and more diffused than rhodium-plated gold.
Common Proportions and Scale Mistakes
The most frequent error fashion illustrators make when learning how to draw earrings is ignoring human anatomy and mechanical tolerances. Earrings do not exist in a vacuum; they interact with the ear.
The Golden Rule of Earring Scale: The average adult earlobe measures between 15mm and 20mm in length. If you are sketching a 40mm drop earring, it must visually dwarf the lobe. Furthermore, always draw the earring post to scale. An 18-gauge post is exactly 1.02mm thick. If your sketch features a massive, heavy gemstone suspended from a post drawn to look like a thin needle, a CAD engineer will immediately flag your design as structurally unsound.
Additionally, consider the backing mechanism. A standard 'butterfly' friction back requires about 4mm of clearance behind the lobe. For heavy drop earrings, sketch a 'la pousette' (locking) back or a screw-back, which are bulkier but provide necessary security. The American Gem Society (AGS) emphasizes that understanding the physical wearability of a piece is just as critical as its visual beauty.
Transitioning from 2D Sketch to 3D CAD
Your final sketch is not just a piece of art; it is a blueprint for a 3D modeler using software like MatrixGold or Rhino 3D. To ensure a seamless handoff, your drawing must include specific technical annotations.
- Orthographic Views: Provide a strict front, side, and top view. The side view is critical for establishing the 'drop'—how far the earring hangs below the piercing hole.
- Dimension Lines: Use red or blue fine-liner pens to draw dimension lines outside the earring silhouette. Label total height, maximum width, and gemstone millimeter sizes (e.g., 'Center Stone: 5.0mm Round').
- Material Callouts: Explicitly write the metal purity (e.g., '18k YG' or 'PT950') and the setting style (e.g., '4-Prong Cathedral Setting' or 'Bezel Set').
- Tolerance Notes: If a specific gap is required for a moving part (like a drop earring's jump ring), note the clearance. A standard jump ring requires at least 0.3mm of clearance to move freely without binding after casting and polishing.
Final Thoughts on Jewelry Illustration
Mastering how to draw earrings is an exercise in disciplined observation. It requires you to look at a piece of jewelry not just as an adornment, but as a micro-architectural structure. By respecting the geometry of gemstone facets, the optical physics of metal alloys, and the anatomical realities of the human ear, your illustrations will transcend mere sketches. They will become precise, actionable blueprints that seamlessly transition from the drafting table to the casting house, resulting in breathtaking, wearable art.


