How to Make Earrings: Silver Bezels, Titanium Posts
Learn how to make earrings combining hypoallergenic ASTM F136 titanium posts with hand-soldered sterling silver bezels in this expert guide.

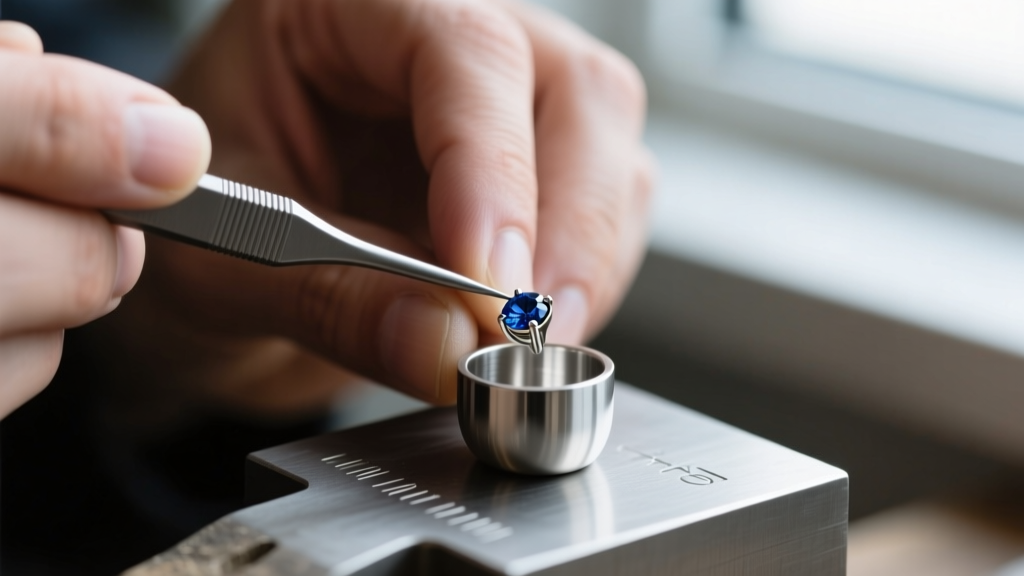
Learning how to make earrings that are both visually striking and universally wearable requires navigating complex material science. For individuals with severe contact dermatitis or nickel allergies, standard sterling silver or white gold ear posts can cause painful reactions. The ultimate solution for professional jewelers and advanced hobbyists is combining a hypoallergenic titanium post with a highly workable precious metal setting. In this comprehensive guide, we will explore how to make earrings by fabricating sterling silver bezel cups and mechanically attaching them to medical-grade titanium friction posts, bypassing the extreme difficulties of soldering titanium at home.
The Metallurgy Challenge: Why Cold Connections?
Before striking a torch, it is critical to understand why traditional soldering fails when joining silver to titanium. Titanium is highly reactive at elevated temperatures. When exposed to oxygen at temperatures above 1,000°F (537°C), titanium rapidly absorbs oxygen and nitrogen, forming a brittle oxide layer that compromises the metal's structural integrity. Furthermore, standard silver solders melt between 1,200°F and 1,450°F, meaning torch-soldering a silver bezel directly to a titanium post will embrittle the post, leading to catastrophic snapping when the wearer inserts the earring.
According to the Ganoksin Titanium Fabrication Guide, professional studios use laser welders or argon-arc welding to join titanium. For the home studio, the most reliable and durable method is a mechanical cold connection—specifically, a precision press-fit or threaded rivet system. This allows you to solder the silver components independently and assemble them at room temperature, preserving the temper and biocompatibility of the titanium.
Sourcing ASTM F136 Titanium Components
Not all titanium is created equal. When learning how to make earrings for sensitive ears, you must source titanium that meets the ASTM F136 Standard (Ti-6Al-4V ELI). This specific alloy is virtually nickel-free and highly biocompatible. Avoid Grade 2 commercially pure titanium for posts, as it is too soft and will bend under the pressure of a tight earlobe.
| Component | Gauge / Diameter | Length | Best Use Case |
|---|---|---|---|
| Friction Post (Standard) | 20G (0.81mm) | 10mm - 12mm | Standard lobe piercings, lightweight bezels |
| Friction Post (Heavy) | 18G (1.02mm) | 11mm - 14mm | Thick lobes, heavy gemstone cabochons |
| Threaded Post (Labret style) | 16G (1.29mm) | 6mm - 8mm | Cartilage, helix, and tragus piercings |
For this tutorial, we will use an 18G (1.02mm) ASTM F136 titanium friction post with a flat 3mm pad at the base, which provides an excellent surface area for a mechanical press-fit connection.
Step 1: Fabricating the Bimetallic Bezel Cup
To create a bezel that is easy to push but structurally rigid, we use a bimetallic approach: a .999 fine silver bezel wall and a .925 sterling silver backplate. Fine silver anneals dead soft, making it effortless to burnish over a gemstone, while the copper alloy in sterling silver provides a rigid foundation.
Cutting and Soldering the Bezel Wall
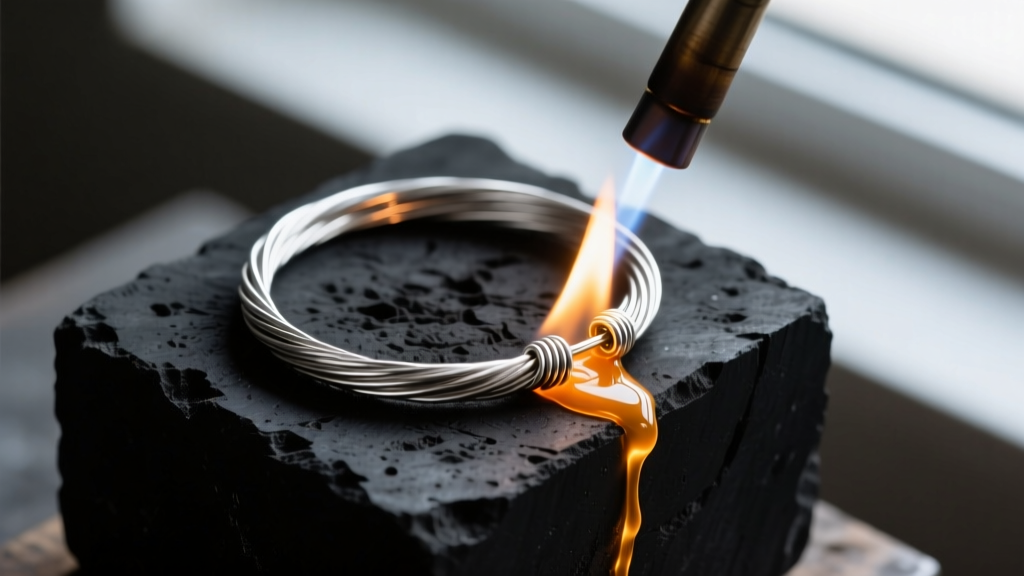
Measure the circumference of your chosen cabochon (e.g., a 6mm round moss agate). Cut a strip of 26-gauge (0.4mm) fine silver bezel wire to length. Form it into a perfect circle using round-nose pliers, ensuring the seam is perfectly flush. Apply a microscopic amount of medium silver solder (melting point ~1,350°F) and heat evenly with a butane micro-torch until the solder flashes through the joint. Quench in water and inspect the seam under a loupe; it should be entirely invisible.
Attaching the Backplate
Cut a 22-gauge sterling silver sheet slightly larger than your bezel ring. Flux both the bezel ring and the sheet. Place the ring on the sheet, apply hard silver solder paillons to the interior seam, and heat from underneath the sheet until the solder flows. Once pickled in a warm Sparex #2 solution at 140°F, use a jeweler's saw to trim the excess backplate flush with the outer wall of the bezel. File the edges smooth with a #4 cut barrette needle file.
Step 2: The Cold-Connection Drill and Press
This is the most critical phase of learning how to make earrings with mixed metals. You must create a hole in the sterling silver backplate that perfectly matches the titanium post for a friction lock.
- Marking the Center: Use a scribe or a center punch to mark the exact dead-center of the sterling backplate. Accuracy here prevents the earring from sitting crooked on the ear.
- Pilot Drilling: Secure the bezel cup in a wooden clamp or holding jig. Using a flex shaft at low RPM (around 3,000), drill a pilot hole with a 0.5mm carbide twist bit. Use cutting oil to prevent work-hardening the sterling silver.
- Sizing the Hole: Switch to a 0.95mm carbide drill bit. Because our titanium post is 1.02mm (18G), drilling a 0.95mm hole creates a 0.07mm interference fit. This ensures the post will grip the silver tightly without adhesives.
- Pressing the Post: Place the bezel cup face-down on a steel bench block. Align the flat pad of the titanium post over the hole. Using a nylon-jawed press or a rawhide mallet, apply steady, even downward pressure to drive the titanium post through the silver hole. You will feel a distinct 'pop' as the titanium pad seats flush against the backplate.
Pro-Tip: Never use superglue or epoxy to secure the post. Over time, skin oils and solvents will degrade the adhesive, causing the post to spin or fall out. A properly toleranced mechanical press-fit will outlast the wearer.
Step 3: Stone Setting and Burnishing
With the post securely attached, it is time to set the stone. Drop your cabochon into the bezel cup. If it rocks, the backplate solder may have pooled unevenly; use a setting bur to gently level the interior seat.
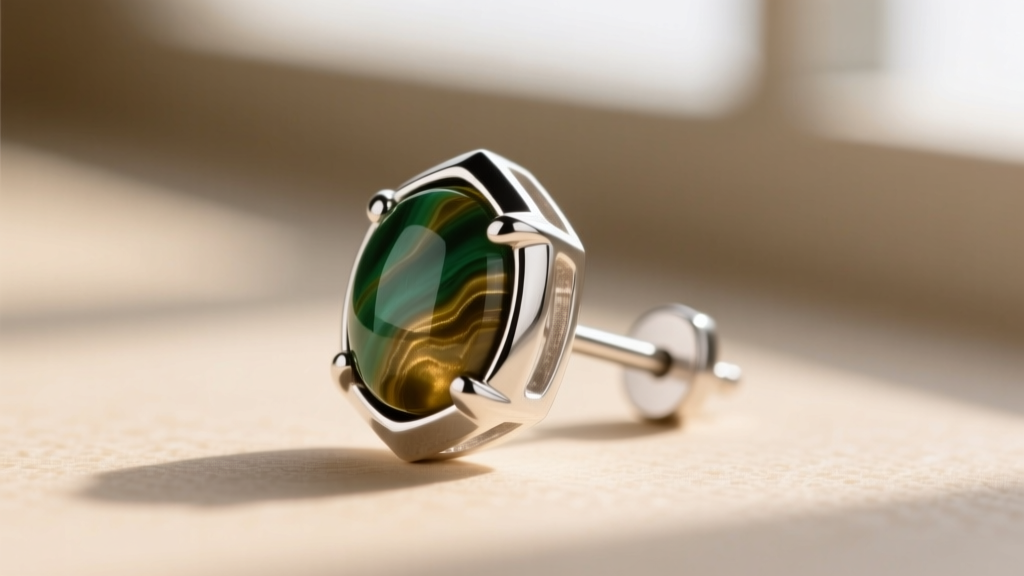
Using a steel bezel pusher, start at the 12 o'clock position and push the fine silver wall down onto the stone's shoulder. Move to 6 o'clock, then 3, then 9. This cross-pattern prevents the metal from puckering. Once the stone is locked in, switch to a polished agate burnisher. Rub the burnisher parallel to the stone's surface, applying moderate pressure to work-harden the fine silver and create a mirror finish against the gem.
Troubleshooting Common Fabrication Failures
Even experienced jewelers encounter issues when combining disparate materials. Here is how to diagnose and fix common problems:
- Bezel Puckering: If the fine silver folds over itself in pleats, your bezel wire is too thick for the stone's curvature. Switch from 26-gauge to 28-gauge fine silver, or use a bezel rocker tool to stretch the metal evenly before pushing.
- Spinning Titanium Post: If the post rotates after pressing, your drill bit was oversized or worn down, resulting in a hole larger than 0.95mm. To fix this, use a center punch to gently peen the sterling silver rim around the base of the post, displacing metal inward to lock the pad in place.
- Titanium Discoloration: If the titanium post turns a dark straw or purple color, it was exposed to excessive heat during the silver soldering phase. This oxide layer is not inherently dangerous but looks unprofessional. Remove it by soaking the post in a mild hydrofluoric acid pickle (with extreme safety precautions) or carefully polishing it with a dedicated titanium polishing compound, ensuring no compound touches the porous gemstone.
Mastering how to make earrings with cold connections opens up a world of high-end, hypoallergenic design. By respecting the metallurgical limits of titanium and leveraging the softness of fine silver, you can produce studio-quality, custom ear jewelry that is as durable as it is beautiful. For further reading on precious metal properties, consult the Rio Grande Metals Guide to refine your alloy selections for future projects.


