How to Put On Earrings: Expert Guide to Threadless and Clickers
Master how to put on earrings with our expert technical guide. Learn precise insertion methods for threadless, internally threaded, and clicker hoops.

The Biomechanics of the Piercing Fistula
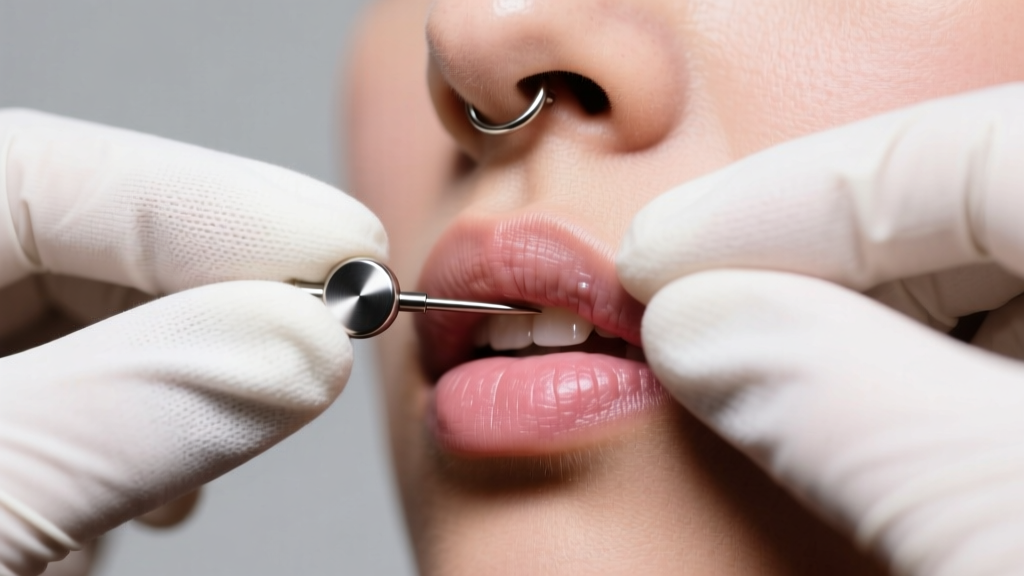
Understanding how to put on earrings safely requires a foundational knowledge of piercing anatomy. A healed piercing is not simply a hole; it is a fistula—a tubular structure of epithelial tissue lined with delicate mucosal cells. When dealing with advanced jewelry types like threadless labrets, internally threaded barbells, or hinged clickers, the physical interaction between the metal and this tissue is critical. Forcing a misaligned 16-gauge (1.2mm) or 14-gauge (1.6mm) post through a fistula can cause micro-tears, leading to hypertrophic scarring or irritation bumps.
The elasticity of the fistula varies depending on the age of the piercing and the anatomical location. Earlobe fistulas are highly elastic and forgiving, often accommodating slight gauge discrepancies. In contrast, cartilage fistulas (such as the helix, tragus, or conch) are rigid and unforgiving. Inserting jewelry into cartilage requires precise alignment, proper tapering, and an understanding of the specific mechanical closure system of the earring being used. Below, we break down the technical execution for the most complex earring mechanisms on the market.
How to Put On Earrings with Threadless (Push-Pin) Mechanisms
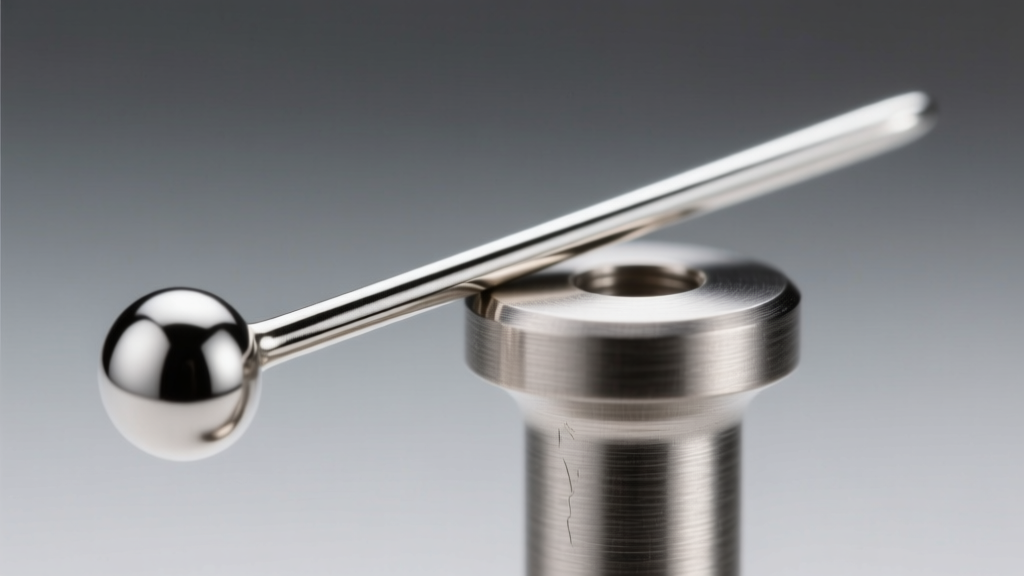
Threadless jewelry, often referred to as push-pin jewelry, relies on spring tension rather than screws to secure the decorative end to the post. The pin on the back of the decorative end is inserted into the hollow shaft of the post and bent slightly to create friction against the inner wall. This is the gold standard for cartilage piercings because the smooth post glides through the fistula without the tissue trauma caused by external threads.
The Tension Bend Formula
The most common failure mode when learning how to put on earrings of this type is bending the pin incorrectly, resulting in either a loose fit that falls out or an over-bent pin that buckles inside the post. The correct bend angle depends strictly on the gauge of the jewelry:
- 18-Gauge (1.0mm): Requires a sharper bend. Bend the tip 2mm to 3mm from the end at a 35-to-45-degree angle. The thinner metal requires a more aggressive curve to generate sufficient outward tension.
- 16-Gauge (1.2mm): The industry standard for cartilage. Bend the pin about 3mm from the tip at a 25-to-30-degree angle. You should feel distinct, firm resistance when pushing the pin into the post.
- 14-Gauge (1.6mm): Requires a shallow bend. Bend the pin 4mm from the tip at a 15-to-20-degree angle. Over-bending a 14g pin will make it nearly impossible to remove without specialized hemostats.
Pro-Tip: Always insert the pin into the post to test the tension before inserting the post into your ear. If the end pulls out with a gentle tug, remove the pin and increase the bend angle by 5 degrees.
Mastering Internally Threaded and Screw-Back Jewelry
Internally threaded jewelry features a smooth post with a threaded hole at the end, while the decorative ball or end has the external screw. This design ensures that no sharp threads pass through the fistula during insertion. Screw-back earrings, commonly used for high-end diamond studs or secure sleeper hoops, operate on a similar principle but utilize a threaded post and a threaded backing.
'Cross-threading is the primary cause of stripped jewelry ends. If you feel resistance while screwing a ball onto an internally threaded post, stop immediately. Back it out, realign the axis perfectly straight, and begin threading counter-clockwise until you feel the threads drop into place, then tighten clockwise.' — Advanced Body Jewelry Mechanics Manual
When learning how to put on earrings with screw mechanisms, leverage is your enemy. Using excessive rotational force with bare fingers on a small 2mm titanium ball can strip the micro-threads. If an end is stuck, use a pair of rubber-tipped jewelry pliers or a specialized ball-grabber tool to apply even torque without marring the metal finish or anodized coating.
Huggies and Segment Rings: Hinge and Clicker Mechanics
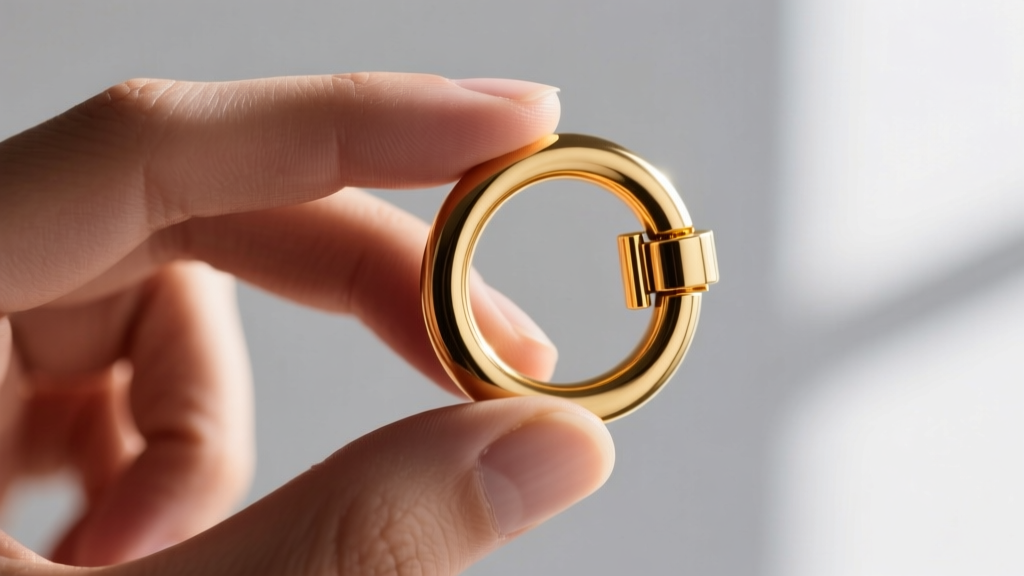
Huggies and clicker rings utilize a hinged mechanism with a snap closure. The engineering tolerances on high-quality 14k gold or ASTM F-136 titanium clickers are incredibly tight, often measuring less than 0.1mm of clearance at the segment joint. When putting on a clicker earring, the goal is to achieve the audible 'click' that indicates the latch has fully engaged the receiving groove.
Alignment and Closure Technique
To insert a clicker hoop into a healed piercing, open the segment fully (usually a 90-degree arc). Slide the curved post through the fistula from the front or back, depending on the piercing angle. Once the post emerges, align the tip directly with the hinge receiver. Do not squeeze the ring closed from the sides. Squeezing the lateral edges of the hoop warps the circular geometry, causing the latch to misalign with the receiver. Instead, place your thumb and index finger directly on the hinge and the closure joint, pressing them together in a straight line until the segment snaps flush.
Troubleshooting Table: Insertion Failures and Technical Solutions
| Earring Type | Common Failure Mode | Technical Cause | Expert Solution |
|---|---|---|---|
| Threadless Labret | End falls out during sleep | Insufficient pin tension or worn post interior | Increase pin bend angle by 10 degrees; replace post if inner wall is scored. |
| Internally Threaded | Ball will not screw on | Cross-threading or dried sebum in post hole | Clean post hole with a sterile interdental brush; realign axis before threading. |
| Clicker Hoop | Segment won't snap flush | Debris in hinge receiver or warped hoop geometry | Clear receiver with dental floss; apply pressure strictly at the joint, not the sides. |
| Screw-Back Stud | Backing spins freely | Stripped post threads from overtightening | Post is permanently compromised; replace with a new internally threaded or threadless system. |
Hygiene and Lubrication Protocols for Stubborn Insertions
When a fistula has shrunk due to prolonged periods without jewelry, or when dealing with tight 14-gauge cartilage piercings, lubrication becomes necessary. However, the type of lubricant used is critical to the longevity of the jewelry and the health of the tissue.
Avoid Petroleum and Oil-Based Products: Products like Vaseline, jojoba oil, or vitamin E oil are highly viscous and hydrophobic. They trap anaerobic bacteria inside the piercing channel and can degrade the silicone O-rings found in some specialized earring backs. Furthermore, oils leave a sticky residue that attracts dead skin cells, eventually cementing the hinge mechanisms of huggies and clickers.
The Correct Protocol: Use a sterile 0.9% sodium chloride wound wash (saline) to hydrate the tissue and provide temporary slip. For extreme cases of fistula shrinkage, a water-based, glycerin-free personal lubricant applied sparingly to the tip of the post will provide the necessary slip without compromising the metal or the microbiome of the piercing. Always follow up by flushing the area with sterile saline to remove any residual lubricant.
Authoritative Sources and Further Reading
To maintain the highest standards of tissue safety and jewelry mechanics, the technical guidelines in this article are informed by industry-leading metallurgical and anatomical standards:
- The Association of Professional Piercers (APP) - Jewelry Standards: Comprehensive guidelines on ASTM F-136 implant-grade titanium, internally threaded vs. externally threaded mechanics, and safe insertion practices.
- ASTM International - F136 Standard Specification: The definitive metallurgical standard for wrought titanium-6 aluminum-4 vanadium ELI (Extra Low Interstitial) alloy used in premium body jewelry.


