How to Remove Piercing Earrings Without Damaging Fine Jewelry
Learn how to remove piercing earrings safely without bending posts or losing gems. A budget guide to protecting your fine jewelry investment.

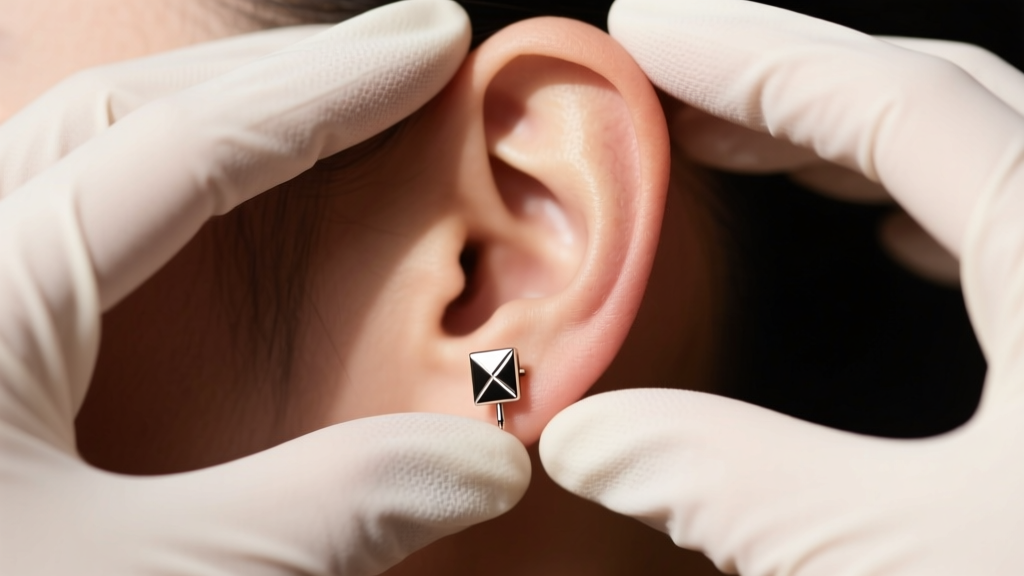
The Financial Risk of Improper Earring Removal
When investing in high-quality body jewelry, understanding how to remove piercing earrings is not just a matter of hygiene or comfort; it is a critical component of asset protection. Fine jewelry from premium brands like BVLA, Maria Tash, or Anatometal represents a significant financial commitment. A single 14k or 18k solid gold threadless end with a prong-set diamond can easily cost between $250 and $800. Yet, countless collectors ruin these investments through improper removal techniques.
Yanking, twisting blindly, or using the wrong tools can lead to bent posts, stripped threads, lost gemstones, and even torn earlobes. From a budget and value assessment perspective, the few minutes it takes to learn proper removal mechanics will save you hundreds of dollars in replacement costs and jewelry repairs over your lifetime. This guide breaks down the exact techniques, tools, and cost-benefit analyses required to safely extract your fine jewelry without compromising its structural integrity or resale value.
The Hidden Costs of Damaging Fine Jewelry Mechanisms
Before attempting removal, you must understand the metallurgy and engineering of your earrings. Premium body jewelry is typically crafted from implant-grade titanium (ASTM F-136) or solid 14k/18k gold. While gold is highly valued, it is inherently soft. A standard 20-gauge (0.81mm) or 18-gauge (1.02mm) gold post can bend under minimal lateral pressure.
- Bent Posts: Once a fine gold post is bent, it weakens the metal's crystalline structure. Straightening it risks snapping the post entirely, rendering a $300 earring useless.
- Stripped Threads: Forcing an internally threaded piece can strip the microscopic machined threads, requiring a complete replacement of the post or the gem setting.
- Lost Gemstones: Aggressive pulling can warp the prongs holding your diamonds or sapphires, causing the stones to fall out and get lost in your carpet or sink drain.
According to the Association of Professional Piercers (APP), improper handling is one of the leading causes of premature jewelry degradation. Protecting your investment starts with identifying your earring's locking mechanism.
Mechanism Breakdown: Removal Techniques by Earring Type
Different mechanisms require vastly different approaches. Treating a threadless pin like a friction back is a guaranteed way to damage the jewelry or your tissue.
1. Threadless (Push-Pin) Jewelry
Threadless jewelry relies on the tension of a slightly bent pin inserted into a hollow post. It is the gold standard for high-end cartilage and lobe piercings. To remove it safely:
- Wear nitrile gloves to ensure a micro-grip on the smooth metal.
- Grip the post (the back part) firmly with one hand.
- Grip the decorative end with your other hand.
- Push the two pieces together slightly to relieve tension, then pull them apart while applying a very subtle twisting motion.
- Value Tip: Never use pliers to grip the decorative end. You will crush the gold and scratch the gemstone.
For a deeper understanding of how these tension-fit systems are engineered, refer to the BVLA Threadless Guide, which outlines the precise pin-bending mechanics required to maintain the jewelry's longevity.
2. Internally Threaded Jewelry
In internally threaded pieces, the screw is on the post, and the receiver is inside the gem. This protects your piercing channel from sharp threads. To remove:
- Always unscrew the front decorative piece, not the flat back disc. The front piece offers better leverage and prevents the back from spinning endlessly against your skin.
- Use the "righty-tighty, lefty-loosey" rule. Turn the front gem counter-clockwise.
- If it slips, stop immediately. You are likely cross-threading or lacking grip. Add nitrile gloves and try again.
3. Friction Backs and Butterfly Clutches
Common in commercial and lower-budget jewelry, friction backs rely on a grooved post and a metal clutch. These are notorious for accumulating dead skin, sebum, and soap residue, effectively cementing them to the ear. To remove without tearing the lobe, soften the debris with a warm saline soak for five minutes before gently wiggling the back off the groove. Never pull the back straight off with brute force, as this can rip the piercing channel.
DIY vs. Professional Piercer Removal: A Cost-Benefit Analysis
When an earring feels stuck, the panic can lead to poor financial decisions. Below is a value assessment comparing your removal options when dealing with high-end jewelry.
| Removal Method | Estimated Cost | Risk to Fine Jewelry | Value Retention |
|---|---|---|---|
| DIY Barehanded | $0 | High (Slipping, bending, dropping) | Poor |
| DIY with Proper Tools | $15 - $35 (Tool investment) | Very Low | Excellent |
| Professional Piercer | $10 - $25 (Service fee) | Minimal | Excellent |
| Urgent Care / ER | $150 - $1,000+ | Extreme (Often cut off with wire snips) | Destroyed |
As the table illustrates, paying a professional piercer $15 to safely remove a stubborn $400 threadless end is a highly cost-effective insurance policy. Medical professionals in ERs are trained to prioritize tissue health over jewelry preservation; they will routinely use ring cutters or wire snips to remove stuck earrings, instantly destroying the piece.
Essential Budget-Friendly Tools for Safe Home Removal
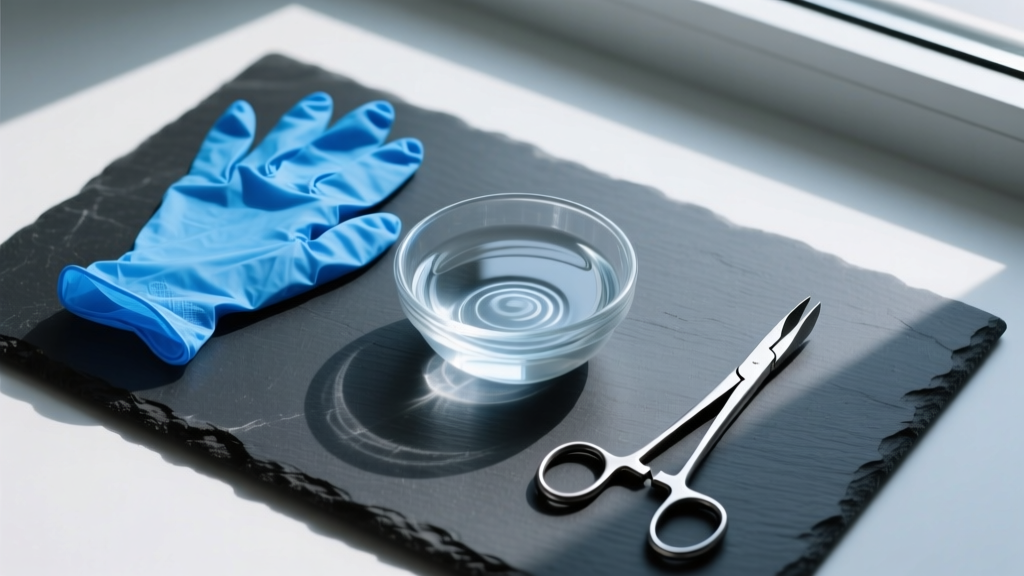
If you prefer to manage your jewelry collection at home, building a specialized removal kit is a one-time budget allocation that pays for itself immediately. You do not need expensive machinery; you need precision and grip.
- Powder-Free Nitrile Gloves ($10 - $15 per box): The single most important tool. Human skin has natural oils that make polished gold and titanium incredibly slippery. Nitrile provides the necessary friction to unscrew tight internally threaded ends without applying excessive torque.
- Non-Marring Hemostats or Jewelry Pliers ($20 - $30): Standard hardware store pliers have serrated steel teeth that will gouge precious metals. Invest in nylon-jawed or non-marring hemostats specifically designed for body jewelry. These allow you to grip the flat back disc securely while you twist the front gem.
- Sterile Saline Wound Wash ($8 - $12): Used to soften calcified sebum and crusties that act like biological glue around butterfly backs and threadless pins.
- A Microfiber Catch Towel ($5): Always perform removals over a dark, lint-free microfiber towel placed over a bowl or a plugged sink. If a 1mm diamond pops out of its setting during removal, the dark background makes it instantly visible, saving you a massive replacement headache.
Troubleshooting Stuck Fine Jewelry: When to Stop
Even with the right tools, fine jewelry can become stubbornly stuck. This usually happens when body chemistry, sweat, and environmental debris calcify inside the threading or around the tension pin.
The Golden Rule of Jewelry Removal: If you apply maximum safe torque and the piece does not budge, stop immediately. Metal fatigue occurs when soft gold is repeatedly stressed in the same spot. Continuing to force it will snap the post.
Troubleshooting Steps:
- The Saline Soak: Saturate a cotton pad with warm sterile saline and hold it against the front and back of the earring for 10 minutes. This breaks down organic bonds.
- The Temperature Trick: Metal expands and contracts with temperature. If the jewelry is stuck due to swelling or debris, a cold compress can slightly shrink the metal post and reduce tissue inflammation, creating a microscopic gap for removal.
- Seek a Professional: If the saline and temperature tricks fail, visit an APP-certified piercer. They possess specialized insertion tapers and removal tools that can extract the piece without damaging the gold or the piercing channel.
Preserving Resale and Heirloom Value Post-Removal
Once you have successfully removed your piercing earrings, the value assessment shifts to maintenance and storage. Fine jewelry should never be tossed into a communal jewelry box where diamonds can scratch gold, and posts can become tangled and bent.
Clean your removed earrings using a mild, phosphate-free dish soap and a soft baby toothbrush. Avoid ultrasonic cleaners for pieces featuring soft or porous gemstones like opals, emeralds, or pearls, as the high-frequency vibrations can fracture the stones or strip their natural oils. For diamonds and sapphires set in solid 14k or 18k gold, a brief ultrasonic bath is safe and highly effective.
Store each piece individually in a soft, anti-tarnish pouch or a compartmentalized jewelry box. Keep threadless pins slightly bent so they retain their tension memory, and store internally threaded posts with their backs loosely screwed on to protect the delicate threads from dust and impact. By treating the removal and storage process with the same reverence as the purchase itself, you ensure your fine jewelry collection retains both its financial value and its structural beauty for decades to come.


