How to Remove Threadless Earrings: A Troubleshooting Guide
Learn how to remove threadless earrings safely. Troubleshoot stuck ends, master the push-pin tension mechanism, and avoid damaging cartilage.

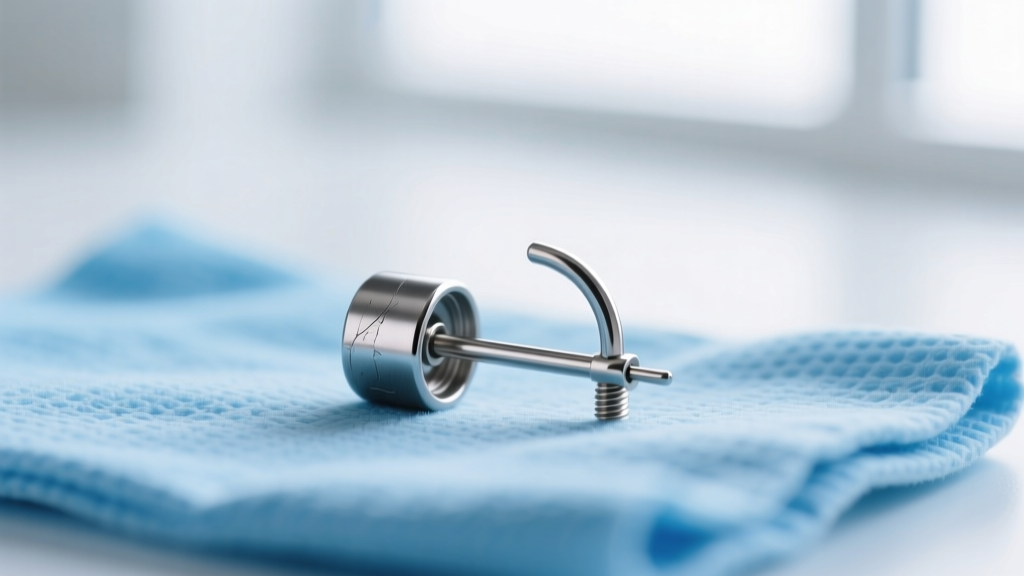
Threadless body jewelry has completely revolutionized the modern piercing industry, offering unparalleled security, seamless aesthetics, and superior biocompatibility for both lobe and cartilage piercings. Brands like Neometal, BVLA, and Maria Tash utilize a push-pin tension mechanism that eliminates the cross-threading and bacteria-harboring crevices associated with traditional internally threaded jewelry. However, this brilliant engineering relies entirely on friction and tension. When it comes time to change your ends, the very security that makes threadless jewelry so reliable can turn into a frustrating obstacle. If you are wondering how to remove threadless earrings without bending the pin, scratching the post, or traumatizing your healing fistula, this comprehensive troubleshooting guide is your definitive resource.
The Physics of Threadless Tension Mechanics
Before attempting removal, you must understand the biomechanics of the jewelry. Threadless jewelry consists of two parts: a hollow post (typically 16-gauge/1.2mm or 14-gauge/1.6mm) and a decorative end featuring a solid push-pin. The pin is usually 0.9mm thick for standard posts and 1.2mm for thicker 12-gauge or 10-gauge posts. According to the Association of Professional Piercers (APP), high-quality threadless jewelry is milled from ASTM F136 implant-grade titanium, ensuring the metal is hypoallergenic and highly polished.
The security of the earring does not come from threads; it comes from a deliberate, microscopic bend in the push-pin. When inserted into the hollow post, the pin attempts to straighten out, creating immense outward radial pressure against the inner wall of the post. This tension is what holds a heavy gemstone cluster securely in your conch or helix piercing during sleep, gym sessions, and daily life. Understanding this radial pressure is the key to learning how to remove threadless earrings effectively without brute force.
Standard Removal Protocol: The Push-and-Pull Method
When your piercing is fully healed, not swollen, and free of dried lymph, standard removal is straightforward. Follow these precise steps to break the tension seal:
- Sanitize and Dry: Wash your hands with antibacterial soap and dry them completely. Moisture reduces friction, making the jewelry slip.
- Secure the Base: Reach behind your ear and firmly pinch the flat titanium back or the rear portion of the post. You must anchor the back to prevent pulling the entire post through the fistula, which can cause micro-tears in the tissue.
- Grip the End: With your thumb and index finger, pinch the decorative front end as close to the base of the gemstone as possible.
- The Snap Motion: Do not twist. Threadless pins are not threaded; twisting will only warp the metal. Instead, push the front end slightly inward toward the post, then rapidly pull it straight out while simultaneously pushing the back post in the opposite direction. You should feel a distinct 'pop' as the bent pin clears the lip of the hollow post.
Troubleshooting: What to Do When the End is Stuck
Despite the simplicity of the standard protocol, environmental factors, healing responses, and manufacturing tolerances can cause the end to become stubbornly lodged. Here is how to troubleshoot the most common failure modes.
Scenario A: The Slipping Grip
The most common reason people fail to remove threadless ends is a lack of surface friction. The decorative ends are often highly polished or feature small, intricate gem settings that offer no tactile grip. When your fingers slip, you instinctively squeeze harder, which only tires your hand and increases panic.
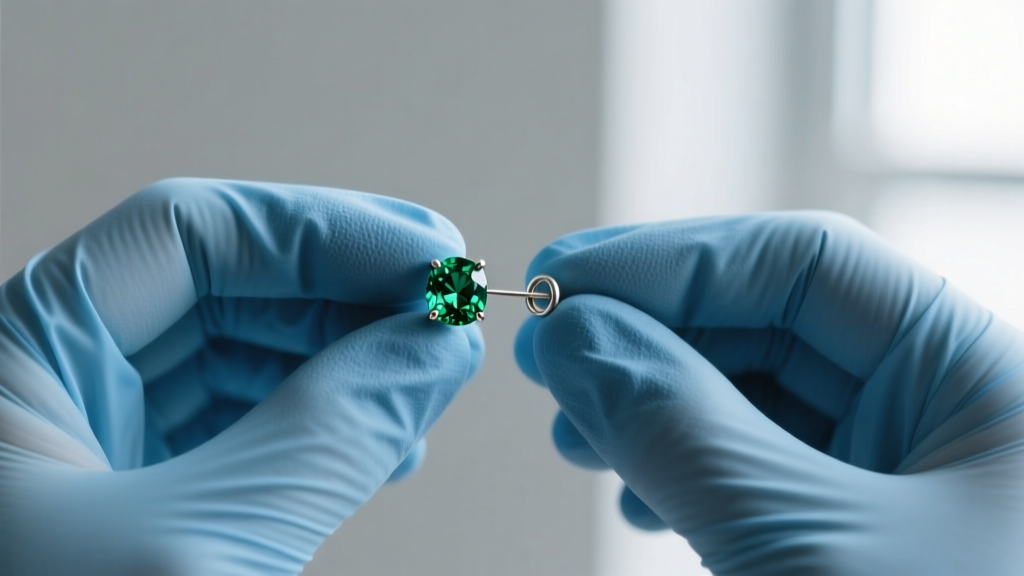
The Expert Solution: Put on a pair of tight-fitting, powder-free nitrile medical gloves. The textured surface of nitrile provides an aggressive grip on polished titanium and gemstones. With gloved hands, you can apply the necessary lateral force to break the tension seal without the jewelry slipping out of your grasp.
Scenario B: Lymph Crust and Tissue Adhesion
If you are attempting to remove jewelry from a healing piercing, or if you have slept in a humid environment, dried lymphatic fluid (crusties) can act like biological cement, sealing the microscopic gap between the pin and the post. Forcing the jewelry out when it is glued by crusties can lead to severe tissue trauma and bleeding.
The Expert Solution: Perform a localized saline soak. Soak a sterile non-woven gauze pad in a sterile 0.9% sodium chloride wound wash solution. Press the saturated gauze against the front and back of the jewelry for 3 to 5 minutes. This will rehydrate and dissolve the lymphatic bonds. Once the joint is clean and lubricated by the saline, attempt the push-and-pull method again.
Scenario C: Over-Bent Pin Tension
Occasionally, a professional piercer may bend the push-pin too deeply—sometimes up to 3mm instead of the standard 1.5mm—to accommodate a heavy end in a high-impact area like a tragus or rook. This over-bending creates excessive radial friction that standard finger strength cannot overcome.
The Expert Solution: Leverage the removal. Grip the post firmly behind the ear. Instead of pulling straight out, apply a slight, controlled bending motion to the front end, angling it at a 15-degree tilt relative to the post, then pull. This sequential release reduces the surface area of the pin pressing against the post wall at any single moment, effectively 'walking' the pin out of the hole.
Common Mistakes That Damage Threadless Jewelry
When frustration sets in, the risk of permanently damaging expensive body jewelry skyrockets. Review the comparison table below to understand the impact of improper removal techniques.
| Improper Technique | Mechanical Consequence | Biological Consequence |
|---|---|---|
| Using Steel Pliers | Crushes the hollow post; creates deep micro-gouges that harbor bacteria. | Rough metal edges scrape the fistula, causing irritation bumps and delayed healing. |
| Twisting the End | Warps the 0.9mm pin; risks snapping the pin off inside the post. | Torsional stress transfers to the piercing channel, causing acute swelling. |
| Pulling Without Anchoring | Yanks the entire post through the fistula abruptly. | Micro-tears in the epithelial tissue; potential for embedding if the back is lost. |
What Never to Do: The Plier Warning
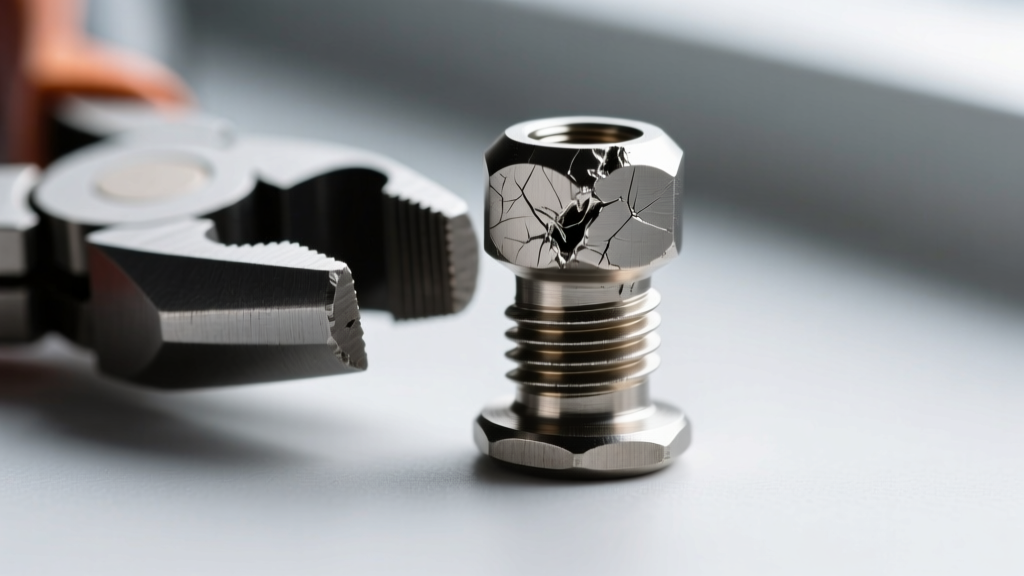
Under no circumstances should you use needle-nose pliers, tweezers, or any steel hand tools to grip a threadless end. Implant-grade titanium (ASTM F136) is highly biocompatible but relatively soft compared to hardened steel tools. Steel pliers will instantly crush the hollow 16g or 14g post, rendering a $40 to $80 piece of jewelry completely useless. Furthermore, if the pin snaps inside the post due to excessive lateral torque from pliers, you will be forced to visit a professional piercer to have the post surgically removed or pushed out with a specialized taper.
Pro Tip: If you are changing jewelry over a bathroom sink, always plug the drain first. The sudden 'pop' of a releasing threadless end frequently sends small, expensive gemstone clusters flying into the plumbing. Always perform jewelry changes over a soft towel or a dedicated silicone jewelry mat.
When to See a Professional Piercer
While mastering how to remove threadless earrings at home is a valuable skill, there are strict boundaries to DIY troubleshooting. You should immediately stop and visit an APP-certified professional if:
- The piercing is less than 3 months old and exhibiting signs of acute swelling, heat, or purulent discharge.
- The post is spinning freely in the fistula, meaning you cannot anchor the back to apply counter-pressure.
- You suspect the pin has snapped inside the post.
- Your fingers are cramping, and you are resorting to excessive, painful squeezing of the surrounding cartilage.
A professional piercer has specialized hemostats with silicone-tipped jaws designed to grip polished gems without scratching them, as well as the anatomical knowledge to stabilize the tissue during extraction.
Maintaining Tension for Reinsertion
Once you have successfully removed the threadless end, your troubleshooting is only half complete. Because the removal process often slightly straightens the push-pin, you must re-establish the bend before attempting to reinsert it. According to Neometal's official guidelines, you should insert the pin into the post only about one-third of the way, then bend the pin slightly toward the post until you feel resistance. For 16-gauge and 14-gauge jewelry, a bend of roughly 1.5mm to 2mm is the sweet spot. Test the tension by pulling on the end; it should require a firm, deliberate tug to remove. If it slides in and out with zero resistance, the pin is straight and the jewelry will fall out during sleep. If you cannot push it past the lip of the post, the bend is too severe and must be gently straightened to avoid snapping the metal.
By respecting the metallurgy and mechanics of your jewelry, you ensure that your premium body modifications remain secure, comfortable, and visually flawless for years to come.


