How to Style, Secure, and Clean Ball Chain Earrings
Learn how to safely wear, customize, and clean ball chain earrings. Discover gauge guides, snag-prevention tips, and DIY clasp securing methods.

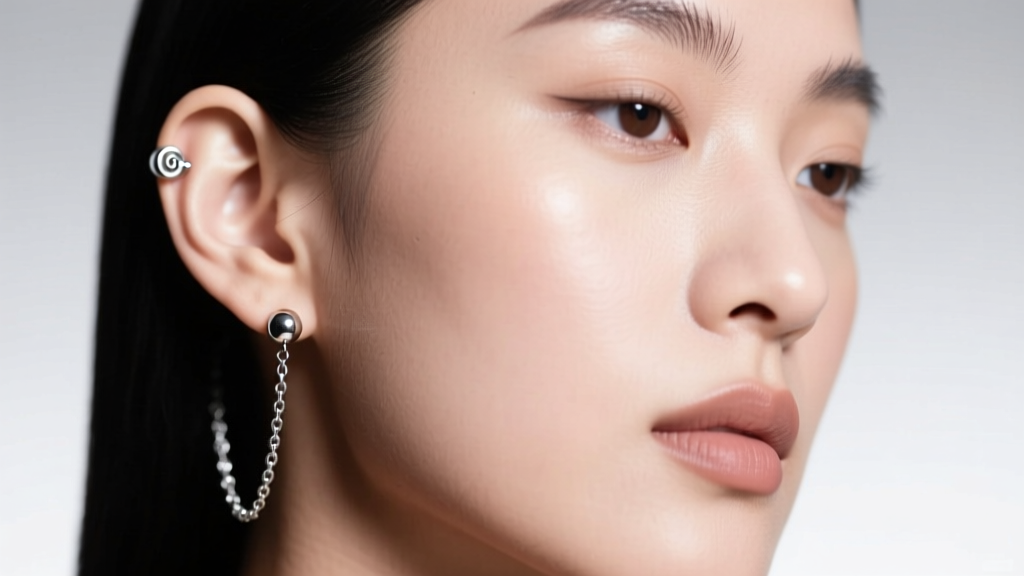
The Evolution of Ball Chain Earrings in Modern Styling
Ball chain earrings—frequently referred to as bead chains or military-style chains—have successfully transitioned from utilitarian hardware to a staple of avant-garde and minimalist ear styling. Unlike traditional cable or curb chains, ball chains are constructed from small metal spheres connected by short wire links. This unique interlocking geometry gives them a fluid, liquid-metal drape that catches the light beautifully. However, their structural design introduces specific challenges regarding hair snagging, clasp security, and ultrasonic cleaning damage.
Whether you are threading a delicate 1.5mm sterling silver chain through a standard lobe piercing or styling a heavy 4mm stainless steel chain in a 14-gauge conch piercing, understanding the mechanics of bead chains is essential. This comprehensive guide will walk you through the exact steps to select, secure, customize, and maintain your ball chain earrings for long-term wear.
Step 1: Selecting the Right Gauge and Ball Diameter
The most common mistake consumers make when purchasing ball chain earrings is confusing the wire gauge (the thickness of the connecting wire and the post that goes through the ear) with the ball diameter (the size of the metal spheres). According to the Association of Professional Piercers, matching the correct wire thickness to your specific piercing gauge is critical to prevent tissue irritation and jewelry bending.
For standard earlobe piercings (typically 20G or 18G), a thinner wire (0.8mm to 1.0mm) paired with smaller 2mm balls provides a delicate, minimalist aesthetic. For cartilage piercings like the helix or flat (typically 16G), you require a heavier chain with a 1.2mm wire to withstand the pressure of sleeping and hair brushing without warping.
| Ball Diameter | Wire Thickness | Best Piercing Placement | Aesthetic Vibe | Average Price Range |
|---|---|---|---|---|
| 1.5mm - 2.0mm | 0.8mm - 1.0mm | Standard Lobe (20G-18G) | Delicate, Minimalist | $25 - $45 (Sterling Silver) |
| 2.5mm - 3.0mm | 1.0mm - 1.2mm | Helix / Flat (16G) | Industrial, Edgy | $15 - $30 (316L Steel) |
| 3.5mm - 4.5mm | 1.2mm - 1.5mm | Conch / Daith (14G-12G) | Statement, Grunge | $60 - $120 (14k Gold-Filled) |
Step 2: How to Prevent Snagging and Secure the Clasp
The defining vulnerability of a ball chain is its socket connector. The small metal wire link that joins two spheres together is a prime trap for loose hair and fine threads. Furthermore, the standard 'barrel clasp' used on many bead chains relies on friction and a tiny internal spring mechanism, which can easily pull apart if the earring catches on a sweater.
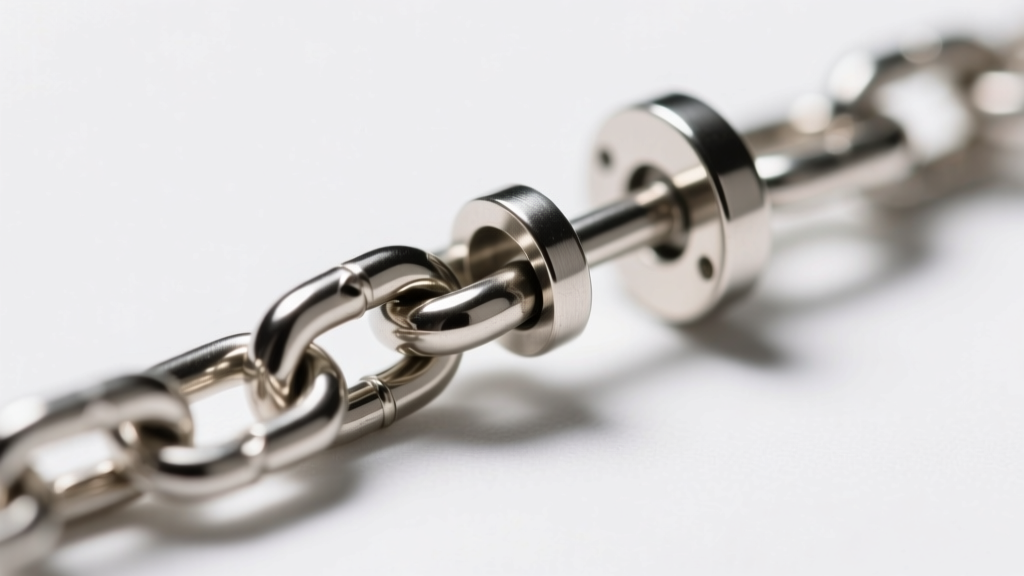
Actionable Snag-Prevention Tactics
- Choose Machined over Stamped Balls: Stamped ball chains are made by pressing two halves of a sheet metal sphere together, leaving a microscopic seam that acts like a razor to fine hair. Invest in machined or seamless ball chains where each sphere is carved from a solid piece of metal.
- Upgrade the Clasp: If your earrings come with a friction barrel clasp, replace it with a 4mm lobster claw clasp attached via a soldered jump ring. This eliminates the friction-failure point entirely.
- The Adhesive Trick: For DIY enthusiasts who prefer the look of a barrel clasp, apply a micro-drop of G-S Hypo Cement (a flexible jewelry adhesive) inside the clasp socket before snapping it shut. Let it cure for 24 hours to permanently lock the mechanism without ruining the metal finish.
Step 3: DIY Customization (Adding Charms and Pendants)
Ball chain earrings serve as an incredible blank canvas for modular customization. Because the chains are highly flexible, adding weighted pendants creates a beautiful kinetic dangle effect. However, you cannot simply pry open a ball chain link like a standard jump ring; the wire connector will permanently bend and snap.
Tools Required for Customization
- Flush cutters (to cleanly snip the wire link between two spheres).
- 3mm or 4mm split rings (double-looped like a tiny keychain ring).
- Chain-nose pliers for securing charm jump rings.
The Process: Decide where you want the charm to hang. Using flush cutters, snip the wire link connecting two balls. Thread the end of the chain through the split ring, then attach your charm. If you are creating a Y-drop style earring, cut the chain at the 1-inch mark, attach a split ring, and let the remaining half-inch dangle with a gemstone bead.
Step 4: The Proper Cleaning Protocol for Ball Chains
Cleaning ball chain earrings requires a departure from standard jewelry care routines. Many jewelers recommend ultrasonic cleaners for silver and gold, but ultrasonic vibrations are highly destructive to ball chains. The high-frequency waves can rattle the delicate socket connectors loose, causing the chain to disintegrate into individual beads inside the cleaning tank.
"Always avoid ultrasonic and steam cleaners for any jewelry featuring tension-set stones, porous gems, or mechanical linkages like ball-and-socket chains. Manual agitation is the only safe method to preserve the structural integrity of the wire links." — Guidelines adapted from the Jewelers of America care standards.
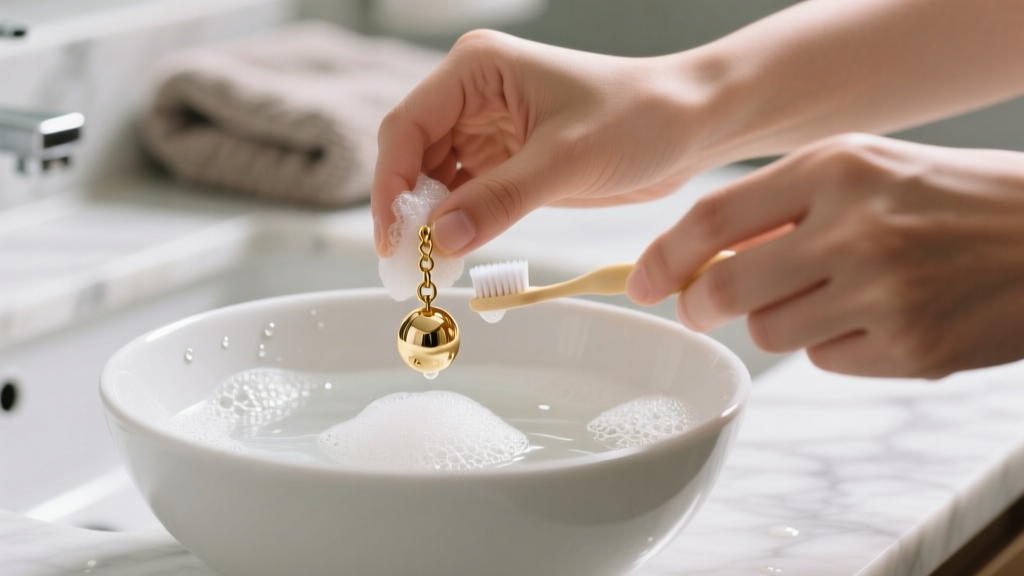
The Manual Soak-and-Scrub Method
To remove sebum, dead skin cells, and hair product buildup from the micro-crevices between the balls, follow this protocol:
- Fill a ceramic bowl with warm water and three drops of mild, phosphate-free dish soap.
- Submerge the earrings for 10 minutes to soften biological buildup.
- Using an extra-soft baby toothbrush, gently brush along the chain (parallel to the wire links), never across it, to avoid bending the connectors.
- Rinse under distilled water to prevent hard water spots on sterling silver or steel.
- Pat dry with a microfiber cloth, ensuring no lint is caught in the sockets.
Troubleshooting Common Ball Chain Issues
Issue: The chain leaves a green or black mark on the skin.
Cause: This indicates the chain is made of a brass or copper core that has been thinly plated, and the plating has worn away inside the friction-heavy sockets.
Solution: Discard the plated chain. Upgrade to solid 316L surgical stainless steel, ASTM F136 implant-grade titanium, or solid 14k gold. Always check for a '925' stamp for sterling silver, though note that silver can oxidize and require regular polishing.
Issue: The ball chain feels stiff and lacks drape.
Cause: Dirt and oxidized oils have cemented the ball-and-socket joints, or the wire gauge is too thick for the ball size.
Solution: Perform the manual soak-and-scrub method outlined above. If the chain remains stiff, the wire thickness is disproportionate to the sphere size; switch to a chain with a higher ball-to-wire ratio for better fluidity.
Final Thoughts on Ear Styling
Ball chain earrings offer an unparalleled blend of industrial edge and fluid elegance. By respecting the mechanical limitations of the bead-and-socket design—specifically by avoiding ultrasonic cleaners, upgrading friction clasps, and selecting the correct wire gauge for your piercing—you can integrate these unique chains into your daily ear curation safely and stylishly. Whether layered with geometric studs or worn as a solitary statement piece in a conch piercing, ball chains remain a versatile tool in the modern jewelry wardrobe.


