How to Style Gold Spike Earrings for Lobes & Cartilage
Learn how to style, wear, and clean gold spike earrings safely. Expert tips on gauge sizes, cartilage placement, and face-shape matching.


Gold spike earrings occupy a unique space in fine jewelry, bridging the gap between classic elegance and avant-garde edge. Whether you are drawn to the minimalist appeal of a subtle 5mm stud or the bold statement of a 20mm cartilage spike, mastering the mechanics of how to wear them safely and stylishly is essential. Unlike smooth hoops or flat-backs, the tapered geometry of a spike introduces specific weight distribution, snag hazards, and material stress points that require expert consideration.
In this comprehensive guide, we break down the metallurgy, gauge requirements, and styling frameworks you need to confidently wear gold spike earrings in both lobe and cartilage placements.
The Anatomy of Gold Spike Earrings: What to Look For
Not all spikes are created equal. The structural integrity of the earring depends heavily on the gold alloy used and the precision of the taper. When shopping for high-quality gold spike earrings, you must evaluate the Vickers hardness (HV) of the metal.
- 24k Gold (99.9% pure): With a Vickers hardness of roughly 25 HV, pure gold is far too soft for spike earrings. The tip will easily bend or blunt against clothing and hair.
- 18k Gold (75% pure): At approximately 125 HV, 18k gold offers a luxurious, rich yellow hue while providing adequate rigidity for shorter spikes (under 10mm).
- 14k Gold (58.5% pure): Boasting a hardness of around 150-160 HV, 14k gold is the optimal choice for longer, sharper spikes. The higher alloy content (often mixed with copper, silver, or zinc) ensures the tip maintains its needle-like precision without snapping under pressure.
According to the Gemological Institute of America (GIA), the specific alloy mix not only dictates hardness but also color. If you prefer a sharper, more aggressive look, 14k white gold or rose gold offers slightly different tensile strengths and aesthetic contrasts against various skin tones.
Step-by-Step Guide to Choosing the Right Gauge and Backing
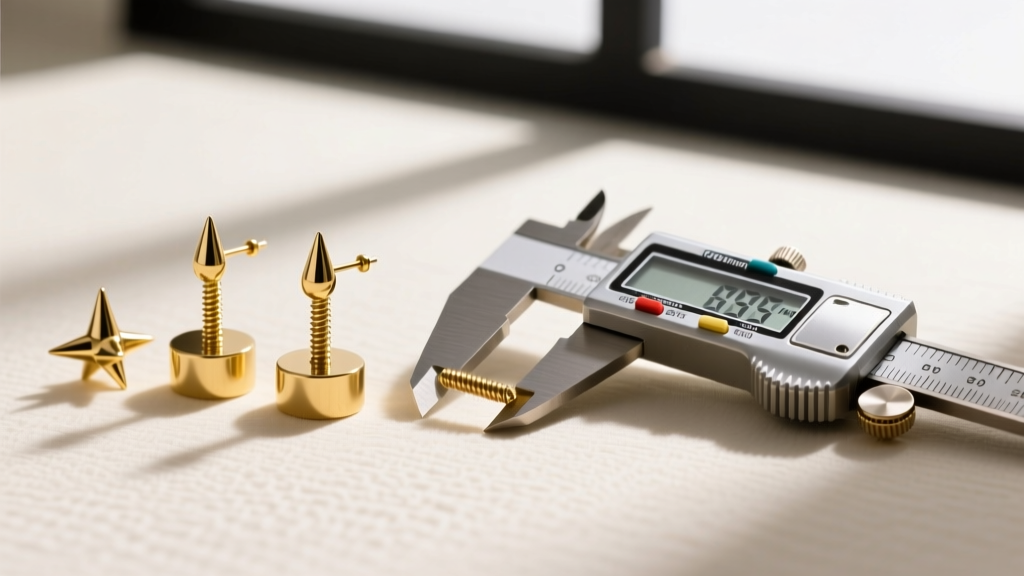
The most common mistake consumers make is ignoring the post gauge. A heavy gold spike requires a thicker post to prevent the earring from drooping or tearing the piercing channel. Below is a decision matrix for matching your spike dimensions to the correct jewelry gauge and backing mechanism.
| Spike Length / Weight | Recommended Gauge | Post Diameter (mm) | Best Backing Type | Ideal Placement |
|---|---|---|---|---|
| 3mm - 6mm (Light) | 20g or 18g | 0.81mm - 1.02mm | Friction Post / Butterfly | Standard Lobe |
| 7mm - 12mm (Medium) | 18g or 16g | 1.02mm - 1.29mm | Screw-Back / Secure Clutch | Upper Lobe / Helix |
| 13mm - 20mm+ (Heavy) | 16g or 14g | 1.29mm - 1.60mm | Flat-Back Labret (Internally Threaded) | Helix / Tragus / Conch |
For cartilage placements, the Association of Professional Piercers (APP) strongly recommends internally threaded or threadless flat-back labrets. Push-pins and external threads can harbor bacteria and cause micro-trauma to the delicate cartilage fistula, especially when the leverage of a heavy spike is applied to the post.
How to Match Gold Spike Earrings to Your Face Shape
Because spikes introduce sharp, linear angles to the face, they can dramatically alter your facial proportions. Use this styling framework to select the perfect silhouette:
Round Faces
Opt for longer, vertical drop spikes or elongated huggie cuffs with downward-facing spikes. The linear geometry elongates the jawline and draws the eye vertically, creating a slimming effect. Avoid wide, horizontal cluster spikes which can widen the appearance of the cheeks.
Square Faces
Balance a strong, angular jawline with spikes that feature a slight curve at the base or are integrated into a circular hoop. A medium-length spike (8mm-12mm) attached to a seamless clicker hoop softens the harsh angles while maintaining an edgy aesthetic.
Oval Faces
You have the most versatility. Symmetrical, medium-width conical studs look exceptionally balanced. Experiment with asymmetrical styling—such as a bold 15mm spike in the upper lobe paired with a subtle 4mm spike in the lower lobe.
Heart-Shaped Faces
Draw attention downward and add width to the lower half of the face by wearing wider, shorter spikes or spike-adorned ear cuffs that sit snugly against the mid-ear, avoiding overly long dangles that emphasize a narrow chin.
Cartilage vs. Lobe: Placement and Safety Protocols
Wearing gold spike earrings in cartilage requires a completely different safety protocol than standard lobe piercings due to the lack of blood flow in cartilage tissue and the increased risk of snagging.
Helix and Tragus Placements
When placing a spike in the helix (upper outer rim), the spike should point upward or backward, never downward where it can catch on collars or hair. For tragus piercings, ensure the spike length does not exceed 5mm; otherwise, it will press uncomfortably against the ear canal when using a phone or wearing headphones.
Avoiding Snag Hazards
Pro Tip: If you wear your hair down, always position cartilage spikes so the sharp tip points toward the back of your head. Forward-facing spikes will inevitably tangle in your hair, causing painful micro-tears to the piercing channel and potential loss of the earring.
Never sleep in cartilage spike earrings. The pressure of a pillow against a rigid metal spike can cause the post to bend, or worse, drive the spike tip into the side of your head or neck. Swap to a smooth titanium retainer or a flat disc at night.
Step-by-Step Cleaning and Maintenance Routine
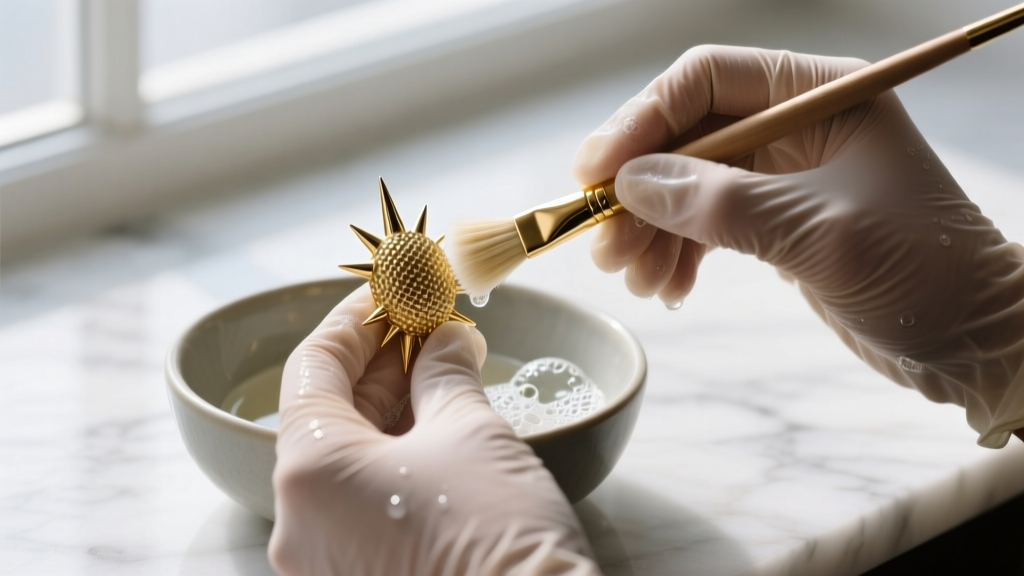
The tapered shape of a spike creates a unique challenge for cleaning: the base often collects sebum and hair products, while the tip requires careful handling to avoid bending or scratching. Follow this weekly maintenance routine:
- Preparation: Fill a small ceramic bowl with warm water and two drops of mild, fragrance-free dish soap. Avoid harsh chemical jewelry dips, which can strip the alloy metals from 14k or 18k gold, leading to a dull, brassy appearance.
- Soak: Submerge the gold spike earrings for exactly 5 minutes. This softens any hardened debris at the junction where the spike meets the post.
- Agitation: Using an extra-soft baby toothbrush, gently brush the base of the spike. Never brush the tip with abrasive force. Always stroke from the base toward the tip to avoid catching and bending the point.
- Rinsing: Rinse under lukewarm distilled water. Tap water contains minerals that can leave microscopic water spots on high-polish gold.
- Drying: Pat dry with a lint-free microfiber cloth. Avoid paper towels, as the wood pulp fibers can catch on the microscopic point of the spike and tear.
Note: If your gold spike earrings feature micro-pave diamonds or tension-set stones at the base, avoid ultrasonic cleaners. The high-frequency vibrations can loosen the settings, causing stone loss.
Troubleshooting Common Wear Issues
Even with the perfect gauge, heavy gold spikes can present mechanical challenges. Here is how to troubleshoot the most common issues:
- Lobe Drooping: If a heavy 14k gold spike (over 3 grams) is pulling your lobe downward, purchase medical-grade silicone earring support discs (O-rings). Place one on the post before securing the backing to distribute the weight across a wider surface area of the earlobe.
- Post Bending: If your post bends repeatedly, the gauge is too thin for the leverage of the spike. Upgrade to a 16g post or switch to a threadless system where the pin is made of surgical steel for rigidity, while the decorative spike remains solid gold.
- Dulled Tip: Over time, the microscopic tip of a gold spike can round off due to friction. A professional jeweler can use a burnishing tool to re-sharpen the tip without removing significant metal weight.
By understanding the metallurgy, respecting the gauge requirements, and following strict maintenance protocols, your gold spike earrings will remain a sharp, sophisticated staple in your jewelry rotation for years to come.


