How to Style and Maintain Pearl Cluster Stud Earrings
Learn how to style, clean, and maintain pearl cluster stud earrings. Discover expert tips on ear curation, adhesive repair, and pearl-safe cleaning.

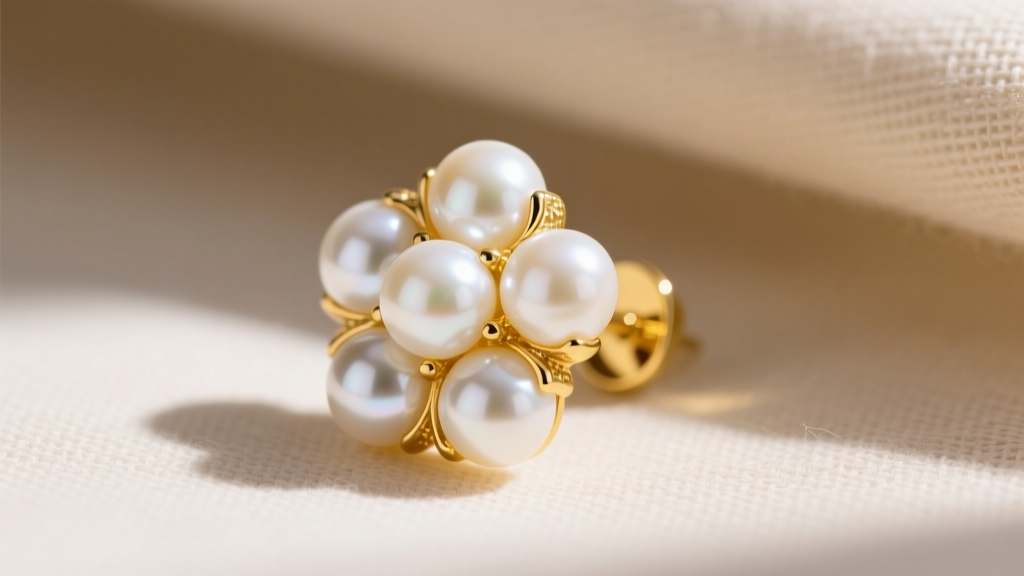
The Anatomy of Pearl Cluster Stud Earrings
Pearl cluster stud earrings are a masterclass in dimensional jewelry design. Unlike single-pearl studs, clusters arrange multiple smaller pearls (typically ranging from 3mm to 6mm each) into a cohesive floral, geometric, or abstract silhouette. The total diameter of a cluster stud usually spans between 8mm and 14mm, creating the illusion of a single, massive gemstone while maintaining a lightweight, organic profile.
Understanding how these earrings are constructed is critical for long-term maintenance. There are two primary manufacturing methods:
- Flat-Back Adhesive Settings: Common in fashion and bridge jewelry ($30–$120 price range), flat-back pearls are glued directly onto a textured metal plate. This method relies entirely on the integrity of the jewelry adhesive.
- Half-Drilled Peg Settings: Standard in fine jewelry ($150–$500+), each pearl is half-drilled and mounted onto a tiny metal peg protruding from the base, then secured with a micro-drop of epoxy. This offers vastly superior structural integrity and prevents the pearls from twisting or falling out under minor stress.
Evaluating Quality and Pricing Tiers
When investing in pearl cluster studs, the metal base and the pearl grade dictate the price and longevity. Because clusters require multiple matched pearls, manufacturers predominantly use freshwater pearls, which offer excellent luster and durability at accessible price points. According to the GIA Gem Encyclopedia, freshwater pearls possess a solid nacre composition, making them less prone to chipping than thin-nacre bead-nucleated alternatives.
| Tier | Materials | Pearl Grade | Price Range |
|---|---|---|---|
| Entry | Sterling Silver (often rhodium-plated) | AA (Minor blemishes, good luster) | $35 – $85 |
| Mid-Range | 14k Yellow or White Gold | AAA (Clean surface, sharp luster) | $150 – $350 |
| Luxury | 18k Gold or Platinum | Akoya or Gem-Grade Freshwater | $500 – $1,200+ |
Step-by-Step: Curating Your Ear with Pearl Clusters
Because of their wider surface area, pearl cluster stud earrings require strategic placement in an ear curation. Placing them incorrectly can lead to visual clutter or physical discomfort.
1. Assess Your Lobe Real Estate and Gauge Size
Standard lobe piercings are typically done at 20-gauge (0.8mm) or 18-gauge (1.0mm). However, cluster studs carry more weight than standard solitaires. If your cluster exceeds 10mm in diameter, a 20-gauge post will likely bend or cause the earring to droop forward awkwardly. Always opt for an 18-gauge (1.0mm) or even 16-gauge (1.2mm) post for clusters to ensure the earring sits flush and upright against the lobe.
2. Strategic Hole Placement
If you have multiple lobe piercings, reserve the primary (lowest) hole for the cluster stud. A 12mm cluster placed in a second or third hole will likely overlap the lower piercing, forcing you to remove your other jewelry. Pair the cluster in the first hole with a delicate, flush-fitting gold huggie or a micro-pave diamond stud in the second hole to balance the visual weight.
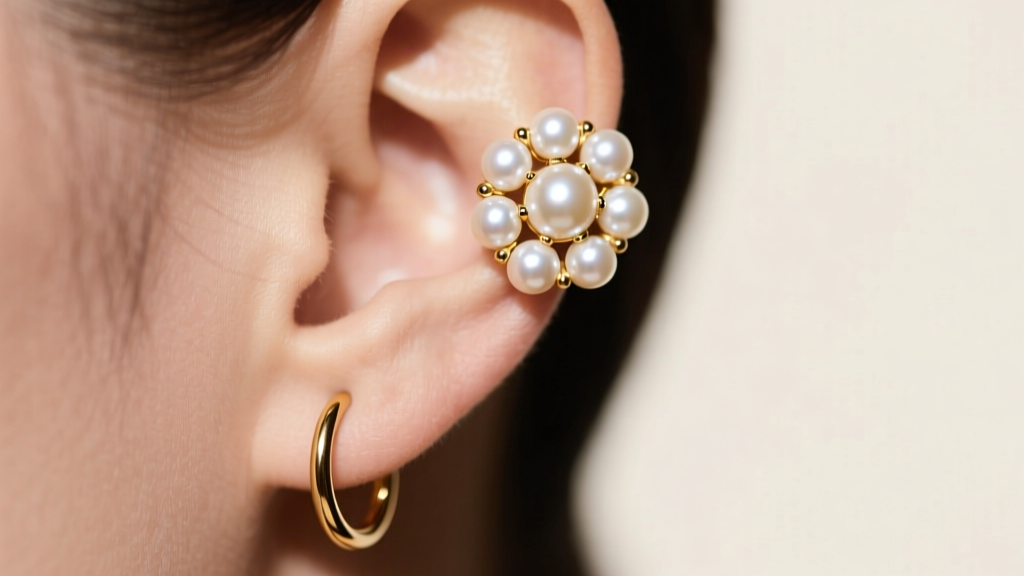
3. Mixing Metals and Textures
Pearl clusters are inherently maximalist. To keep the styling modern rather than vintage, mix the organic texture of the pearls with sharp, minimalist metallics. A 14k yellow gold pearl cluster pairs beautifully with a sleek, high-polish white gold or platinum helix stud, creating a deliberate contrast in both color and texture across the ear.
How to Clean Pearl Clusters Without Ruining the Nacre
Pearls are organic gems composed of calcium carbonate, ranking a mere 2.5 to 3.0 on the Mohs hardness scale. They are highly susceptible to chemical damage and abrasion. The Gemological Institute of America (GIA) strictly advises against using ultrasonic cleaners or steamers on pearls, as the high-frequency vibrations can shatter the nacre or dislodge the adhesive holding the cluster together.
Step-by-Step Cleaning Routine:
- Dry Dusting: Use a clean, ultra-soft makeup brush (like a goat-hair blending brush) to gently sweep away dead skin cells and cosmetic dust from the crevices between the pearls.
- Damp Wipe: Dampen a microfiber cloth with distilled water. Never use tap water, as chlorine and hard minerals can dull the pearl's luster over time.
- Mild Surfactant (If Necessary): If the pearls have accumulated oils or hairspray, add a single drop of pH-neutral baby shampoo to the damp cloth. Gently wipe the surface of each pearl. Do not soak the earring, as water can seep into the half-drill holes and degrade the epoxy bond.
- Air Dry: Lay the earrings flat on a dry towel. Do not use a hairdryer; heat can warp the metal base and weaken the glue.
Troubleshooting: Reattaching a Loose Pearl
The most common failure mode for pearl cluster earrings is the loss of a single pearl due to adhesive degradation. If a pearl pops out, do not panic, and never use cyanoacrylate (Super Glue). Cyanoacrylate releases fumes as it cures that cause "frosting"—a permanent, cloudy white film that will ruin the pearl's iridescence.
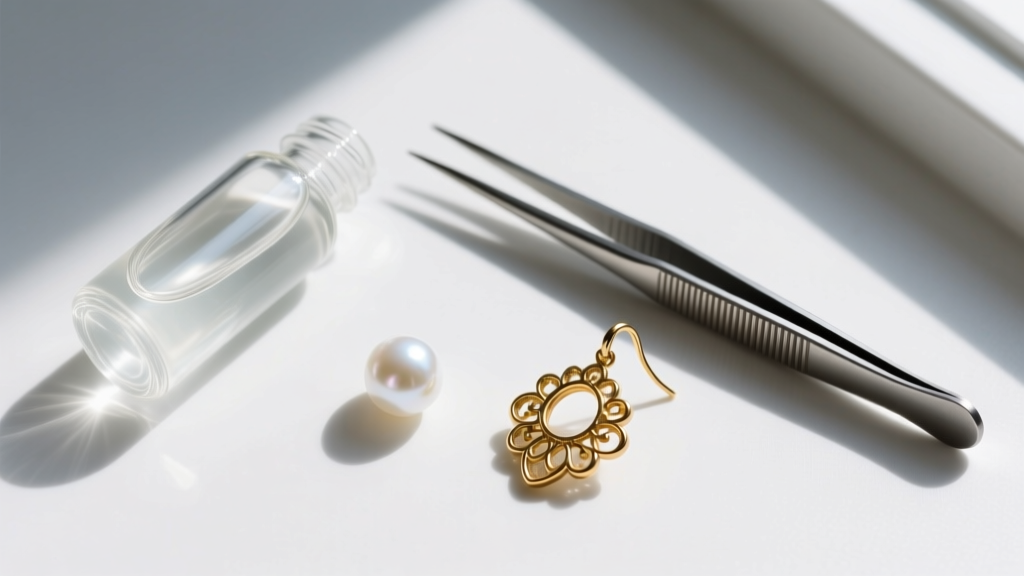
Choosing the Right Adhesive
| Adhesive Type | Brand Example | Cure Time | Flexibility | Best Use Case |
|---|---|---|---|---|
| Jewelry Cement | G-S Hypo Cement | 10-15 Mins | High (Flexible) | Small flat-back pearls (<4mm) |
| Two-Part Epoxy | Devcon 5-Minute Clear | 5 Mins | Low (Rigid) | Half-drilled pearls on pegs, heavy wear |
| Cyanoacrylate | Generic Super Glue | 10 Secs | Brittle | NEVER use on pearls or jewelry |
Repair Steps
- Use a wooden toothpick to gently scrape away any old, crusty adhesive from both the metal cup/peg and the base of the pearl.
- Clean both surfaces with a cotton swab dipped in isopropyl alcohol. Let them dry completely.
- If using a two-part epoxy, mix a tiny amount on a piece of cardboard. Use a fine needle or toothpick to transfer a micro-drop of epoxy to the metal peg.
- Slide the pearl onto the peg, giving it a slight twist to distribute the glue evenly. Wipe away any squeeze-out immediately with a dry cotton swab.
- Prop the earring upright in a small cup of rice or clay to keep the pearl perfectly level while the epoxy cures for 24 hours.
Long-Term Storage and Wear Rules
To maximize the lifespan of your pearl cluster stud earrings, adopt the "Last On, First Off" rule. Pearls should be the very last thing you put on after applying makeup, perfume, and hairspray, and the first thing you take off when you get home. The alcohol and acids in cosmetics and fragrances will rapidly strip the nacre's natural orient (the optical play of color on the surface).
When storing, never toss pearl clusters into a communal jewelry box. Diamonds, sapphires, and even metal edges will easily scratch the soft pearl surfaces. Store your cluster studs in a dedicated, breathable silk or untreated cotton pouch. Avoid airtight plastic bags; pearls require a slight amount of ambient moisture to prevent the nacre from drying out, cracking, or yellowing over time. By following these meticulous care and styling protocols, your pearl clusters will remain a luminous, structural staple in your jewelry rotation for decades.


