How to Style the Free People Teeny Tiny Mega Stud Earring Set
Master your curated ear with our step-by-step guide to styling the Free People Teeny Tiny Mega Stud Earring Set for lobe and cartilage piercings.

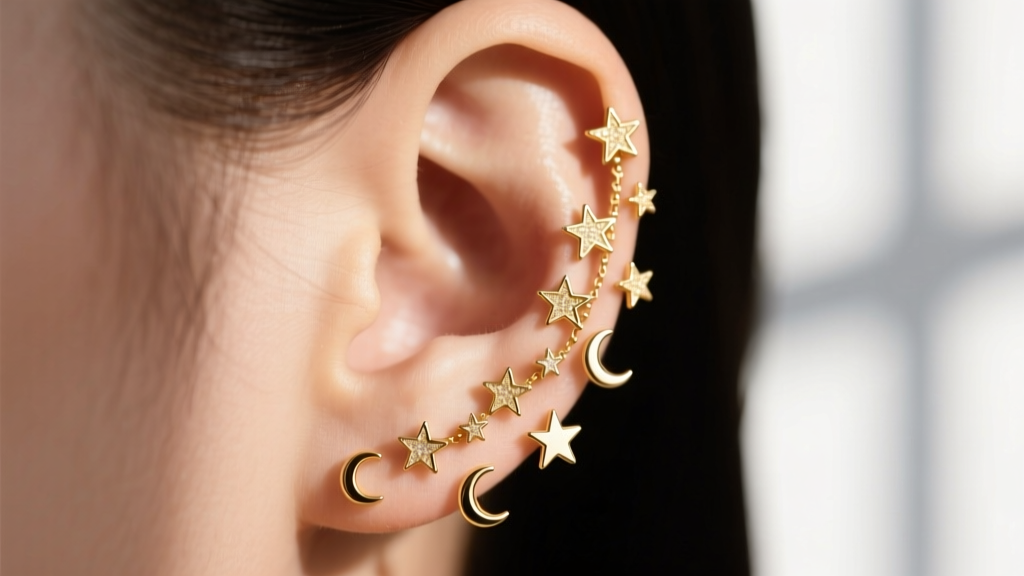
The Anatomy of a Mega Stud Set
The curated ear trend has evolved from a niche subculture into a mainstream styling staple, and the free people teeny tiny mega stud earring set is one of the most accessible entry points for achieving this look. These multi-piece sets typically include an assortment of micro-studs, celestial motifs, and subtle florals designed to be mixed and matched across multiple piercings. However, successfully pulling off a multi-piercing aesthetic requires more than just randomly inserting studs into available holes. It demands a strategic approach to visual weight, gauge compatibility, and material safety.
In this comprehensive guide, we will break down exactly how to map, insert, and maintain your mega stud set. Whether you are working with standard lobe piercings or a fully realized cartilage constellation, understanding the physical limitations and stylistic potential of fashion jewelry is critical for both the longevity of the pieces and the health of your piercings.
Material Science: Plated Brass vs. Implant-Grade Titanium
Before we begin the styling process, we must address the metallurgy of fashion jewelry. The free people teeny tiny mega stud earring set is primarily crafted from brass or zinc alloy bases with a flash-plated gold or silver finish. While visually stunning, these materials require specific handling.
Unlike implant-grade titanium (ASTM F-136) or solid 14k gold, plated brass is not recommended for fresh, unhealed piercings. The Association of Professional Piercers strictly advises against porous or plated metals in open wounds due to the risk of bacterial harboring and heavy metal leaching. Furthermore, brass contains copper and often trace amounts of nickel. According to the American Academy of Dermatology, nickel exposure is a leading cause of allergic contact dermatitis, which can manifest as redness, itching, and flaking around the piercing site.
The Golden Rule: Only wear this set in fully healed piercings (minimum 6-8 weeks for lobes, 9-12 months for cartilage). If you experience irritation, remove the jewelry immediately and switch to solid titanium or bioplast retainers.
Step-by-Step Guide: Mapping Your Curated Ear
Creating a cohesive ear constellation requires a gradient effect, moving from larger, more substantial pieces at the bottom to delicate, microscopic accents at the top. Here is your step-by-step styling blueprint.
Step 1: Sanitize and Prep the Canvas
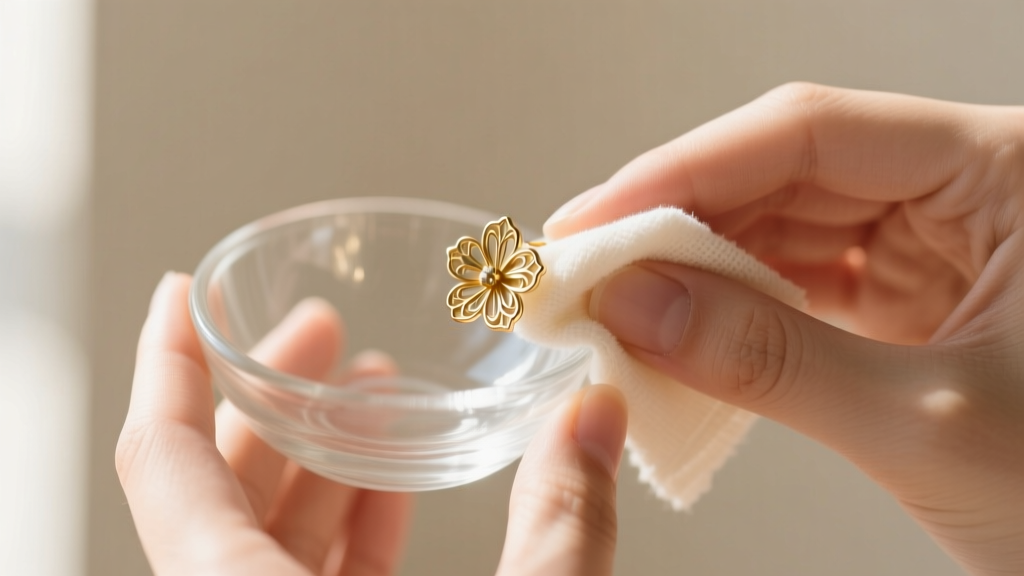
Always start with clean hands and sterilized jewelry. Wipe down each stud in the mega set with a lint-free cloth dampened with 70% isopropyl alcohol. This removes manufacturing oils and dust. Avoid soaking the jewelry in alcohol, as prolonged exposure can degrade the flash plating and dull the finish.
Step 2: The Lobe Anchor Strategy
Your primary lobe piercing (Lobe 1) serves as the visual anchor for the entire ear. Select the largest stud from the set—typically a 4mm to 5mm motif like a sunburst, a larger star, or a textured sphere. Because standard lobe piercings are usually done at 20-gauge or 18-gauge, the standard butterfly-back posts on these fashion studs will slide in effortlessly. Secure the backing firmly, but do not push it flush against the skin; leave a 1mm gap to allow for natural swelling and airflow.
Step 3: Building the Gradient (Lobes 2 and 3)
For secondary and tertiary lobe piercings, step down the size. Use 2mm to 3mm studs, such as tiny moons, micro-daisies, or simple bezel-set simulated gems. The goal is to create a tapering effect that draws the eye upward toward the cartilage. If your set includes asymmetrical pieces, place the more intricate design on the lobe and the simpler stud on the higher piercing to maintain visual balance.
Step 4: Navigating Cartilage Gauge Mismatches
This is where most curated ear attempts fail. Cartilage piercings (helix, flat, conch) are typically pierced at 16-gauge (1.2mm) or 14-gauge (1.6mm). The studs in this fashion set are almost universally 20-gauge (0.8mm). Forcing a thin 20-gauge post into a 16-gauge hole can cause the 'cheese cutter effect,' where the thin wire migrates through the tissue, causing tearing and irritation bumps.
The Solution: If your cartilage is fully healed and has shrunk to accommodate 20-gauge jewelry, insert the stud gently. Never force it. If you feel resistance, stop. For stubborn cartilage holes, reserve the mega stud set strictly for your lobe piercings and invest in 16-gauge titanium threadless ends for your upper ear.
Gauge and Post Length Compatibility Matrix
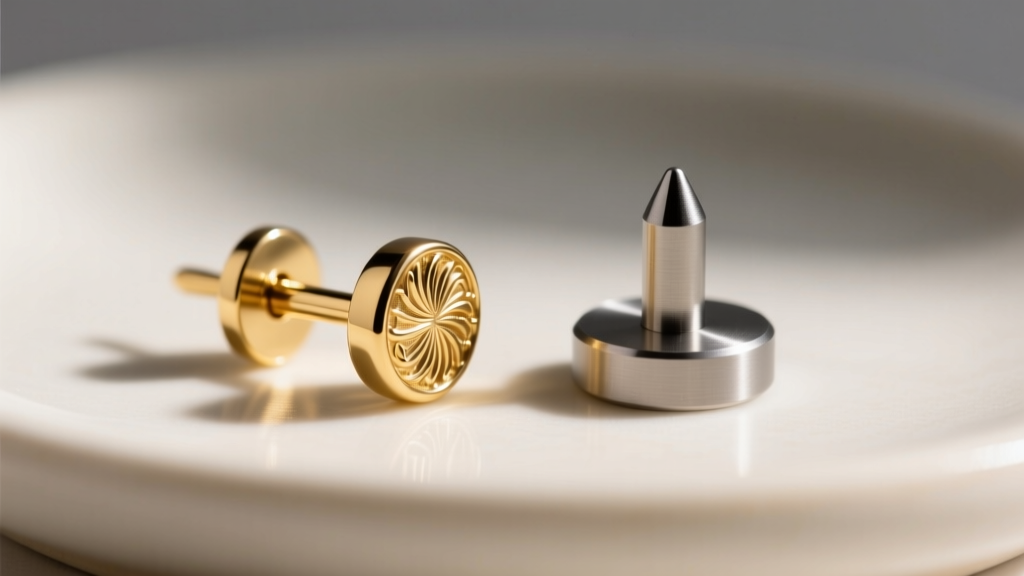
Understanding the physical dimensions of your jewelry is crucial for comfort, especially when sleeping or wearing headphones. The standard post length on butterfly-back fashion earrings is usually 10mm to 11mm, which is often too long for snug cartilage piercings, leading to painful snagging.
| Piercing Location | Standard Hole Gauge | Fashion Stud Gauge | Ideal Post Length | Compatibility Verdict |
|---|---|---|---|---|
| Standard Lobe | 20g - 18g | 20g (0.81mm) | 10mm - 11mm | Excellent Fit |
| Upper Lobe | 18g - 16g | 20g (0.81mm) | 8mm - 10mm | Good (May require thicker back) |
| Helix / Flat | 16g (1.29mm) | 20g (0.81mm) | 6mm - 8mm | Poor (Risk of snagging/migration) |
| Tragus | 16g (1.29mm) | 20g (0.81mm) | 5mm - 6mm | Very Poor (Butterfly backs won't fit) |
As the matrix illustrates, the free people teeny tiny mega stud earring set is heavily optimized for lobe and upper-lobe styling. Attempting to use standard butterfly-back studs in a tragus piercing is physically impractical, as the space behind the tragus is too shallow to accommodate the post and the backing.
Prolonging the Lifespan of Flash-Plated Jewelry
Fashion jewelry sets are notorious for tarnishing or losing their gold finish within a few months of heavy wear. The brass and copper base metals react with the sulfur and moisture in your sweat, leading to oxidation. To maximize the lifespan of your mega stud set, implement a strict maintenance routine.
- The 'Last On, First Off' Rule: Always put your earrings on after applying perfumes, hairsprays, and lotions. Chemical solvents in cosmetics will strip the flash plating almost instantly.
- Moisture Control: Never sleep, shower, or swim in plated brass jewelry. Water accelerates the oxidation process and can cause the base metal to turn your skin green.
- Proper Storage: Store the set in an airtight ziplock bag with a silica gel packet to absorb ambient humidity. Keep individual studs separated so the posts do not scratch the delicate plated faces of the other motifs.
Troubleshooting Common Curated Ear Hiccups
Even with careful planning, you may encounter a few issues when styling a multi-piece set. Here is how to troubleshoot the most common problems.
Issue: The Earring Backs Keep Falling Off
The friction notches on mass-produced 20-gauge posts are often shallow, causing butterfly backs to slide off, especially when brushing your hair. Fix: Swap the standard metal backs for silicone O-ring earring backs or clear rubber stoppers. These provide superior grip and are much more comfortable against the neck when sleeping.
Issue: The 'Green Skin' Reaction
If your earlobes develop a green tint, this is not an infection; it is a harmless chemical reaction between the copper in the brass alloy and your skin's natural acids. Fix: Remove the jewelry and wash the area with soap and water. To prevent this, paint the posts and the back of the stud motifs with a thin layer of clear nail polish to create a barrier between the metal and your skin.
Issue: Cartilage Irritation Bumps
If you notice a small, fluid-filled bump forming near your helix piercing after wearing the set, the long post is likely causing friction, or the metal is triggering a mild contact dermatitis response. Fix: Remove the fashion stud immediately. Cleanse the area with sterile saline spray twice a day and downsize to an implant-grade titanium flat-back labret until the bump completely resolves.
Final Thoughts on Ear Curation
Styling the free people teeny tiny mega stud earring set is an exercise in balance, anatomy, and material awareness. By respecting the gauge limitations of your cartilage, strategically mapping your visual gradient, and maintaining the delicate flash plating, you can achieve a high-end, bespoke curated ear look without the bespoke price tag. Remember that a truly great ear constellation tells a story—let your styling choices reflect your personal aesthetic while prioritizing the long-term health of your piercings.


