How to Take Out a Stud Earring: Material & Backing Guide
Learn how to take out a stud earring safely by understanding metal properties, backing types, and swelling causes. Expert removal guide.

Why Earring Material Dictates Removal Techniques
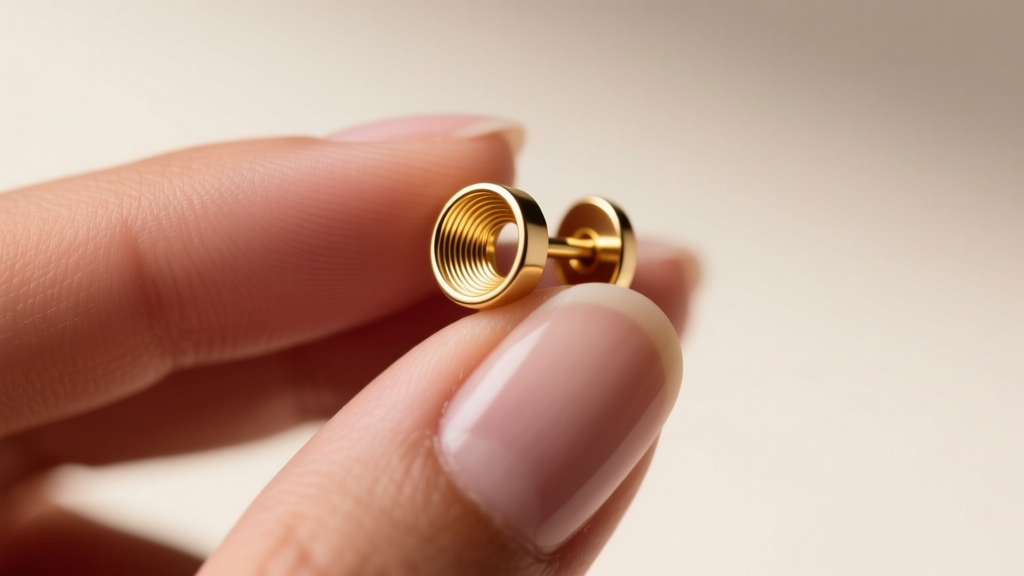
When searching for instructions on how to take out a stud earring, most guides focus solely on the mechanical action of twisting or pulling. However, as a domain expert in jewelry metallurgy and piercing aftercare, I can tell you that the material composition of your stud and its backing mechanism are the true determinants of a smooth, pain-free removal. The fistula (the healed tube of skin inside your piercing) reacts dynamically to different metals. Factors like friction coefficients, nickel leaching, and threading quality dictate whether your earring slides out effortlessly or becomes stubbornly stuck due to microscopic swelling and tissue adhesion.
Understanding the material science behind your jewelry transforms the removal process from a painful tug-of-war into a simple, logical procedure. Whether you are dealing with a standard 20-gauge lobe stud or a 14-gauge cartilage flat back, the metal grade and backing style require specific, tailored approaches to protect your tissue and preserve the integrity of the piercing channel.
Material Properties: Friction, Threading, and Swelling
Not all metals interact with human tissue equally. The biocompatibility of your earring post directly impacts the level of edema (swelling) in the fistula. Swelling increases the friction between the skin and the metal post, making extraction difficult. Below is a comparative analysis of common stud earring materials and how their properties affect removal.
| Material Grade | Nickel Content | Surface Friction | Removal Difficulty |
|---|---|---|---|
| Implant-Grade Titanium (ASTM F136) | 0% | Ultra-Low | Very Easy |
| Solid 14k / 18k Gold (Nickel-Free) | 0% | Low | Easy |
| 316L Surgical Steel | 8% - 10% | Moderate | Moderate to Hard |
| Sterling Silver (925) | Variable (Alloy dependent) | High (Tarnishes) | Hard (Prone to snagging) |
According to the Association of Professional Piercers (APP), implant-grade titanium is the gold standard for body jewelry because its mirror-polished surface and lack of nickel prevent tissue irritation. Conversely, 316L surgical steel contains nickel, which can trigger allergic contact dermatitis. As noted by the Mayo Clinic, nickel exposure causes localized swelling and fluid buildup, essentially trapping the post inside the earlobe.
How to Take Out a Stud Earring with Friction Backs (Butterfly)
Friction backs, commonly known as butterfly clutches, are the most prevalent backing type on commercial 20-gauge and 18-gauge stud earrings. They rely on two small metal scrolls that grip a notched groove on the post. While easy to insert, they present unique removal challenges based on the metal's tensile strength and the post's surface finish.
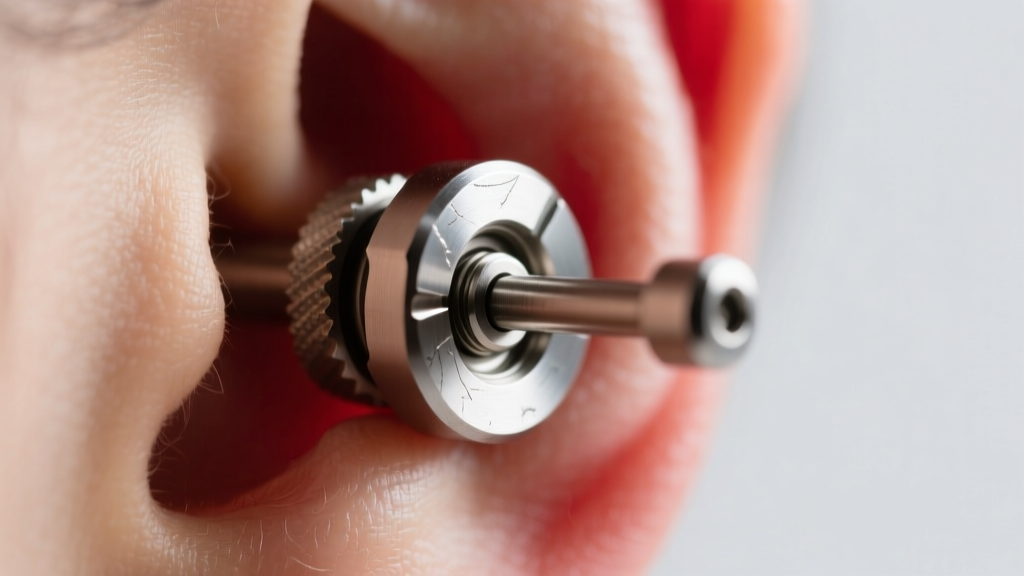
If your friction back is made of cheap plated brass or low-grade steel, the metal scrolls can warp and clamp down too tightly on the post. Furthermore, if the post is externally threaded (where the screw pattern is on the post itself), pulling the friction back off can scrape the delicate fistula tissue. To remove a friction back safely:
- Stabilize the Front: Hold the decorative front of the stud firmly between your thumb and index finger to prevent the post from rotating and tearing the piercing hole.
- Pinch and Pull: Use your other hand to pinch the two loops of the butterfly back. Pull straight back along the axis of the post. Never yank at an angle, as this bends the post and traps the backing.
- Lubricate if Stuck: If dried sebum or hard water deposits have glued the backing to the post, apply a drop of sterile saline or jojoba oil to the junction and wait three minutes before pulling.
Removing Threaded and Threadless Studs
High-quality body jewelry typically abandons friction backs in favor of threaded or threadless (push-pin) mechanisms, usually machined from ASTM F136 titanium or solid 14k gold. These are designed for cartilage piercings (like the helix, tragus, or conch) where a flat back disc sits flush against the ear.
Internally Threaded Studs
In internally threaded jewelry, the screw mechanism is inside the decorative end, and the post is completely smooth. This is crucial for tissue health. To remove an internally threaded stud, you must grip the flat back disc and the front gem simultaneously. Twist the front gem counter-clockwise (lefty-loosey). If your fingers are slipping due to natural skin oils, put on a pair of medical-grade nitrile gloves. The nitrile provides the exact friction coefficient needed to break the torque seal without using pliers, which can crush the gem setting.
Threadless (Push-Pin) Studs
Threadless titanium studs rely on tension. The decorative end has a slightly bent pin that inserts into the hollow post. To take out a threadless stud, do not twist. Instead, grip the front and the flat back, and pull them straight apart with a firm, snapping motion. Bending the pin slightly upon reinsertion ensures it stays secure next time.
Troubleshooting Stuck Studs Caused by Material Reactions
If you are struggling to figure out how to take out a stud earring because it feels physically embedded or cemented in place, you are likely dealing with a material-induced tissue reaction or crust buildup.
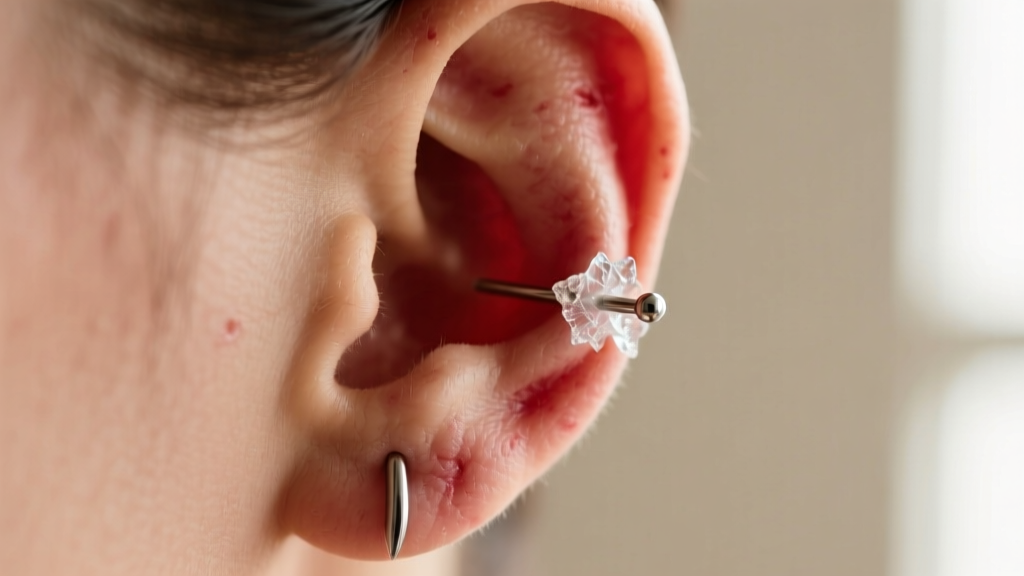
When porous metals like oxidized sterling silver or low-grade surgical steel sit in a piercing for months, they accumulate a matrix of dead skin cells, sebum, and mineral deposits from shower water. This biological cement can fuse the backing to the skin. Furthermore, if the metal contains copper or nickel, the resulting localized inflammation causes the fistula to swell tightly around the post.
Expert Warning: Never use excessive force to rip out a swollen stud. Forcing a metal post through an inflamed, constricted fistula can cause a blowout, tearing the tissue and resulting in permanent scarring or keloid formation.
To resolve this, soak a sterile cotton pad in warm, sterile saline solution (0.9% sodium chloride) and press it against the front and back of the earring for 10 minutes. The warmth increases local blood flow to reduce edema, while the saline dissolves the biological crust. Once the tissue is relaxed and the crust is gone, the post should slide out with minimal resistance.
Step-by-Step Safe Removal Protocol
Regardless of whether you are removing a 16-gauge titanium labret stud or an 18-gauge gold diamond huggie, follow this standardized protocol to ensure tissue safety and hygiene.
- Wash and Glove: Wash your hands with antibacterial soap. Dry them completely, then don nitrile gloves for maximum grip.
- Inspect the Backing: Look in a mirror or use your phone camera to identify the backing type (friction, threaded, or threadless).
- Clear Debris: Use a sterile saline spray to soften any crust around the entry and exit points.
- Execute the Removal: Apply the correct mechanical force (pulling for friction/threadless, twisting counter-clockwise for threaded).
- Aftercare: Once the jewelry is out, spray the empty fistula with sterile saline to flush out trapped debris. If you are not immediately inserting new jewelry, gently massage the area to prevent the hole from closing prematurely, especially in fresh cartilage piercings.
By respecting the metallurgical properties of your jewelry and understanding the biomechanics of your piercing channel, you can master how to take out a stud earring safely, preserving both your tissue health and the longevity of your fine jewelry.


