How to Insert and Remove Threadless Push In Earrings Safely
Master the art of threadless push in earrings. Learn step-by-step insertion, pin-bending techniques, and safe removal for cartilage and lobe piercings.

The Modern Standard: Understanding Threadless Push In Earrings
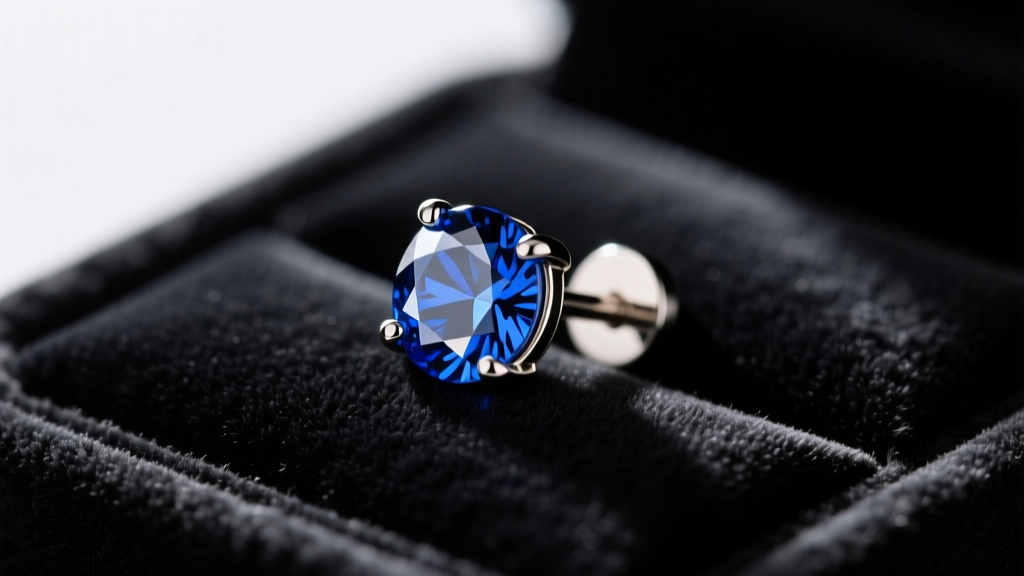
If you have visited a high-end professional piercing studio in 2026, you have likely encountered threadless jewelry. Commonly referred to as push in earrings, this innovative design has completely revolutionized how we secure body jewelry. Unlike traditional internally threaded or externally threaded screws, threadless push in earrings rely on spring tension to stay securely in place. A slightly bent pin on the decorative end slides into a hollow post, creating a friction fit that is incredibly secure, easy to change, and completely eliminates the risk of cross-threading or tearing delicate fistula tissue.
Whether you are upgrading your healed earlobe piercings or curating a curated cartilage constellation, mastering the use of push in earrings is an essential skill. This comprehensive guide will walk you through the exact mechanics, sizing requirements, and step-by-step techniques for inserting and removing threadless jewelry like a professional.
Material Grades and Anatomy of Push In Jewelry
Before manipulating your jewelry, it is vital to understand what you are working with. The Association of Professional Piercers (APP) strictly recommends specific materials for long-term wear, especially for cartilage piercings that are prone to irritation bumps.
- Implant-Grade Titanium (ASTM F-136): The gold standard for posts. It is entirely nickel-free, lightweight, and highly biocompatible. Most premium push in earrings use titanium for the hollow post that sits inside the piercing.
- Solid 14k or 18k Gold: High-end brands like BVLA craft their decorative threadless ends from nickel-free solid gold. Avoid gold-plated or gold-filled push in earrings, as the friction of insertion and removal will eventually wear away the plating, exposing base metals to your skin.
- The Pin and Post Mechanism: The decorative front features a straight, blunt pin (usually made of gold or titanium). The back piece is a hollow, cylindrical post. The magic happens when the pin is slightly bent before insertion, creating outward pressure against the inner wall of the post.
Gauge Sizes and Post Lengths
Push in earrings are not one-size-fits-all. Selecting the correct gauge (thickness) and post length is critical for comfort and healing. Below is a standard sizing chart used by professional piercers:
| Piercing Location | Standard Gauge | Common Post Lengths | Best Use Case |
|---|---|---|---|
| Standard Earlobe | 18g (1.0mm) or 16g (1.2mm) | 6mm (1/4") or 8mm (5/16") | Healed lobes, flat earlobes |
| Helix / Cartilage | 16g (1.2mm) | 6mm (1/4") or 8mm (5/16") | Standard flat cartilage, forward helix |
| Tragus / Conch | 16g (1.2mm) or 14g (1.6mm) | 8mm (5/16") or 10mm (3/8") | Thicker tissue areas, fresh piercings |
Step-by-Step Guide: How to Insert Push In Earrings
Inserting threadless jewelry requires a specific technique. If you simply push the pin straight into the post without preparing it, the earring will slide right back out. Follow these steps for a secure fit.
Step 1: Prepare Your Workspace and Hands
Wash your hands thoroughly with antibacterial soap. Work over a soft surface, like a bed or a towel-covered sink. Push in earrings feature small parts, and dropping a $60 solid gold threadless end down a bathroom drain is a common and heartbreaking mistake.
Step 2: The Crucial 'Bend'
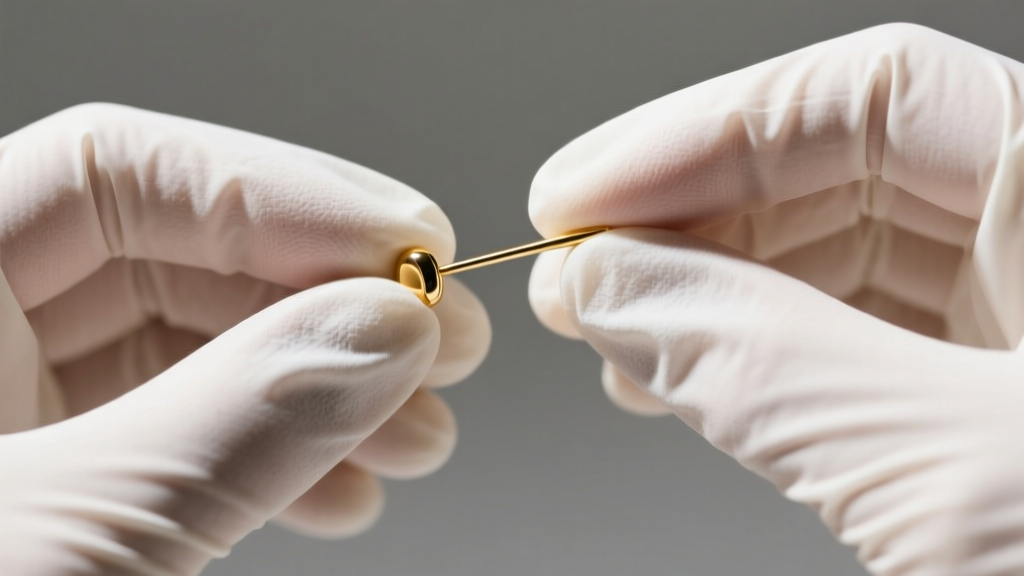
This is the most important step. Hold the hollow post in one hand and the decorative end with the pin in the other. Insert the pin about one-third of the way into the post. Apply gentle pressure to bend the pin at a slight angle—roughly 5 to 10 degrees. You are not trying to crease or kink the metal; you are simply giving it a gentle curve. This curve creates the spring tension required to lock the jewelry in place.
Step 3: Insertion and Seating
Once the pin is bent, pull it out slightly, align it with the hollow post, and push it firmly inward. You should feel a distinct resistance as the bent pin presses against the inside wall of the post. Push until the base of the decorative gem or setting sits flush against the post. Give it a very gentle tug to ensure the tension is holding.
Step-by-Step Guide: How to Remove Stuck Push In Earrings
Because threadless jewelry relies on tension, removal can sometimes feel intimidating, especially if the jewelry has been in place for months and natural skin oils or debris have created a slight seal. Never use pliers or excessive force, which can damage the jewelry or your piercing.
Step 1: Maximize Your Grip
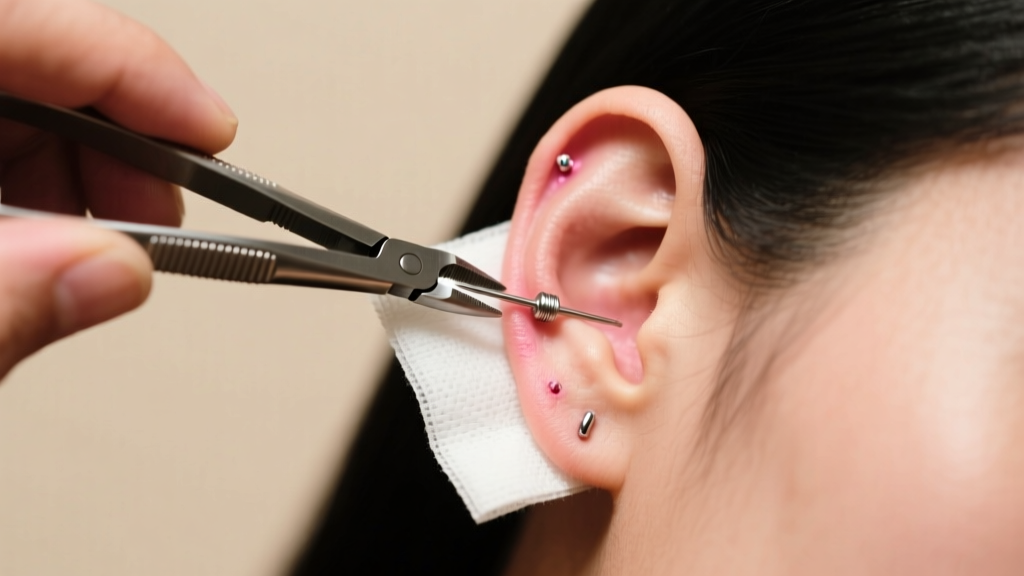
The number one reason people struggle to remove push in earrings is a lack of grip. Skin and metal are naturally slippery. Put on a pair of nitrile or latex medical gloves. The rubber texture will give you immense gripping power without damaging the metal.
Step 2: The Push-Pull Technique
Do not just pull the ends apart. Instead, use the push-pull method. Pinch the flat back of the hollow post between your thumb and index finger of one hand. Pinch the decorative front with your other hand. Push the back post slightly forward toward the front of the ear, while simultaneously pulling the front piece backward. This opposing motion breaks the tension seal and slides the pin out smoothly.
Step 3: Managing Stubborn Pins
If the earring still will not budge, apply a warm compress to the area for a few minutes to soften any trapped sebum or soap residue. If you are still struggling, a professional piercer can use sterile, rubber-tipped hemostats to safely grip the post and remove the jewelry without causing trauma to the fistula.
Common Troubleshooting and Failure Modes
Even with high-end jewelry from reputable manufacturers like Neometal, user error can lead to issues. Here is how to troubleshoot the most common problems with push in earrings.
Expert Tip: Never bend the pin back and forth repeatedly to remove it. Metal fatigue will cause the pin to snap off inside the hollow post, requiring professional intervention to extract the broken piece.
The Earring Keeps Falling Out
The Cause: The pin is not bent enough, or it has been bent too close to the base, preventing it from entering the post.
The Fix: Remove the pin and bend it slightly more, ensuring the curve is placed about one-third of the way down from the tip of the pin. Test the tension by pulling on it before wearing it out in public.
The Pin Won't Go Into the Post
The Cause: You have bent the pin at too severe of an angle, or you have accidentally kinked the metal, creating a sharp fold rather than a smooth curve.
The Fix: Gently straighten the pin using your gloved fingers or rubber-tipped pliers. Once straight, re-bend it at a more conservative 5-degree angle. If the pin is deeply kinked, it may be permanently damaged and require replacement.
The Post is Irritating the Back of My Ear
The Cause: The post is too long for your tissue thickness, leaving a gap that catches on hair and clothing, or the post is too short, causing the back disc to embed into swollen tissue.
The Fix: You need to swap the hollow post for a different length. Posts are sold separately from the decorative ends, making it inexpensive and easy to find the perfect fit for your unique anatomy.
Final Thoughts on Threadless Jewelry Care
Push in earrings represent the pinnacle of modern body jewelry design. By eliminating threads, they prevent the microscopic tearing of the piercing channel that occurs when screwing in traditional studs. To maintain the longevity of your threadless collection, clean your jewelry with mild, fragrance-free soap and warm water whenever you swap ends. Avoid ultrasonic cleaners on gemstones like opals or emeralds, as the vibrations can loosen the prong settings. With the correct bending technique and a pair of rubber gloves for removal, your threadless push in earrings will remain secure, comfortable, and stunning for years to come.


