How to Recreate the Lady With a Pearl Earring Look Step-by-Step
Learn how to recreate the iconic lady with a pearl earring look. Step-by-step guide on pearl grades, hardware gauges, and face-shape styling.

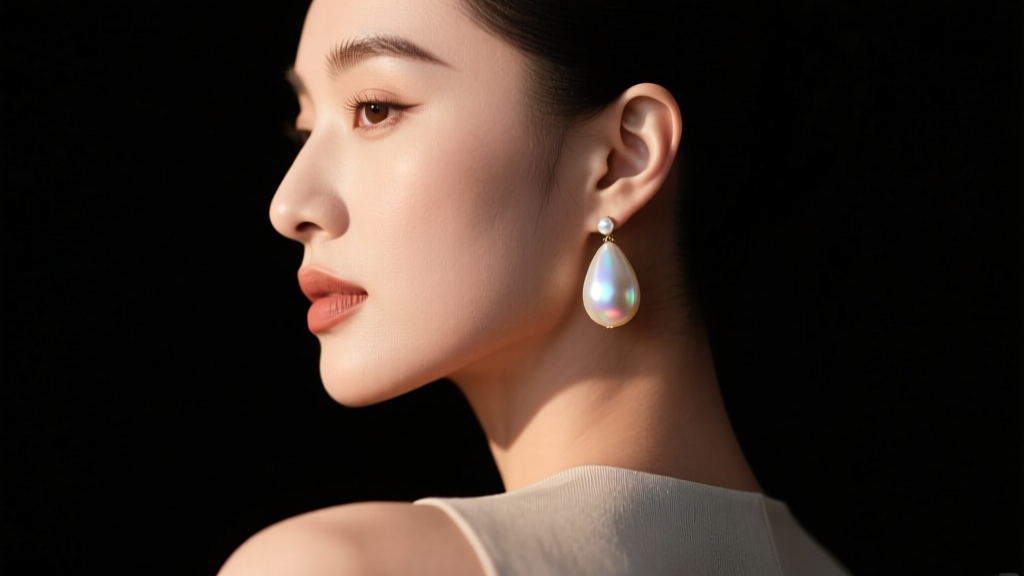
Johannes Vermeer’s 1665 masterpiece, often colloquially searched as the lady with a pearl earring (officially titled Girl with a Pearl Earring), remains one of the most enduring style references in jewelry history. The painting’s focal point is a massive, luminous teardrop pearl that catches a single beam of light, creating an aura of mystery and elegance. While art historians at the Rijksmuseum suggest the original painting likely depicted a glass or tin-foil-backed faux pearl due to the sheer size and flawless reflection, modern jewelry lovers can recreate this iconic aesthetic using genuine gemstones and precise styling techniques.
Recreating this look in 2026 isn’t just about buying the largest pearl you can find; it requires an understanding of pearl orient, hardware weight distribution, and facial geometry. This step-by-step guide will walk you through the exact specifications needed to capture that timeless, chiaroscuro-inspired elegance without compromising your earlobe health or personal style.
The Anatomy of the Iconic Pearl Drop
The earring in Vermeer’s painting is not a standard spherical stud. It is a pendant pearl—specifically a teardrop or pear-shaped drop that hangs just below the earlobe. The magic of the painting lies in the pearl’s orient (the iridescent play of light over the surface) and its luster (the sharpness of light reflection). To achieve this, the pearl must hang freely, allowing it to pivot and catch ambient light from multiple angles. A fixed stud cannot replicate this dynamic movement.
Step 1: Choosing the Right Pearl Material and Grade
The first step to mastering the lady with a pearl earring aesthetic is selecting the right material. According to the Gemological Institute of America (GIA), luster is the most critical quality factor for any pearl. For a dramatic, Vermeer-style drop, you need a stone with a high-gloss, mirror-like surface. Below is a breakdown of the best materials for this specific look, including 2026 market pricing.
| Pearl Type | Shape & Size | Luster Grade | Price Range (Per Pair) | Best For |
|---|---|---|---|---|
| South Sea | Teardrop, 11-15mm | AAA (Mirror) | $1,500 - $5,000+ | Heirloom pieces, maximum impact |
| Akoya | Teardrop, 8-10mm | Hanadama (Highest) | $400 - $1,200 | Sharp, glass-like luster, classic look |
| Freshwater | Baroque/Drop, 10-14mm | AA+ to AAA | $150 - $600 | Budget-friendly, unique organic shapes |
| Majorica | Spherical/Teardrop, 12mm+ | Flawless (Manufactured) | $150 - $300 | Historical accuracy (glass-core faux) |
Expert Tip: If you want the exact visual weight of the painting, opt for a 12mm to 14mm South Sea or high-grade Freshwater drop. Akoya pearls rarely exceed 10mm, which may look too delicate to capture the bold, heavy aesthetic of the original artwork.
Step 2: Selecting the Proper Hardware and Gauge
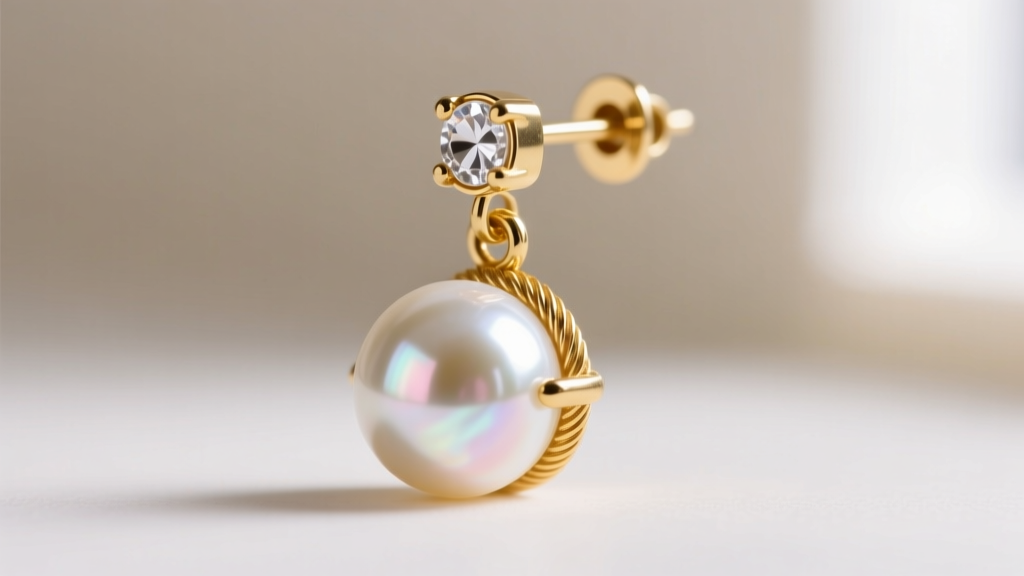
A 14mm South Sea pearl can weigh between 4 to 7 grams per earring. If you mount this on a standard, flimsy 22-gauge (0.64mm) fishhook wire, the earring will pull your earlobe down, distort the piercing hole, and cause the pearl to face backward instead of hanging perfectly straight. To prevent this, you must upgrade your hardware.
The Gauge Rule for Heavy Drops
- 20-Gauge (0.81mm): The industry standard for most earrings. Suitable only for lightweight freshwater drops under 3 grams.
- 18-Gauge (1.02mm): The ideal thickness for heavy South Sea pearls. It provides enough rigidity to keep the pearl facing forward without stretching the lobe over time.
- 16-Gauge (1.29mm): Usually reserved for body jewelry, but excellent for custom-made, ultra-heavy statement drops.
Clasp Mechanisms
Avoid standard friction backs (butterfly backs) for heavy drops; the weight will cause the back to slide off. Instead, utilize an 18k yellow gold leverback or an omega back with a hinged snap closure. If you must use a French wire, pair it with a high-friction silicone earring stopper and apply a transparent lobe-support patch (like BlingDots) behind the ear to distribute the weight across a wider surface area of the skin.
Step 3: Matching the Drop to Your Face Shape
The lady with a pearl earring look is universally flattering, but the exact length and width of the teardrop should be calibrated to your facial geometry to achieve the most harmonious balance.
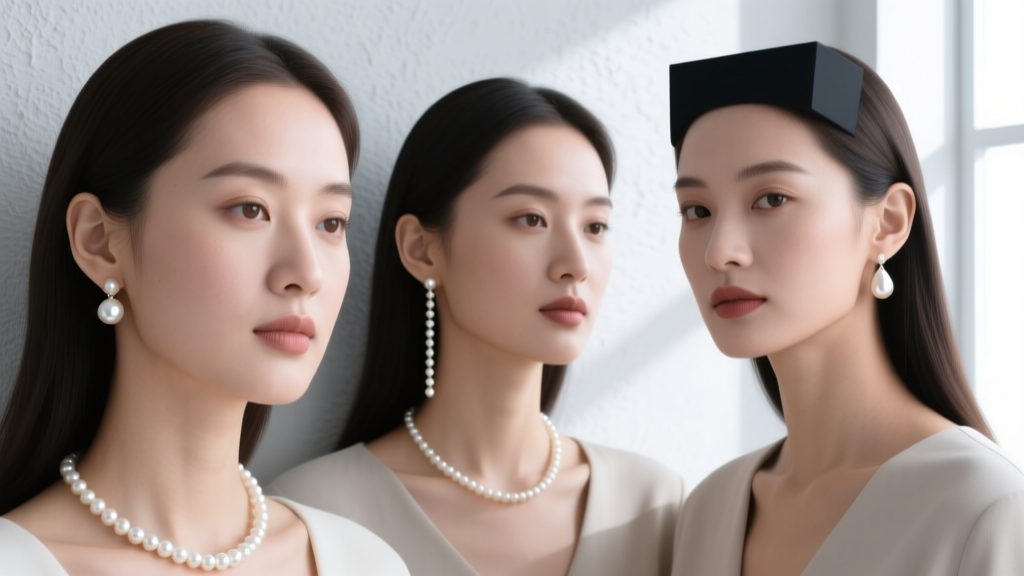
- Round Faces: Opt for elongated, narrow teardrops (at least 1.5 inches in total length). The vertical line draws the eye downward, creating the illusion of a more sculpted, oval jawline.
- Square Faces: Choose wider, softer pear-shaped pearls with rounded bottoms. Avoid sharp, geometric settings. The curve of the pearl softens strong masseter muscles and angular jawlines.
- Heart-Shaped Faces: Look for teardrops that are wider at the bottom than the top. This adds visual weight to the lower half of the face, balancing a narrower chin.
- Oval Faces: You have the most versatility. A classic, proportionate 12mm spherical or slightly tapered drop (closest to Vermeer’s original depiction) will perfectly complement your natural symmetry.
Step 4: Styling and Lighting Techniques for Maximum Luster
The painting’s brilliance relies entirely on lighting. Pearls are translucent; they do not emit light, they reflect and refract it. To maximize the "Vermeer glow" in modern settings, follow these styling protocols:
- The Hair Sweep: The pearl must be unobstructed. Sweep your hair into a low, loose chignon or a deep side part that exposes the ear and neck. This creates the dark, negative-space background that makes the white pearl pop, exactly like the dark background in the painting.
- Neckline Framing: Wear a deep V-neck, a scoop neck, or an off-the-shoulder top in solid, muted tones (navy, ochre, deep forest green, or black). High collars or busy patterns will compete with the pearl’s luster and ruin the focal point.
- Lighting Angles: Pearls look best under diffused, directional lighting. Avoid harsh overhead fluorescent lights, which create flat, gray reflections. Natural window light or a softbox positioned at a 45-degree angle to your face will create that signature bright, crescent-shaped highlight on the pearl’s surface.
Troubleshooting Common Pearl Earring Issues
Even with the perfect stone, maintenance is key to preserving the look. The American Gem Society notes that pearls are organic gems (rating 2.5 on the Mohs hardness scale) and require specific care to avoid permanent damage.
- Issue: The Pearl Looks Dull or Chalky.
Cause: Exposure to perfumes, hairsprays, or skin acids.
Fix: Always put your pearls on after applying cosmetics. Wipe them gently with a damp, lint-free microfiber cloth after every wear. Never use ultrasonic cleaners or chemical jewelry dips, which will strip the nacre. - Issue: The Earring Constantly Flips Backward.
Cause: The center of gravity is off, or the wire is too thin.
Fix: Add a tiny, discreet 14k gold bead to the front of the wire just above the pearl to act as a counterweight, or switch to a rigid, soldered leverback setting. - Issue: Earlobe Soreness After an Hour.
Cause: Micro-tearing from heavy gauge friction.
Fix: Coat the earring wire in a microscopic layer of clear lip balm or jeweler's wax to reduce friction, and take a 10-minute "ear rest" break every two hours when wearing heavy drops.
Conclusion
Mastering the lady with a pearl earring aesthetic is an exercise in balancing historical romance with modern jewelry engineering. By selecting a high-luster teardrop pearl, securing it with an 18-gauge leverback, and styling your hair and lighting to emphasize the stone's natural orient, you can capture the enigmatic beauty of Vermeer's muse. Whether you choose a flawless South Sea drop or a historically accurate glass-core Majorica, the key is to let the pearl command the light.


