How to Wear Cuff Earrings: The Ultimate Buying Guide
Learn how to wear cuff earrings securely with our expert buying guide. Discover tension mechanics, metal grades, and cartilage placement tips.

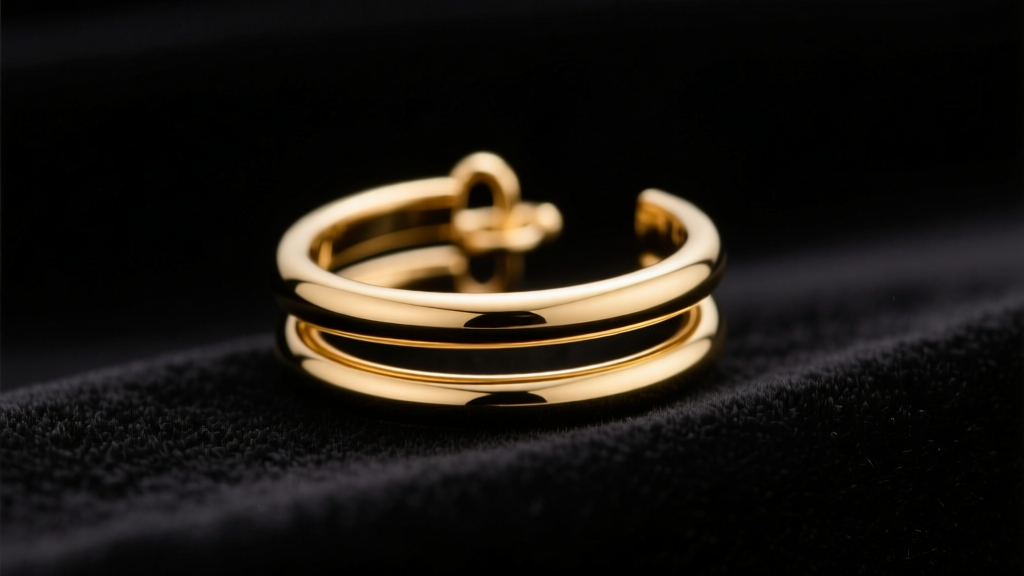
Understanding Ear Cuff Anatomy and Tension Mechanics
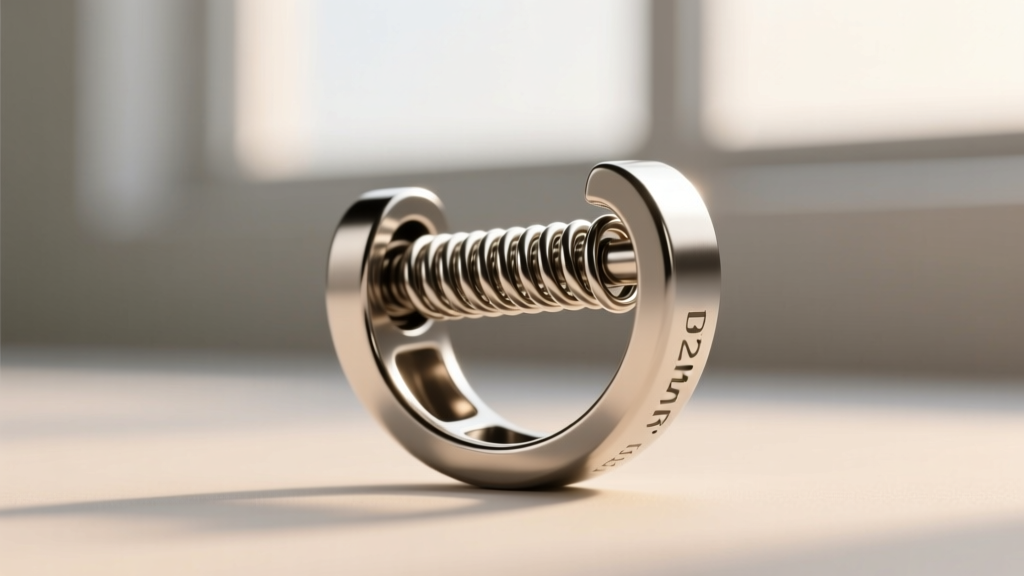
When exploring how to wear cuff earrings comfortably and securely, the first step is understanding the engineering behind them. Unlike traditional pierced jewelry that relies on a post and backing, ear cuffs utilize radial tension to grip the cartilage. In 2026, the market is dominated by two primary mechanical designs: the continuous wire wrap and the spring-loaded micro-hinge.
Continuous wire cuffs are typically crafted from 20-gauge (0.8mm) or 18-gauge (1.0mm) wire. They rely on the metal's natural memory and malleability to clamp onto the ear. Spring-loaded cuffs, conversely, feature a hidden internal coil that applies a constant, calibrated inward pressure. While wire cuffs offer infinite adjustability, they are prone to metal fatigue. Spring-loaded cuffs provide a more secure grip for active wearers but require precise sizing to match your specific cartilage thickness, which generally ranges from 4mm to 8mm at the helix ridge.
Material Grades: What to Look For
The material of your ear cuff dictates not only its longevity but also its tension retention and skin compatibility. Because cuffs sit tightly against the skin—often trapping sweat and sebum against the cartilage—hypoallergenic properties are non-negotiable. According to the Association of Professional Piercers, implant-grade metals are the safest choice for prolonged skin contact.
| Material | Tension Retention | Skin Safety | Price Range | Best Use Case |
|---|---|---|---|---|
| ASTM F136 Titanium | Excellent (Rigid) | Superior (Hypoallergenic) | $40 - $90 | Daily wear, sensitive skin, spring-loaded designs |
| 14k/18k Solid Gold | Moderate (Malleable) | High (Nickel-free alloys) | $150 - $450+ | Special occasions, luxury styling, wire wraps |
| 925 Sterling Silver | Poor (Soft, work-hardens) | Moderate (Contains copper) | $25 - $60 | Occasional wear, budget-friendly adjustable cuffs |
| Plated Brass/Copper | Low (Bends easily) | Poor (High allergy/tarnish risk) | $10 - $25 | Fashion trends, single-use events |
When buying gold cuffs, verify the alloy composition. The Gemological Institute of America (GIA) notes that lower-karat gold alloys may contain nickel or zinc, which can cause contact dermatitis when trapped under the tight pressure of a cuff. Always opt for nickel-free 14k or 18k gold, or stick to titanium for guaranteed biocompatibility.
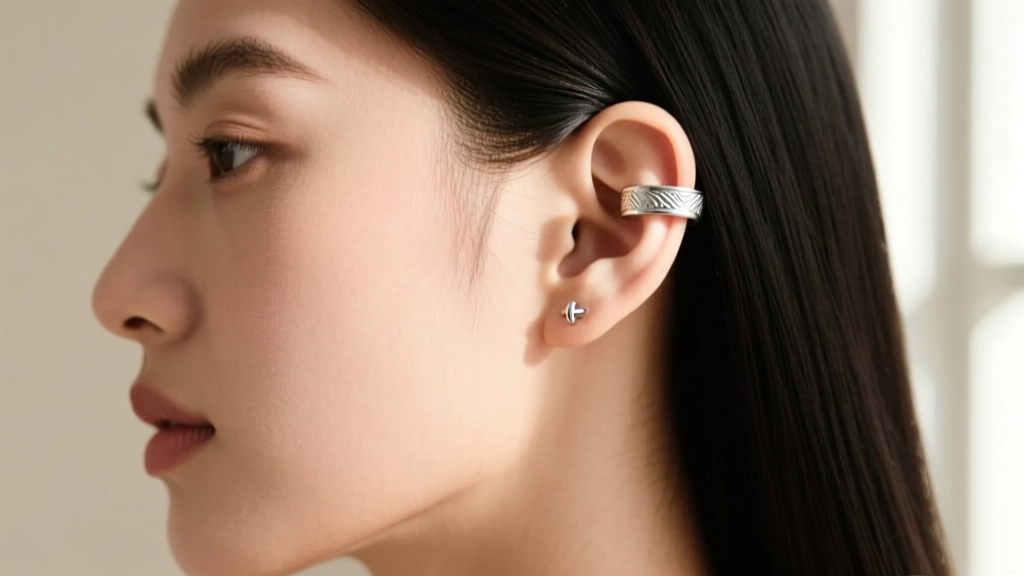
Step-by-Step: How to Wear Cuff Earrings Securely
Knowing how to wear cuff earrings properly is the difference between a stylish statement and a lost piece of jewelry. The most common failure mode is placing the cuff on the thickest part of the cartilage, which stretches the metal and ruins the tension. Follow this framework for a secure fit:
- Locate the Thinnest Ridge: Feel the outer edge of your ear (the helix). Find the upper-middle section where the cartilage ridge is thinnest and most pronounced.
- Slide and Rotate: Do not force the cuff open wider than necessary. Slide the opening over the thinnest edge of the cartilage, then gently rotate it downward or upward into your desired position.
- The Pinch Test: Once in place, gently tug the cuff downward. It should resist movement without causing a sharp pinching sensation. If it slides freely, the tension is too loose; if it throbs after 10 minutes, the gauge is too tight.
Dealing with Adjustable Wire Cuffs
If you purchase an adjustable wire cuff, you must shape it to your ear before putting it on. Use your thumbs to gently widen or narrow the 'C' shape. Critical Warning: Avoid bending the metal back and forth repeatedly. This causes "work-hardening," a metallurgical process where the crystal lattice of the metal locks up, making it brittle and prone to snapping. Bend it once or twice to match your cartilage profile, then leave it alone.
Sizing and Adjustability: Fixed vs. Flexible
When shopping, you will encounter two sizing paradigms. Flexible wire cuffs are marketed as "one size fits all," but this is a marketing myth. A wire cuff designed for a 5mm cartilage ridge will slip off an 8mm ridge, and attempting to stretch it will permanently deform the metal's memory.
Fixed-size cuffs (often hinged or cast in a rigid 'C' shape) are sold in specific millimeter diameters (e.g., 8mm, 10mm, 12mm). To buy a fixed cuff, use a digital caliper to measure the thickness of your helix ridge at the exact point you wish to wear it. Add 0.5mm to 1.0mm to your measurement to account for skin swelling and hair clearance. A cuff that is exactly the same width as your cartilage will pinch and restrict blood flow to the surface tissue.
Styling Frameworks: Visual Weight and Placement
How you style your ear cuff in relation to your pierced earrings dramatically affects the overall aesthetic. In 2026, the "curated ear" trend relies heavily on visual weight distribution.
- The Anchor and Orbit: Pair a heavy, visually dense lobe earring (like a chunky gold huggie or a geometric drop) with a delicate, minimalist wire cuff on the upper helix. This draws the eye upward without overwhelming the side profile.
- The Cartilage Stack: If you have a conch or flat piercing, place a snug ear cuff on the outer helix directly across from it. Ensure the metals and finishes (e.g., high-polish vs. brushed matte) match exactly to create a cohesive, intentional look.
- The Lobe Cuff: Don't ignore the lobe. Thick, hinged lobe cuffs (often 12mm-15mm in diameter) are excellent for adding volume to unpierced lower ears. They require less tension than helix cuffs because the lobe tissue is softer and more compressible.
Troubleshooting Common Ear Cuff Failures
Even high-quality cuffs can present challenges. Here is how to troubleshoot the most common issues:
1. The Cuff Keeps Slipping Off
Cause: Your cartilage is too thick for the cuff's resting diameter, causing the metal to stretch and lose its radial grip. Alternatively, natural skin oils are reducing friction.
Solution: Switch to a spring-loaded micro-hinge design, which actively applies inward pressure regardless of cartilage thickness. For wire cuffs, clean your ear with rubbing alcohol before wearing to remove sebum, and gently squeeze the cuff to reduce its diameter by 1mm.
2. The Cuff Pinches and Causes Pain
Cause: The tension is too high, or the ends of the wire cuff are sharp and catching on the skin.
Solution: For wire cuffs, use a jeweler's file or fine-grit sandpaper to smooth the terminal ends. For hinged cuffs, look for models that feature microscopic silicone bumpers on the interior grip points. These bumpers increase friction, allowing the manufacturer to reduce the metal tension while maintaining a secure hold.
3. Tarnishing and Green Skin
Cause: The cuff is made of copper-heavy alloys (like low-grade sterling silver or brass) reacting to sweat and friction.
Solution: Upgrade to ASTM F136 titanium or solid 14k gold. If you must wear silver, remove the cuff before exercising or showering, and polish it weekly with a treated jeweler's cloth to remove silver sulfide buildup before it transfers to your skin.
Ultimately, mastering how to wear cuff earrings is about respecting both the anatomy of your ear and the physical limits of the metal. By prioritizing implant-grade materials, understanding tension mechanics, and measuring your cartilage accurately, you can build a non-pierced jewelry collection that is as secure as it is stylish.


