How to Clean, Repair, and Restore Gold 80s Earrings
Learn how to clean, repair, and restore vintage gold 80s earrings. Expert troubleshooting for heavy dangles, broken clip-ons, and worn vermeil.

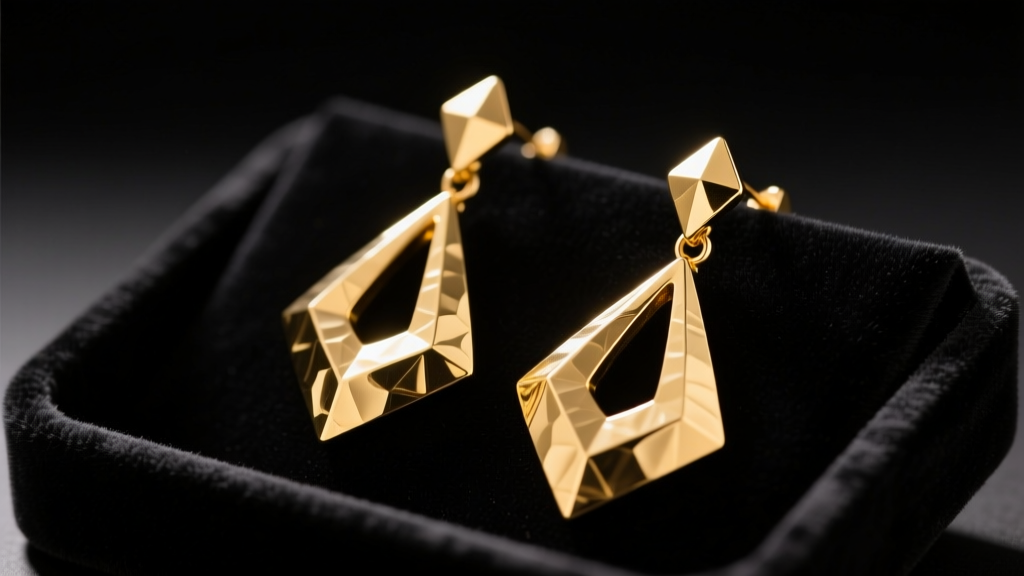
The maximalist allure of the 1980s left behind a treasure trove of bold, unapologetic jewelry. However, sourcing and wearing vintage gold 80s earrings today presents a unique set of structural and metallurgical challenges. From stretched earlobes caused by oversized geometric dangles to failing screw-back mechanisms and degraded vermeil finishes, these statement pieces require specialized troubleshooting. As a jewelry conservation specialist, I have developed this comprehensive guide to help you diagnose, repair, and restore your vintage finds to their former glory without compromising their historical integrity.
The Metallurgy of the 1980s: Vermeil, Plating, and Alloys
Before attempting any restoration, you must identify the exact metallurgical composition of your earrings. The 1980s saw a massive boom in gold vermeil (a thick layer of gold over sterling silver) and gold-filled brass. According to the Gemological Institute of America (GIA), vintage vermeil from this era often utilized 14k or 18k gold plating that was flash-plated or electroplated to a minimum of 2.5 microns.
The primary troubleshooting issue with 80s gold-tone jewelry is the base metal. Many mass-market 1980s earrings utilized brass or nickel-silver alloys beneath a thin gold wash. When the plating wears away, the exposed nickel causes severe contact dermatitis. The American Academy of Dermatology notes that nickel allergies are cumulative; a pair of vintage clip-ons you could wear for an hour in 2015 might trigger a severe reaction today. If you notice a reddish-brown hue bleeding through the gold on the earring posts or clip paddles, the base metal is compromised and requires professional re-plating or a clear jeweler's lacquer barrier coat.
Troubleshooting Heavy Dangles and Stretched Fistulas
Iconic 1980s designs—such as hammered gold teardrops, oversized door-knocker hoops, and tiered geometric chandeliers—are notoriously heavy. It is common for a single vintage dangle to weigh between 15 and 25 grams. Over time, this weight pulls the earring downward, causing the fistula (the piercing hole) to stretch, migrate, or even tear.
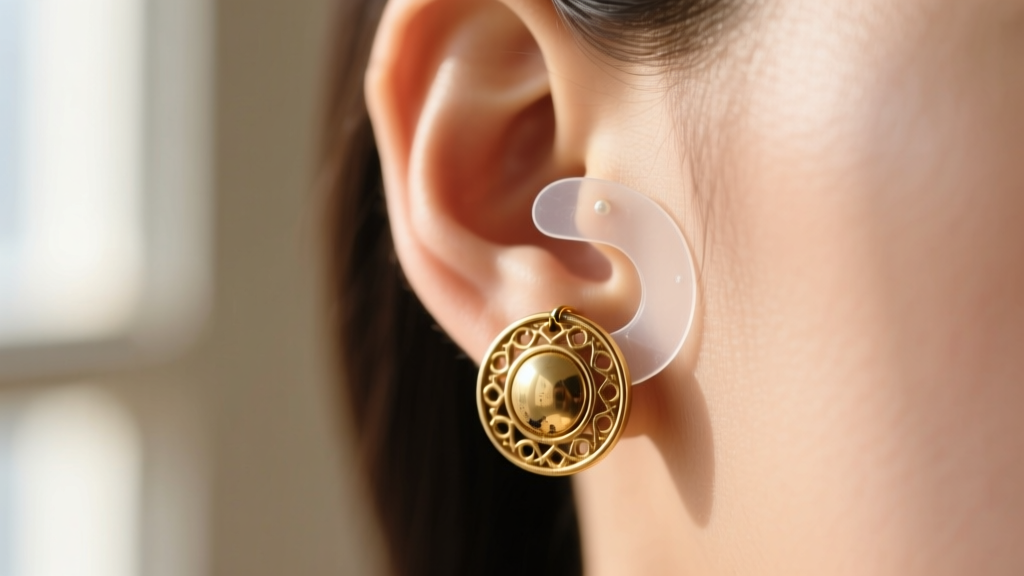
Practical Support Solutions
- Silicone O-Rings and Jumbo Backs: Standard butterfly backs cannot support 20-gram earrings. Upgrade to 10mm silicone jumbo backs or double-up with rubber O-rings to distribute the weight across a wider surface area of the posterior earlobe.
- Adhesive Lobe Patches: For extreme weights, use transparent, medical-grade silicone earring support patches (like Lobe Wonder). These adhere to the back of the earlobe and feature a reinforced micro-mesh center that prevents the thick 16-gauge posts typical of the 80s from slicing through the skin.
- Wire Wrapping the Hook: If the earring uses a French wire, wrap the base of the hook with a 24-gauge dead-soft gold-filled wire to create a custom stopper that prevents the heavy dangle from sliding too far down the earlobe.
Rescuing Failing Clip-On and Screw-Back Mechanisms
Because ear piercing was not universally standard in all demographics during the early 80s, a vast quantity of gold 80s earrings were manufactured as clip-ons or screw-backs. These mechanical parts are highly prone to failure after four decades of use.
Adjusting Clip-On Tension
Clip-on earrings rely on a tempered steel or brass spring hinge. If the earring pinches painfully, the tension is too high; if it falls off, the metal has fatigued and expanded. Using nylon-jaw pliers (to prevent marring the gold finish), gently squeeze the hinge barrel to increase tension, or carefully pry the paddle outward by millimeters to relieve pressure. Always replace missing or degraded resin comfort pads with modern silicone replacements to provide grip without skin irritation.
Fixing Stripped Screw-Backs
Screw-back earrings from the 1980s often feature fine, easily stripped threads. If the barrel spins freely without tightening:
- Clean the threads with a cotton swab dipped in 99% isopropyl alcohol to remove decades of sebum and lotion buildup.
- Inspect the post for bending. Roll the earring on a flat glass surface; if it wobbles, use flat-nose pliers to gently straighten the post.
- Apply a microscopic amount of jeweler's micro-wax or clear nail polish to the threads of the post to create artificial friction, allowing the barrel to grip and tighten securely.
Cleaning and Restoring Compromised Gold Finishes
The most catastrophic mistake collectors make is treating vintage gold 80s earrings like modern solid gold. Submerging plated or vermeil pieces in harsh chemical dips or ultrasonic cleaners will strip the gold layer entirely, exposing the base metal.
| Cleaning Method | Suitable For | Risk to 80s Gold Finishes |
|---|---|---|
| Ultrasonic Cleaners | Solid 14k/18k Gold Only | Critical: Vibrations will flake off aged vermeil and gold-filled layers instantly. |
| Commercial Silver Dips | Solid Sterling Silver | High: Thiourea chemicals will permanently discolor and strip gold plating. |
| Mild Dish Soap & Warm Water | All Gold Vermeil & Plated | Low: Safe for gentle degreasing. Use a baby hairbrush, not a hard toothbrush. |
| Microfiber Polishing Cloth | Light Tarnish & Smudges | Medium: Avoid cloths impregnated with rouge or abrasives; they will buff away thin 80s plating. |
Modifying Posts for Modern Piercings (Gauge Reduction)
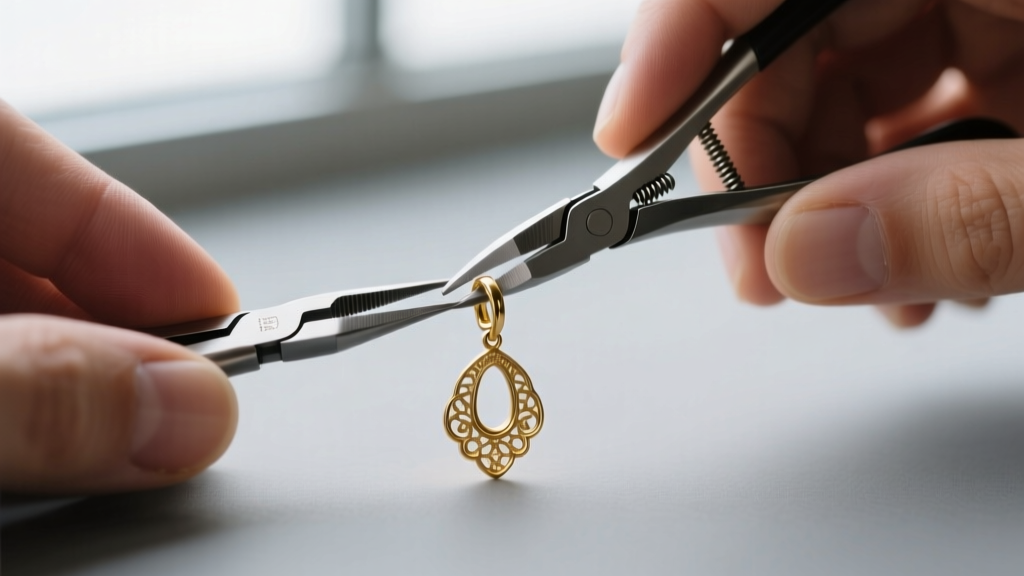
A frequent complaint regarding vintage gold 80s earrings is that the posts are uncomfortably thick. In the 1980s, it was common for manufacturers to use 16-gauge (1.2mm) or even 14-gauge (1.6mm) steel or brass posts to support heavy decorative elements. Today, standard ear piercings are typically 20-gauge (0.8mm) or 18-gauge (1.0mm). Forcing a thick 16-gauge vintage post into a modern 20-gauge fistula causes micro-tearing, swelling, and localized infections.
The Professional Fix: Do not attempt to file down the post yourself, as this will ruin the gold plating and leave a rough surface that harbors bacteria. Take the earrings to a professional bench jeweler. They will use a laser welder to safely remove the thick original post and solder a new, hypoallergenic 18-gauge or 20-gauge 14k gold post in its place. Laser welding is highly localized, meaning the heat will not melt or discolor the surrounding vintage gold finish or damage any glued-in rhinestones.
When to Seek Professional Re-Plating
If your gold 80s earrings exhibit severe brass bleed, pitting, or patchy wear on high-friction areas (like the edges of hoops or the fronts of button studs), DIY polishing will only accelerate the degradation. Professional electroplating is the only viable restoration path.
A specialized jewelry electroplater will first strip the remaining compromised gold and polish the base metal to a mirror finish. They will then apply a barrier layer of palladium or nickel-free rhodium (crucial for preventing future allergic reactions), followed by a heavy 2.5 to 5-micron layer of 18k or 24k gold. Expect to pay between $60 and $120 per pair for high-quality, thick vermeil re-plating. While this alters the original factory finish, it is the only way to preserve the structural lifespan of heavily worn vintage pieces.
Conservation Note: Always document the original hallmarks, maker's marks, and condition of your gold 80s earrings before sending them for re-plating or post-replacement. High-resolution macro photography ensures you retain a record of the piece's provenance and original manufacturing signatures, which is vital for insurance and appraisal purposes.
Restoring vintage jewelry is an exercise in balancing historical preservation with modern wearability. By understanding the specific metallurgical quirks, structural vulnerabilities, and mechanical failures inherent to gold 80s earrings, you can confidently troubleshoot these issues and keep these bold, maximalist icons in rotation for decades to come.


