How to Put On Screw On Back Earrings Without Stripping Threads
Learn the exact step-by-step method to insert screw on back earrings safely. Master threading techniques to avoid cross-threading and lost jewelry.

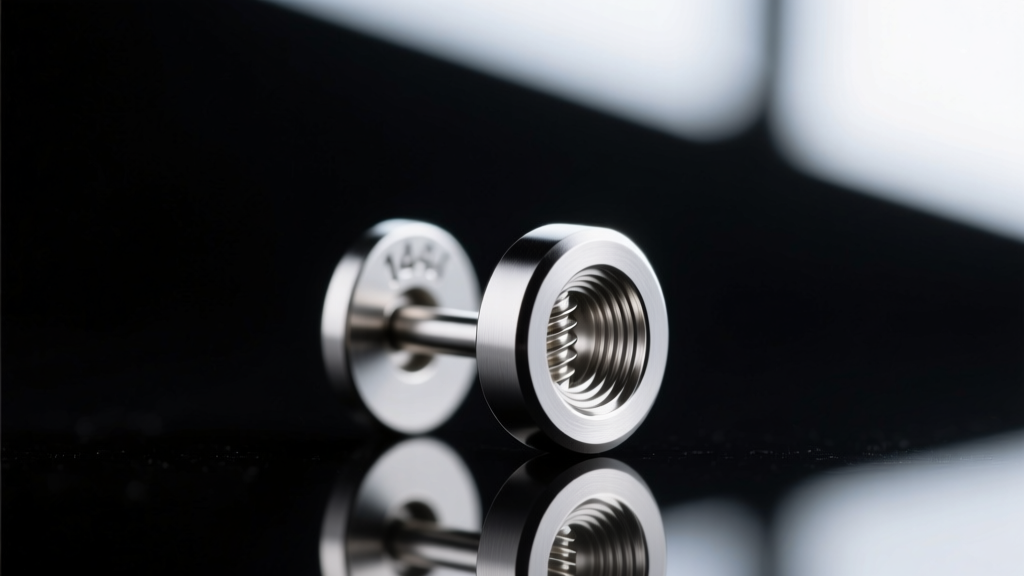
Upgrading to screw on back earrings is one of the best decisions you can make for your ear curation. Unlike traditional friction backs (butterfly clasps) that rely on easily compromised tension and harbor bacteria in their microscopic grooves, threaded earrings provide uniform pressure, unparalleled security, and a vastly superior comfort level for sleeping. However, the precision engineering that makes them so secure also introduces a common point of frustration: cross-threading. If you force a threaded backing, you can permanently strip the metal, ruining an expensive piece of body jewelry.
This comprehensive guide will walk you through the exact mechanics of threaded jewelry, the professional "reverse-turn" alignment trick, and the specific maintenance routines required to keep your screw on back earrings functioning flawlessly for years.
The Anatomy of Threaded Earrings: Internal vs. External
Before attempting to insert your jewelry, it is critical to understand what type of threading you are working with. The Association of Professional Piercers (APP) strongly advocates for specific threading standards to protect the delicate fistula (the skin tunnel of your piercing).
Externally Threaded (The Outdated Standard)
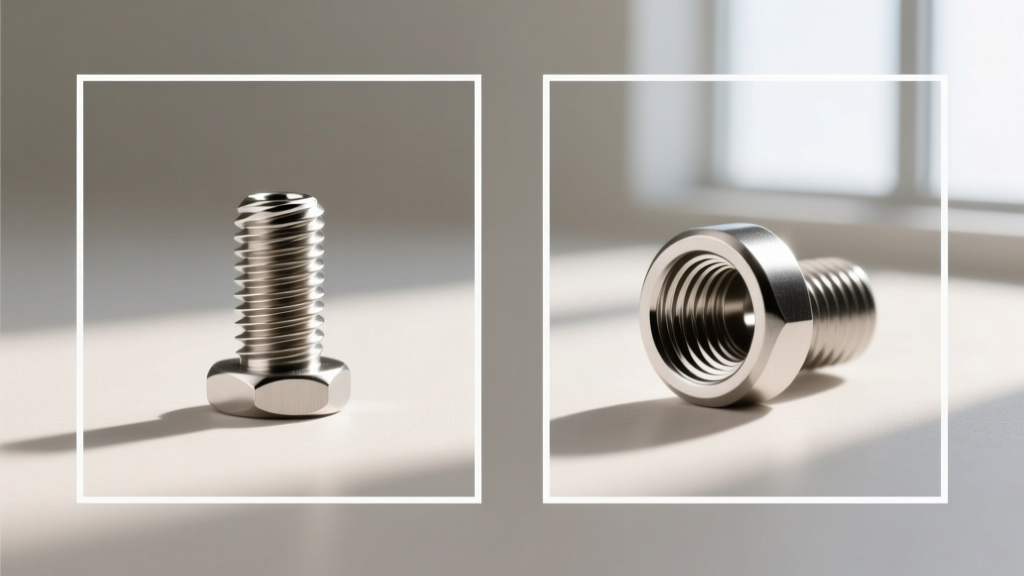
In externally threaded jewelry, the screw pattern is cut directly into the post that passes through your ear. This means the sharp, jagged threads must drag through your piercing channel every time you insert or remove the earring. This causes micro-tears, irritation bumps, and delayed healing. While still common in cheap, mass-market mall kiosks, externally threaded screw on back earrings should be avoided for any piercing that isn't fully matured.
Internally Threaded (The Professional Standard)
Internally threaded jewelry features a smooth, polished post. The screw pattern is instead hidden inside the backing or the decorative front. This allows the smooth metal to glide effortlessly through the ear without causing trauma. High-end body jewelry brands utilize precision-machined internal threading, usually carved from implant-grade titanium (ASTM F-136).
The Hidden Variable: Thread Pitch
A major reason people struggle with screw on back earrings is mixing brands. Even if two pieces are both "14-gauge," they may have different thread pitches (the distance between the threads). For example, some 14G brands use a 1.2mm pitch, while others use a 1.6mm pitch. If you try to screw a 1.2mm backing onto a 1.6mm post, it will bind and feel stuck. Always buy posts and backs from the same manufacturer to ensure seamless threading.
Step-by-Step Guide to Inserting Screw On Back Earrings
Follow this exact sequence to secure your jewelry without damaging the threads. This method is especially crucial for flat-back labret studs used in cartilage piercings (helix, conch, tragus) where visibility and leverage are limited.
Step 1: Preparation and Grip
Natural oils, lotions, and moisture on your fingers will cause the tiny metal backing to slip. Instead of using pliers—which will crush the metal and scratch the finish—put on a pair of powder-free nitrile gloves. The rubberized texture provides the exact amount of friction needed to grip a 3mm or 4mm titanium disc securely.
Step 2: The "Reverse-Turn" Alignment Trick
This is the most important step in the entire process. Never immediately start twisting the backing clockwise (righty-tighty).
- Insert the smooth post through the back of your ear.
- Place the threaded backing against the end of the post.
- Apply very gentle forward pressure and turn the backing counter-clockwise (to the left).
- Wait for a tiny tactile "click" or a subtle "drop." This physical sensation indicates that the threads have perfectly aligned and seated into one another.
Step 3: Threading and Securing
Once you feel or hear that alignment click, reverse your direction and turn clockwise (to the right). The backing should glide on smoothly with zero resistance. If you feel any grinding, crunching, or sudden tightness, stop immediately. Unscrew it and repeat the reverse-turn trick. Tighten the backing until it is snug against the earlobe or cartilage, but do not overtighten, as the natural swelling of the ear or temperature changes can cause the metal to expand and lock in place.
Troubleshooting Common Threading Issues
Even with careful handling, debris and wear can cause mechanical issues. Use this diagnostic table to solve common problems.
| Issue | Root Cause | Professional Solution |
|---|---|---|
| Cross-Threading | Forcing the backing clockwise before threads align. | Remove, rinse with warm water, and use the reverse-turn alignment trick. |
| Stuck / Frozen Backing | Dried sebum, dead skin cells, or hard water buildup in the threads. | Soak the jewelry in warm distilled water for 5 minutes. Use a soft toothbrush to gently scrub the threads. Apply a microscopic drop of jojoba oil to lubricate. |
| Spinning Front Gem | The decorative front is loose on the post, or the silicone O-ring (if applicable) is degraded. | Tighten the front head using nitrile gloves. If your brand uses a silicone O-ring to secure the front, replace the O-ring. |
| Post Too Long / Poking | Initial swelling has subsided, leaving excess post length. | Downsize the post length. Standard healed lobe lengths are 6mm; healed cartilage is usually 6mm or 8mm. |
Sizing Guide: Gauge and Length Specifications
Understanding your exact measurements is vital when ordering replacement backs or new screw on back earrings. Guessing your size leads to wasted money and damaged threads.
- 18-Gauge (1.0mm): Standard for traditional lobe piercings and some delicate nostril screws. Thread pitch is usually 1.0mm.
- 16-Gauge (1.2mm): The most common size for modern cartilage piercings (helix, forward helix, tragus). Offers a great balance of stability and delicate aesthetics.
- 14-Gauge (1.6mm): Used for thicker cartilage (conch, rook) and industrial barbells. Provides maximum structural integrity and is the standard for high-end threadless and threaded body jewelry.
Pro Tip: If you are buying screw-back earrings for a child or a sensitive lobe piercing, look for 18G or 16G internally threaded flat backs. The flat disc prevents the jewelry from being pushed into the ear canal or getting caught in hair, which is a common hazard with traditional butterfly clasps.
Maintenance and Cleaning Threaded Jewelry
Because screw on back earrings feature mechanical grooves, they require a slightly different cleaning protocol than seamless hoops or solid studs. The APP Aftercare Guidelines emphasize gentle, non-abrasive cleaning to preserve the integrity of body jewelry.
Daily and Weekly Cleaning
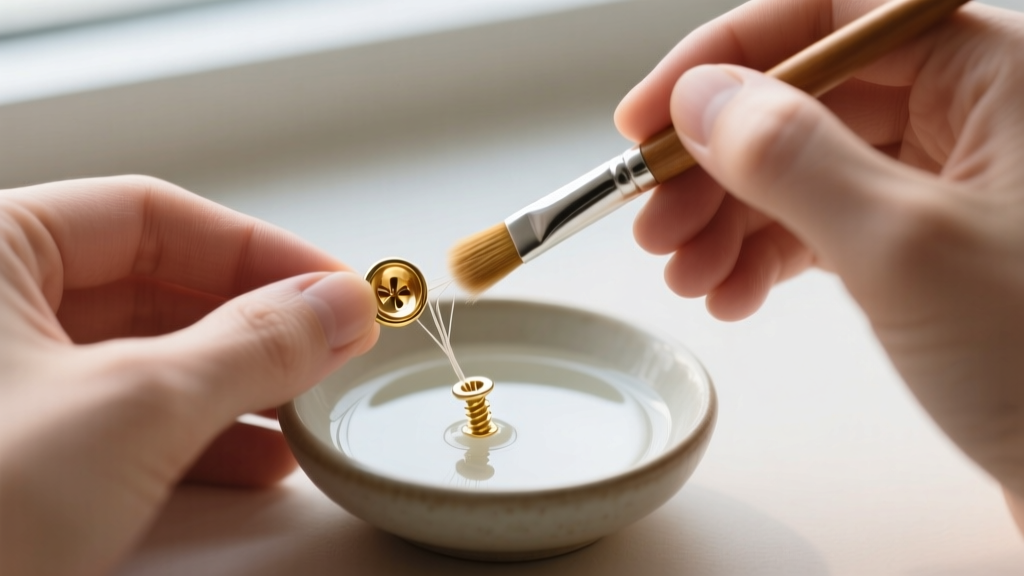
During your shower, let warm water run over the earrings. Once a week, use a dedicated, soft-bristled jewelry brush (or a clean, ultra-soft baby toothbrush) with a mild, fragrance-free liquid soap. Gently brush the threads of both the post and the backing to dislodge microscopic skin cells and sebum. Rinse thoroughly with distilled or filtered water to prevent hard water mineral deposits from calcifying inside the threading.
What to Avoid
- Ultrasonic Cleaners: While great for solid metal, the high-frequency vibrations of ultrasonic cleaners can loosen the prong settings on gemstone screw-back earrings, causing you to lose your diamond or opal.
- Harsh Chemicals: Rubbing alcohol and hydrogen peroxide can degrade the polished finish of certain metals and ruin the anodized colors on titanium jewelry. Stick to sterile saline or mild soap.
- Force: Never use metal tools to clean the threads. A wooden toothpick or a soft nylon brush is all you need to dislodge stubborn debris without scratching the metal.
Mastering the use of screw on back earrings elevates your jewelry experience from a daily frustration to a seamless, secure routine. By respecting the thread pitch, utilizing the reverse-turn trick, and maintaining your pieces with gentle precision, your threaded jewelry will remain secure, comfortable, and pristine for a lifetime.


