How to Repair and Restore Vintage Crystal Earrings
Learn how to troubleshoot, clean, and repair vintage crystal earrings. Expert tips on fixing missing stones, tarnished settings, and broken posts.

Collecting and wearing vintage crystal earrings offers a glimpse into the unparalleled craftsmanship of the mid-20th century. From the intricate aurora borealis coatings of the 1950s to the bold, geometric rhinestone designs of the 1980s, these pieces carry historical weight and undeniable glamour. However, aging materials present unique structural challenges. As of 2026, the secondary market for vintage jewelry continues to surge, yet many buyers and inheritors are left wondering how to safely restore these fragile accessories without destroying their historical integrity.
Whether you are dealing with degraded foil backing, sheared earring posts, or missing stones, troubleshooting vintage crystal earrings requires a departure from modern jewelry repair techniques. This guide provides a master-class approach to diagnosing, repairing, and preserving your vintage crystal ear wear.
Diagnosing Common Failure Modes in Vintage Crystals
Before attempting any repair, you must accurately diagnose the failure mode. Vintage crystals—often made of leaded glass or early acrylics—react to time, moisture, and skin oils differently than modern cubic zirconia or lab-grown gems. According to the Gemological Institute of America (GIA), the porosity of antique settings and the chemical composition of early glass coatings require highly specialized care.
- Foil Backing Degradation: The "mirroring" effect in vintage rhinestones is achieved by applying a delicate silver, copper, or gold foil to the pavilion (back) of the stone. When moisture breaches the prong seal, this foil oxidizes, turning black or flaking away entirely.
- Prong Fatigue and Metal Memory: Decades of being caught on clothing can bend prongs outward. Vintage pot metal (zamak) and early brass alloys suffer from metal fatigue; attempting to simply push the prongs back down often results in the prong snapping off completely.
- Post Shear at the Solder Joint: Vintage earring posts were frequently soldered using lead-based or low-temperature silver solders that become brittle over time, leading to clean breaks right at the base plate.
Troubleshooting Cloudy Stones and Degraded Foil Backing
Cloudiness in vintage crystal earrings is rarely a issue with the glass itself; it is almost always a failure of the foil backing. When moisture becomes trapped between the glass and the foil, it creates a milky, irreversible haze if left untreated.
The Foil Replacement Process
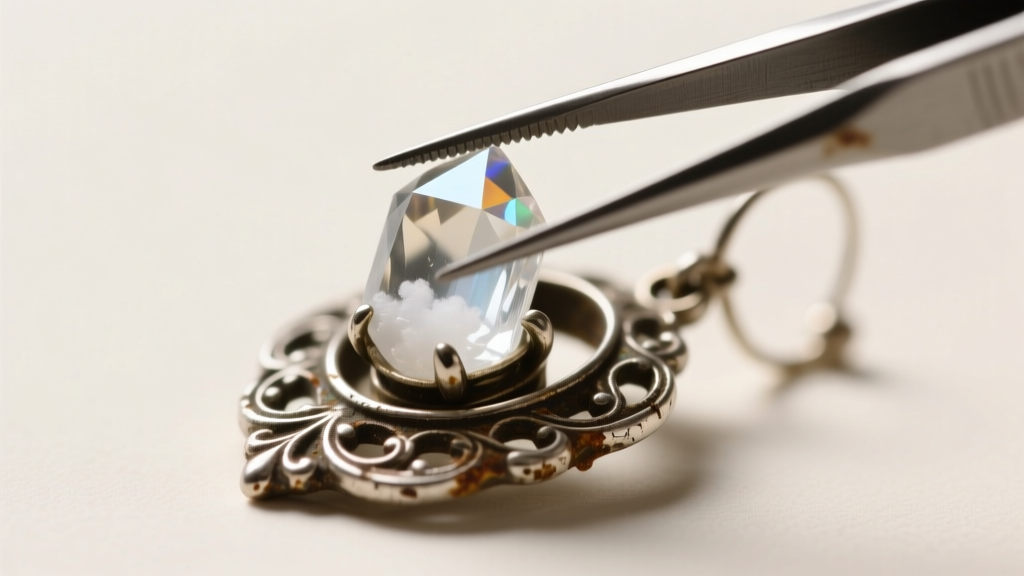
If the stone is unfoiled glass and the foil has simply detached, you can re-foil it. First, use a pair of fine-tipped tweezers to gently lift the stone from the setting. If the prongs are too stiff, apply a micro-drop of penetrating oil to the prong base and wait ten minutes. Once removed, clean the pavilion of the stone with isopropyl alcohol and a lint-free swab. Cut a new piece of archival-quality silver leaf or specialized rhinestone foil to match the original shape. Adhere it using a microscopic layer of UV-curing resin, which prevents the moisture-trapping issues associated with traditional liquid glues.
Warning: Never attempt to clean a foil-backed stone while it is still seated in the setting. Liquid cleaners will seep under the prongs and destroy the remaining foil.
Post Shear and Clasp Failures: Soldering vs. Adhesives
One of the most frequent issues with vintage crystal earrings is the loss of the earring post. Modern earrings typically feature a 20-gauge or 22-gauge post laser-welded to a flat pad. Vintage pieces, however, often feature 18-gauge posts soldered directly to intricate, sometimes hollow, metalwork.
The primary troubleshooting hurdle here is the base metal. Many vintage earrings from the 1940s through the 1970s are made of "pot metal" (a zinc-based alloy) or heavily rhodium-plated brass. You cannot use a traditional butane or oxy-acetylene torch to solder pot metal; it will melt, warp, and destroy the crystal settings. According to repair guidelines from Lang Antiques University, identifying the base metal is the critical first step before applying heat.
Repair Method Comparison
| Repair Method | Best For Material | Durability | Estimated Cost (Professional) |
|---|---|---|---|
| Torch Soldering | Sterling Silver, Solid Gold, Unplated Brass | Permanent | $45 - $85 |
| Laser Welding | Pot Metal, Zamak, Plated Alloys, Titanium | High | $75 - $150 |
| Two-Part Epoxy (e.g., Devcon) | All Metals (DIY temporary fix) | Moderate | $5 - $15 |
| Conductive Silver Paint | Delicate Pot Metal (Low-stress joints) | Low | $20 - $30 |
For DIY enthusiasts dealing with pot metal, a high-strength, two-part steel epoxy (like J-B Weld) is the safest route. Score the back of the earring setting and the base of the replacement post pad with 400-grit sandpaper to create a mechanical bond, clean with acetone, and clamp for 24 hours.
Converting Vintage Screw-Backs and Clip-Ons to Modern Posts
Many vintage crystal earrings were designed for unpierced ears, featuring screw-backs or heavy paddle clip-ons. These mechanisms are notoriously uncomfortable for modern wearers and can cause earlobe fatigue or pinching. Converting them to standard posts is a highly requested troubleshooting solution.
- Removal: Use flush-cutting jewelry snips to cut the screw-back or clip-on mechanism as close to the base as possible. File the remaining nub flat using a needle file.
- Pad Attachment: Because the original backing area is often uneven, glue a flat, 6mm sterling silver post pad over the filed area using UV resin or laser weld it if the metal permits.
- Security Upgrade: Vintage posts were often thicker, meaning modern friction backs may not fit. Always pair newly converted vintage earrings with La Pousette push-backs or secure silicone bullet clutches to prevent the heavy crystal drops from sliding off the ear.
Sourcing and Setting Replacement Stones
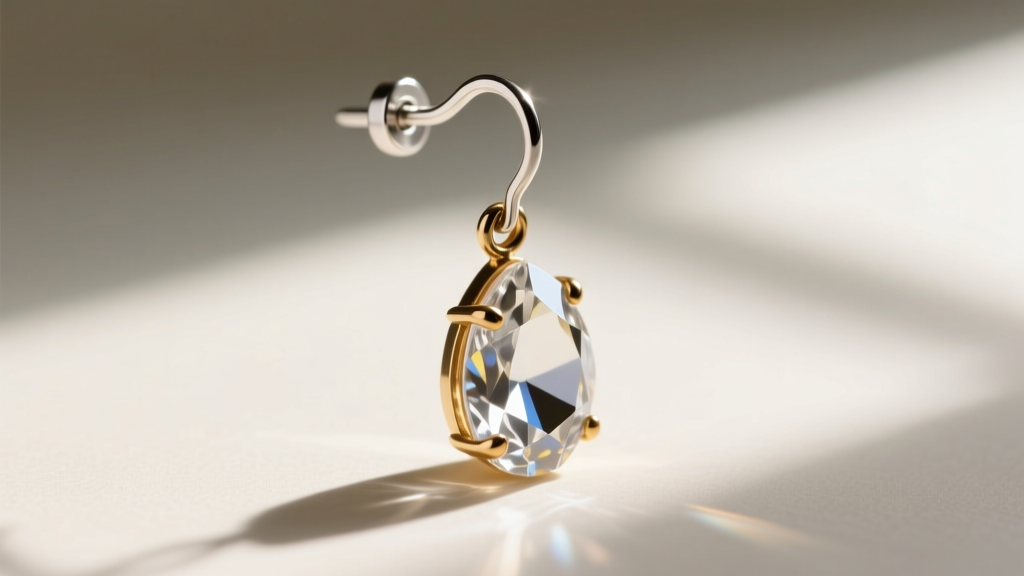
When a vintage crystal is missing or shattered beyond repair, finding an exact match requires understanding historical sizing metrics. Modern gemstones are measured in millimeters, but vintage rhinestones and crystals were often categorized by "PP" (Pearl Plate) or "SS" (Stone Size) scales. Resources like the Fire Mountain Gems Encyclopedia provide vital conversion charts for these antiquated sizing systems.
Sizing and Prong Tightening
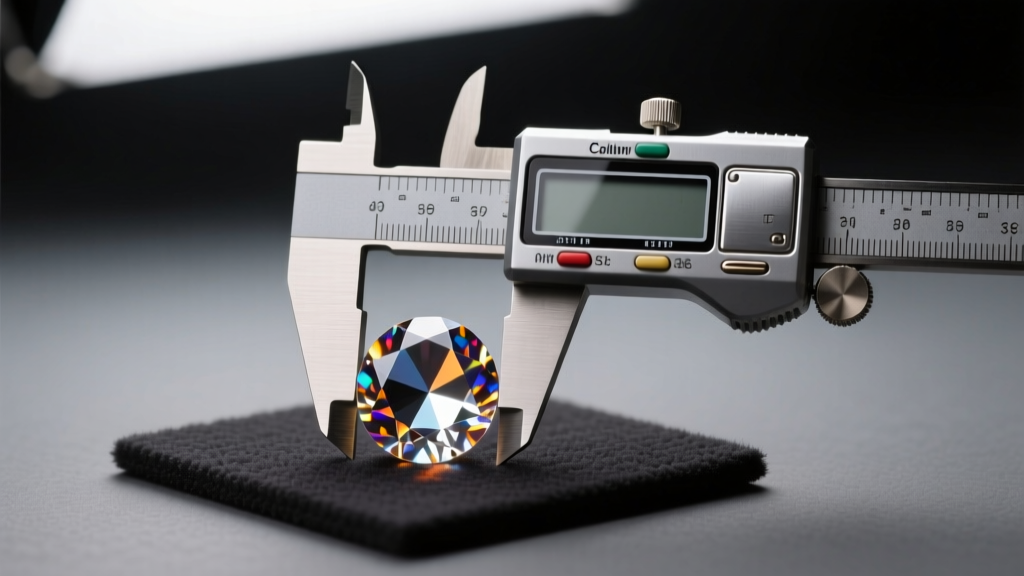
Use a digital caliper to measure the inner diameter of the empty setting, not the outer prong-to-prong distance. If your setting measures 4.7mm, you will need an SS20 stone (which typically ranges from 4.6mm to 4.8mm).
When setting the new stone, never use standard steel prong pushers directly on vintage glass or early acrylics; the steel will scratch the table (top facet) of the crystal. Instead, use a bezel roller tipped with nylon or wrap the tip of your pusher in a single layer of painter's tape. Push the prongs down in a star pattern (North, South, East, West) to ensure even tension, preventing the stone from popping out under lateral pressure.
Safe Cleaning Protocols for Antique Settings
The most catastrophic mistake a collector can make is placing vintage crystal earrings into an ultrasonic cleaner. The high-frequency acoustic cavitation bubbles will instantly shatter the delicate glass, strip the aurora borealis coatings, and detach any remaining foil backing. Furthermore, chemical dips meant for silver (like Tarn-X) will strip the rhodium plating commonly found on mid-century white metal settings, leaving behind a dull, yellowish brass or porous pot metal finish.
The Expert Cleaning Protocol:
- Mix a solution of distilled water and a single drop of pH-neutral dish soap (like Dawn).
- Dip a soft-bristled baby toothbrush into the solution, shaking off excess moisture so the brush is only damp, not dripping.
- Gently brush the table and crown facets of the crystals, avoiding the prong bases where water can seep underneath.
- Immediately dry the piece using a microfiber cloth, followed by a blast of compressed air to force any trapped moisture out from under the settings.
Final Thoughts on Preservation
Restoring vintage crystal earrings is an exercise in patience and material science. By respecting the limitations of pot metal, understanding the fragility of foil backings, and utilizing the correct adhesives and sizing metrics, you can rescue these historical pieces from the jewelry box and return them to daily rotation. Always document your repairs, as future collectors will appreciate knowing which stones are original and which settings have been reinforced for longevity.


