Advanced Clay Earrings DIY: Technical Crafting Guide
Master the science of polymer clay earrings DIY. Expert guide on clay grades, baking temperatures, structural integrity, and hardware.

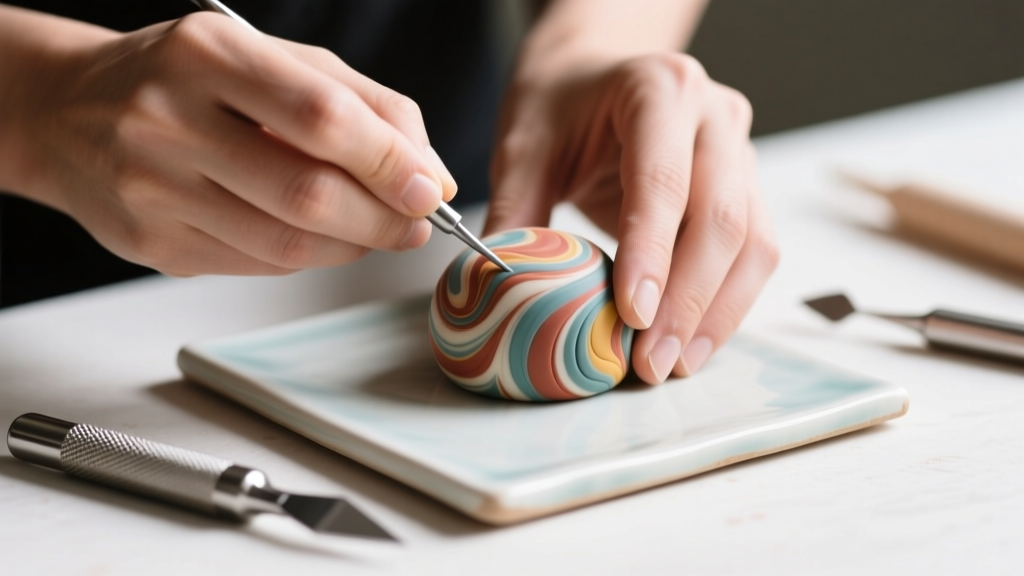
Creating durable, professional-grade jewelry requires more than just rolling and cutting. When approaching a clay earrings DIY project from an expert perspective, you must understand the material science of polymer clay, the thermodynamics of curing, and the metallurgy of earring hardware. This guide bypasses basic crafting tutorials to deliver a technical deep dive into engineering high-quality, hypoallergenic polymer clay earrings that meet modern 2026 jewelry safety and durability standards.
The Chemistry of Polymer Clay for Jewelry
Polymer clay is not actually clay; it is a polyvinyl chloride (PVC) resin base combined with plasticizers, pigments, and fillers. The plasticizers are what give the material its malleability before curing and its flexibility afterward. In recent years, the industry has shifted heavily toward non-phthalate plasticizers to comply with stringent global safety regulations. When you bake polymer clay, you are not drying it out; you are initiating a chemical cross-linking process where the PVC particles fuse into a solid, flexible plastic matrix. Understanding this matrix is critical for preventing the brittle failures that plague amateur clay earrings.
Selecting the Right Clay: Brands and Formulations
Not all polymer clays are engineered for the same structural demands. Earrings require a balance of flexibility (to survive being dropped) and rigidity (to hold intricate shapes). Below is a technical comparison of the top jewelry-grade polymer clays available on the market.
| Clay Brand & Line | Flexibility Post-Cure | Detail Retention | Best Use Case in Earrings |
|---|---|---|---|
| Fimo Professional | Low (Stiff) | Exceptional | Geometric shapes, micro-millefiori, structural dangles |
| Sculpey Premo | High (Flexible) | Very Good | Large statement studs, thin sheets, teardrop dangles |
| Cernit Number One | Medium-High | Excellent | Translucent effects, porcelain-like finishes, layered canes |
| Kato Polyclay | Low (Very Rigid) | Unmatched | Canework, rigid ear cuffs, highly detailed pendants |
For standard clay earrings DIY projects that involve thin, dangling elements, Sculpey Premo is often the superior choice due to its high flexibility, which prevents snapping upon impact. For rigid architectural studs, Fimo Professional provides the necessary stiffness. According to the Sculpey Polymer Clay 101 technical documentation, Premo's proprietary plasticizer blend allows for thin sheets (down to 1mm) to bend significantly before reaching their tensile breaking point.
Engineering Structural Integrity and Hardware Integration
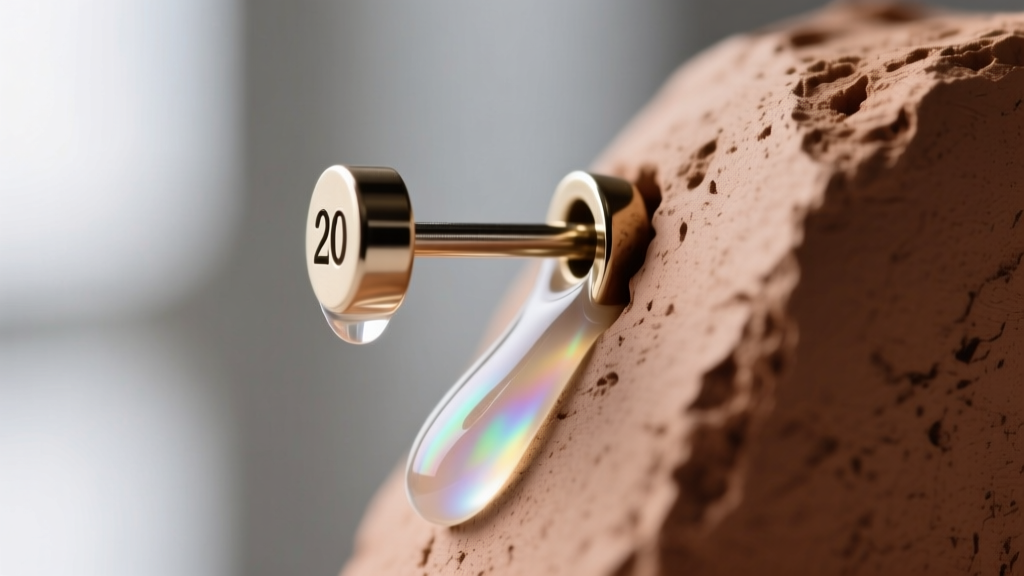
The most common point of failure in DIY clay earrings is the junction between the clay body and the metal hardware. Relying solely on cyanoacrylate (Super Glue) or E6000 adhesive is a structural compromise. Over time, temperature fluctuations cause the metal and the PVC to expand and contract at different rates, breaking the adhesive bond.
The Post-and-Back Embedding Method
To create a permanent mechanical and chemical bond, you must embed the earring post directly into the raw clay and use a liquid polymer slip as a coupling agent. Here is the precise engineering protocol:
- Score the Metal: Use 220-grit sandpaper or a jeweler's file to roughen the flat pad of the earring post. This increases the surface area for adhesion.
- Apply Liquid Clay: Coat the scored pad with Translucent Liquid Sculpey (TLS) or Fimo Liquid. These liquid polymers act as a 'slip', chemically fusing the solid clay to the metal during the baking process.
- Embed and Support: Press the post into the raw clay earring body. Create a small 'bead' of scrap clay over the post's pad to encase it, then smooth it flush with the back of the earring.
- Bake Together: The entire assembly is baked simultaneously, creating a unified PVC matrix that locks the metal in place.
Gauge Sizes and Metallurgy for Sensitive Ears
Standard commercial earring posts are often 22-gauge (0.64mm) or 20-gauge (0.81mm). For clay earrings, which can be heavier than metal or acrylic, 20-gauge posts are mandatory. The thicker wire resists bending under the weight of a polymer clay dangle. Furthermore, the pad size should be at least 4mm to provide adequate surface area for the liquid clay bond.
Metallurgy is equally critical. Many cheap DIY hardware kits use brass or nickel-silver, which cause contact dermatitis. To ensure hypoallergenic compliance, source hardware made from:
- ASTM F136 Titanium (Ti-6Al-4V ELI): The medical standard for implant-grade jewelry. It is completely nickel-free and highly corrosion-resistant.
- Pure Niobium: A reactive metal that can be anodized into vibrant colors. It is entirely hypoallergenic and slightly more malleable than titanium, making it easier to adjust if a post bends slightly.
For comprehensive standards on metal sensitization and jewelry safety, refer to the guidelines published by ASTM International, which dictate the acceptable nickel release rates for body-contact materials.
The Thermodynamics of Curing
Baking polymer clay is a precise thermodynamic process. Underbaking leaves the plasticizers unfused, resulting in a brittle earring that will shatter. Overbaking degrades the PVC, releasing toxic hydrogen chloride gas and scorching the pigments.
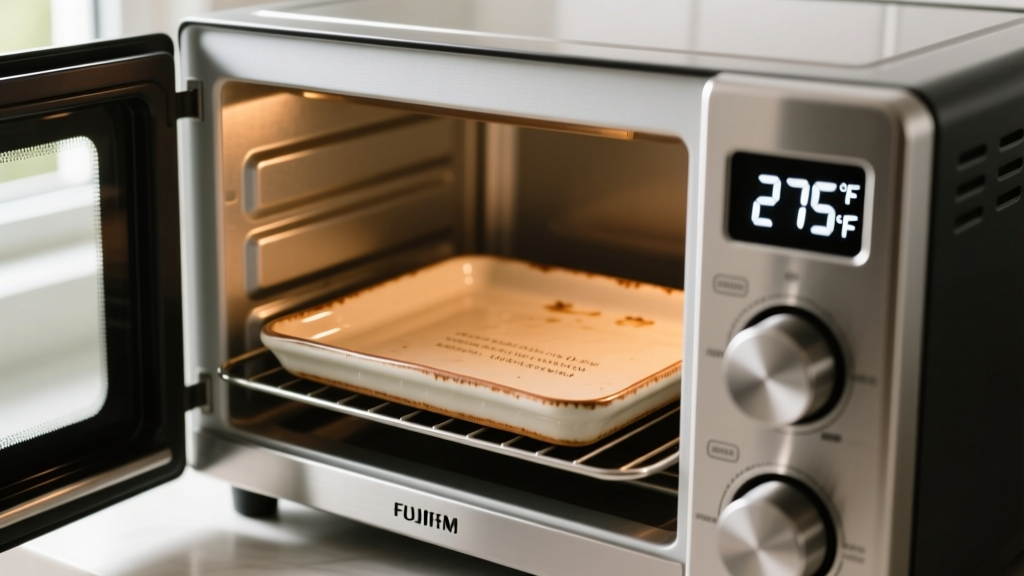
Most clay manufacturers recommend a baking temperature between 265°F and 275°F (129°C - 135°C). However, as noted by polymer chemistry expert Ginger Davis Allman of The Blue Bottle Tree, household ovens are notoriously inaccurate and can spike up to 50 degrees above the set temperature. To achieve a proper cure without scorching, experts utilize a technique called 'tenting' and rely on independent digital oven thermometers.
Expert Tip: Never bake polymer clay directly on a metal sheet pan. Metal conducts heat too rapidly, causing the bottom of the earring to scorch before the center reaches the curing temperature. Always bake on a smooth ceramic tile or a pane of tempered glass, and tent the clay with a folded piece of aluminum foil to deflect direct radiant heat from the oven's heating elements.
For thick, multi-layered statement earrings, employ a 'ramp baking' technique. Start the oven cold, place the ceramic tile inside, and allow the oven to heat up gradually with the clay inside. This prevents thermal shock and ensures the core of the clay reaches the necessary 275°F threshold for a full 45 to 60 minutes.
Surface Sealing and Finishing Protocols
Polymer clay is inherently non-porous once cured, meaning it does not strictly require a sealant. However, surface treatments like mica powders, chalk pastels, and metallic leafing will rub off against skin and hair. Choosing the right topcoat is a matter of chemical compatibility.
What to Avoid: Never use aerosol spray clear coats (like Rust-Oleum or Krylon). The propellants and solvents in these sprays react with the PVC plasticizers, resulting in a perpetually tacky surface that will never fully dry.
Recommended Sealants:
- Water-Based Polyurethane (e.g., Varathane Ultimate): Provides a durable, flexible, and non-yellowing finish. Apply in thin, even coats with a soft synthetic brush.
- UV Resin (Epoxy Acrylate): For a high-gloss, glass-like dome finish on flat studs. UV resin must be cured under a 36W+ UV/LED lamp. Note that UV resin can eventually peel from polymer clay if the surface is not lightly sanded with 400-grit paper prior to application to create a mechanical tooth.
Troubleshooting Common Structural Failures
Even with precise techniques, structural anomalies can occur. Here is a diagnostic framework for troubleshooting your clay earrings DIY results:
1. Brittle Breakage Upon Flexing
Cause: Underbaking or using a clay brand with low flexibility (like Kato) for a thin, high-impact design.
Solution: Verify your oven temperature with a standalone thermometer. Extend bake time to 60 minutes per 1/4 inch of thickness. Switch to a more flexible formulation like Premo for thin dangles.
2. Earring Posts Pulling Out
Cause: Relying on glue, or failing to score the metal pad before embedding.
Solution: Abandon E6000 for post attachment. Use the liquid clay slip method detailed above, ensuring the pad is fully encased in a thin layer of scrap clay that is burnished flush with the earring back.
3. Surface Tackiness After Sealing
Cause: Solvent reaction from aerosol sprays, or applying water-based varnish over clay that has surface oils from handling.
Solution: Wipe cured, unsealed clay with 91% isopropyl alcohol to remove sebum and dust before applying any water-based polyurethane. Discard all aerosol sprays from your jewelry workspace.
By treating your clay earrings DIY practice as an exercise in material science rather than simple arts and crafts, you elevate your work from fragile hobbyist trinkets to durable, professional-grade, and hypoallergenic jewelry.


