How to Prepare Earrings at Home for Safe, Irritation-Free Wear
Learn how to prepare earrings at home with our 4-step protocol. Expert tips on sterilizing, cleaning, and inspecting metals for safe, irritation-free wear.

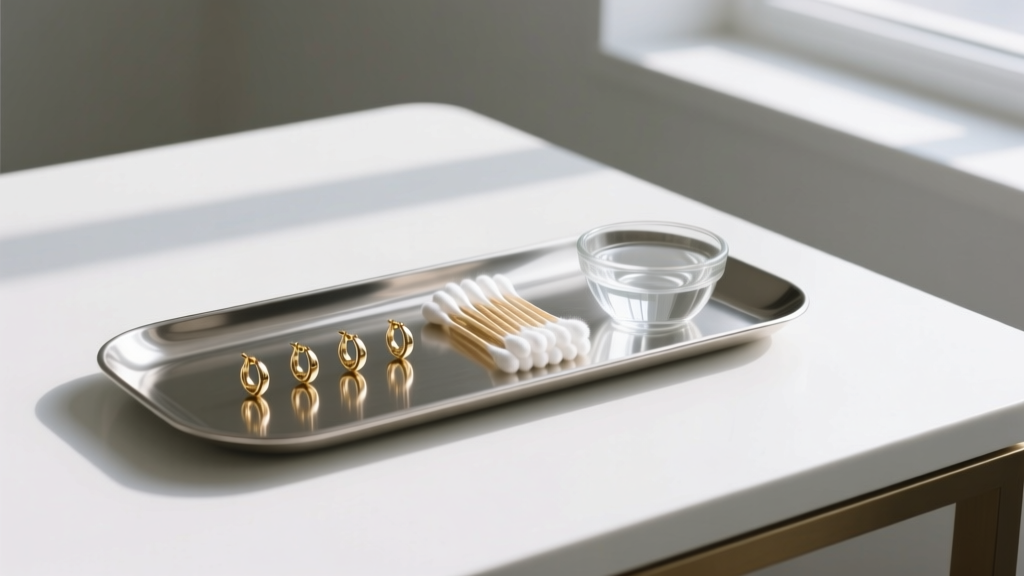
Whether you are reaching for a favorite pair of vintage studs, preparing to insert a new set of threadless labrets, or rotating your seasonal jewelry collection, understanding how to prepare earrings at home is a critical skill for maintaining piercing health. The environment inside a piercing fistula (the tunnel of healed tissue) is warm, moist, and highly susceptible to bacterial introduction and contact dermatitis. Simply wiping an earring post on a cotton shirt is not enough to remove microscopic biofilm, sebum buildup, or environmental pathogens.
In this comprehensive guide, we will bypass generic cleaning advice and dive deep into the metallurgical and microbiological realities of jewelry care. By following a clinical-grade preparation protocol, you can extend the lifespan of your precious metals, protect delicate gemstones, and ensure your piercings remain healthy and irritation-free.
Why Proper Earring Preparation Prevents Contact Dermatitis
Contact dermatitis is one of the most common complications in body jewelry, often triggered by the introduction of nickel ions or trapped bacteria into the piercing channel. According to the Mayo Clinic, nickel allergy affects a significant portion of the population, and the reaction can be triggered by microscopic amounts of metal dust or degraded alloys left on improperly stored earrings.
When earrings sit in a jewelry box, they accumulate dead skin cells, oxidized metal particles, and ambient dust. If inserted without proper preparation, this debris acts as an abrasive, creating micro-tears in the fistula lining. These micro-tears allow allergens and bacteria to bypass the skin's natural barrier, leading to localized swelling, hypergranulation, and painful flare-ups. Proper preparation neutralizes these threats before the jewelry ever touches your skin.
The 4-Step Protocol: How to Prepare Earrings at Home
To achieve a safe, clinical-level preparation at home, follow this sequential protocol. Skipping steps can compromise the integrity of the metal or the safety of the piercing.
Step 1: Structural Integrity and Threading Check
Before any liquid touches the jewelry, perform a visual and tactile inspection. For standard 20-gauge (0.81mm) or 18-gauge (1.02mm) posts, use a jeweler's loupe or your smartphone's macro camera to inspect the threading.
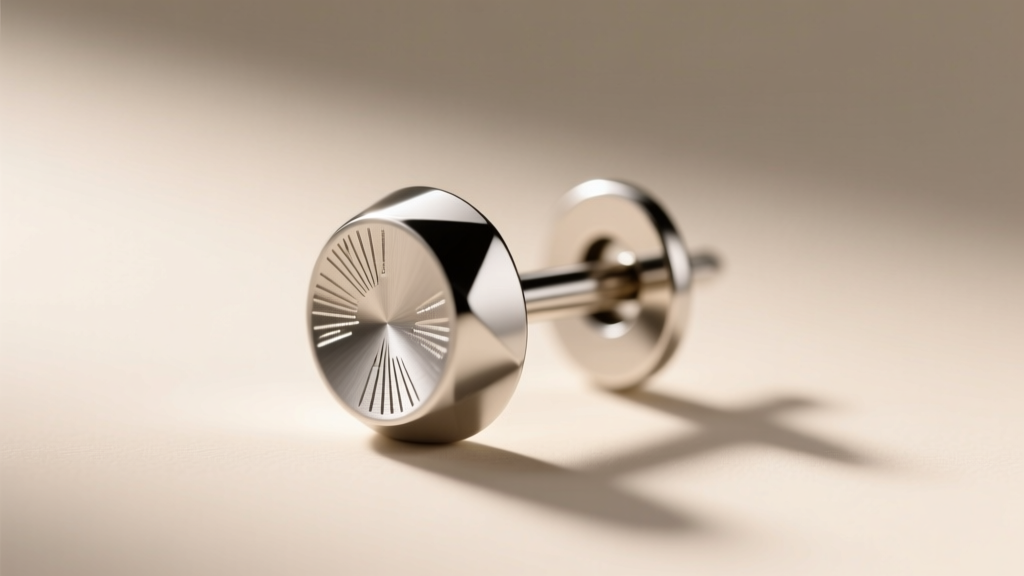
- Internally Threaded Jewelry: Ensure the internal threads inside the post are free of lint and metal burrs. A damaged internal thread will strip the external thread of the decorative end, ruining the piece.
- Threadless (Press-Fit) Jewelry: Check the pin on the decorative end. It should have a smooth, gradual bend. If the pin is bent at a sharp 90-degree angle, it will weaken and snap inside the post.
- Prong Settings: Gently run a piece of silk thread or a microfiber cloth over the gemstone prongs. If the fabric snags, a prong is lifted and requires professional jeweler intervention before wearing.
Step 2: Debris Removal and Ultrasonic Cleaning
For solid metals without porous gemstones, an ultrasonic cleaner is the gold standard for home preparation. These devices use high-frequency sound waves (typically 40kHz) to create microscopic cavitation bubbles in a liquid solution, which implode and blast away sebum and dead skin from microscopic crevices.
Fill the ultrasonic tank with warm water and a few drops of pH-neutral dish soap (like Dawn). Run the cycle for exactly three minutes. Warning: Never use ultrasonic cleaners on opals, emeralds, turquoise, or pearls. The cavitation process will fracture these porous and fragile stones.
Step 3: Chemical Sterilization
Cleaning removes visible debris; sterilization kills microscopic pathogens. For home preparation, 70% Isopropyl Alcohol (IPA) is vastly superior to 99% IPA. While it seems counterintuitive, the 30% water content in 70% IPA slows evaporation, allowing the alcohol enough contact time to penetrate the lipid membranes of bacteria and denature their proteins. 99% IPA evaporates too quickly and coagulates the outer cell wall, creating a protective shield for the bacteria inside.
Submerge the metal portions of the earrings in 70% IPA for 5 to 10 minutes. Remove with sterile nitrile gloves or clean tweezers and allow to air dry on a disposable paper towel.
Step 4: Lubrication and Insertion Prep
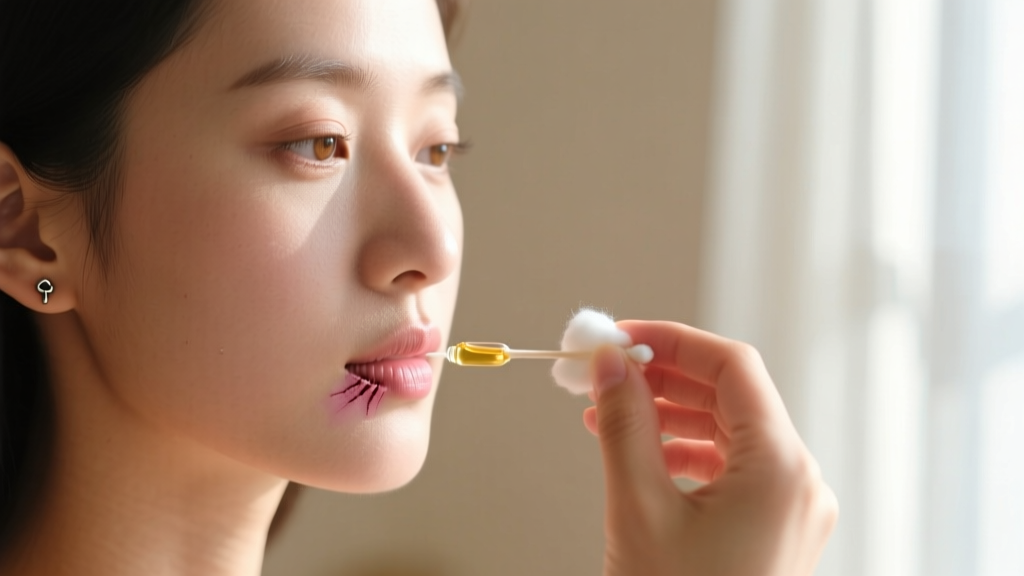
Inserting dry metal into a healed fistula causes unnecessary friction. Once the earring is sterilized and dry, apply a microscopic drop of pure, cold-pressed jojoba oil to the post. Jojoba oil closely mimics human sebum, providing a biocompatible lubricant that eases insertion without clogging the piercing or introducing synthetic fragrances.
Material-Specific Preparation Matrix
Not all jewelry metals react the same way to cleaning agents. The Association of Professional Piercers (APP) provides strict guidelines on acceptable body jewelry materials. Use the matrix below to tailor your preparation method to your specific earrings.
| Material Grade | Recommended Cleaning Agent | Safe Sterilization Method | Contraindications & Warnings |
|---|---|---|---|
| Implant-Grade Titanium (ASTM F-136) | Mild dish soap, Ultrasonic | 70% IPA, Autoclave, Boiling | Highly durable; safe for all methods. Avoid hydrofluoric acid. |
| 14k / 18k Solid Gold (Nickel-Free) | Mild dish soap, Ultrasonic | 70% IPA (5 mins max) | Prolonged IPA exposure can dull high-polish finishes. Never use bleach. |
| Sterling Silver (.925) | Polishing cloth, Silver dip | Wipe with 70% IPA only | Do not boil or use ultrasonic if oxidized (antiqued) details are present. |
| Surgical Steel (316L) | Mild dish soap, Ultrasonic | 70% IPA, Boiling | Contains trace nickel. Avoid if you have a known nickel sensitivity. |
Troubleshooting Common Preparation Failures
Even with the best intentions, home preparation can sometimes go wrong. Here is how to identify and fix common issues without ruining your jewelry.
Cloudy or Hazy Gemstones After Cleaning
If your diamonds or sapphires look cloudy after an ultrasonic bath, they likely have a film of trapped soap residue or hard water minerals. Rinse the stones thoroughly under warm distilled water (not tap water, which contains calcium and magnesium) and dry with a lint-free microfiber cloth. Avoid using paper towels, as the wood pulp fibers can scratch softer stones like tanzanite.
Cross-Threading Internally Threaded Ends
When attempting to screw a decorative end into a post, resistance should be minimal. If you feel grinding, stop immediately. You are likely cross-threading the piece, which will permanently strip the titanium threads. Back the end out, apply a tiny drop of jojoba oil to the threads to flush out debris, and try again, ensuring the pin is perfectly aligned with the post opening.
Tarnished Silver Posts
Sterling silver tarnishes when exposed to sulfur compounds in the air and on the skin. If your .925 silver posts are blackened, do not scrape them with a needle or abrasive pad. Use a dedicated silver polishing cloth impregnated with jeweler's rouge. For heavy tarnish, a brief soak in a commercial silver dip followed by a thorough water rinse will restore the luster, but never use silver dip on earrings with porous stones or pearls.
What to Avoid: The Home Hacks That Ruin Jewelry
The internet is full of DIY jewelry cleaning hacks that can cause irreversible damage to high-end earrings. Avoid these common mistakes:
- Toothpaste: Toothpaste contains abrasive silica particles designed to scrub enamel. These particles have a high Relative Dentin Abrasivity (RDA) value and will leave microscopic, dulling scratches on high-polish gold and platinum.
- Baking Soda and Aluminum Foil: While this electrochemical reaction effectively removes tarnish from silver, it can also strip intentional oxidation (blackening) from designer pieces and severely damage gemstone settings.
- Boiling Water with Gemstones: Dropping jewelry into boiling water is a safe sterilization method for solid titanium or steel, but the thermal shock can instantly shatter diamonds with internal inclusions, fracture emeralds, and melt the adhesives used in cluster settings.
- Hand Sanitizer: While convenient, hand sanitizers contain glycerin, aloe, and fragrances. These leave a sticky, difficult-to-remove film on jewelry and can degrade the finish of rhodium-plated white gold.
Conclusion
Mastering how to prepare earrings at home elevates your jewelry care routine from a basic chore to a proactive health measure. By implementing structural inspections, utilizing the correct chemical sterilizers like 70% IPA, and respecting the unique properties of your specific metals and gemstones, you ensure that every piece you wear is safe, brilliant, and ready for the day ahead. Treat your jewelry with clinical precision, and it will reward you with a lifetime of irritation-free wear.


