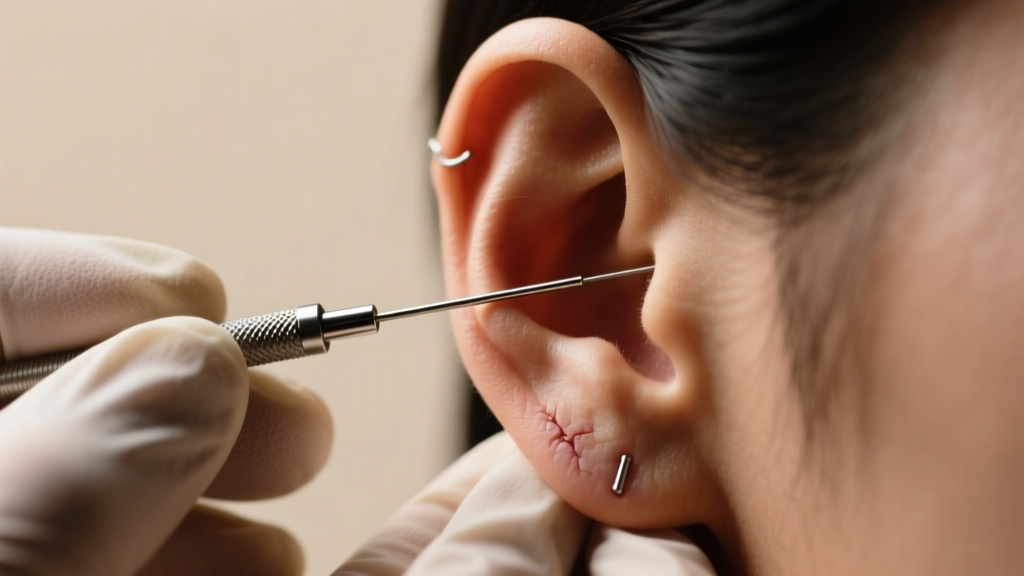
Troubleshooting Regular Gauge Earrings: Sizing and Fit Fixes
Solve common fit issues with regular gauge earrings. Learn how to fix cheese cutter effects, micro-tears, and threading snags with expert sizing tips.

The Anatomy of 'Regular Gauge' Earrings
When shopping for everyday jewelry, the term 'regular gauge earrings' is thrown around frequently, yet it remains one of the most misunderstood metrics in body modification. Unlike stretched lobes or specialized cartilage piercings that utilize thick 14G or 12G jewelry, standard lobe piercings typically fall into the 20G or 18G spectrum. However, the discrepancy between commercial fashion jewelry and professional body jewelry creates a massive troubleshooting headache for consumers.
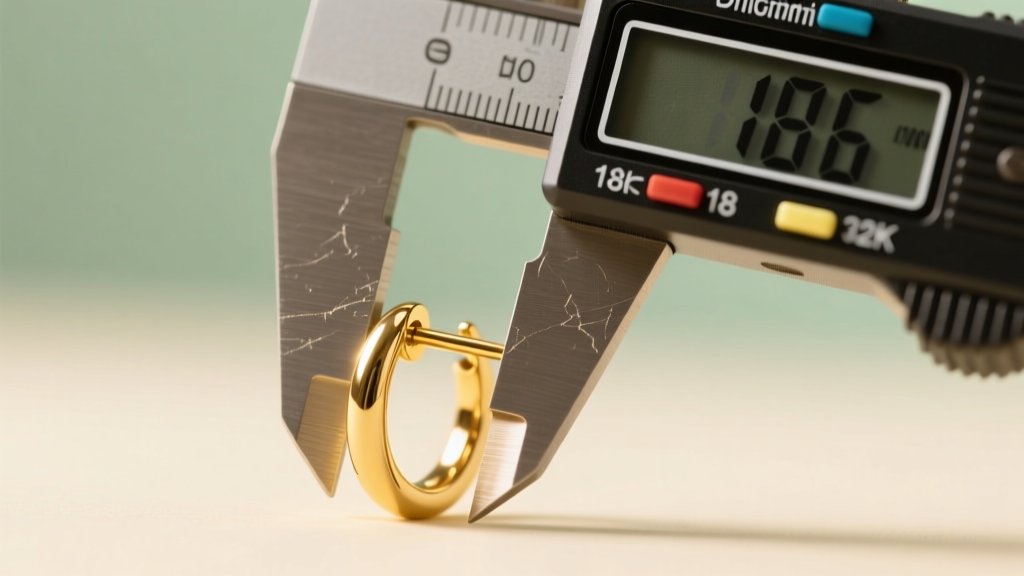
To effectively troubleshoot fit issues, we must first establish the exact millimeter measurements that define standard sizing. A 20-gauge post measures exactly 0.81mm in diameter, while an 18-gauge post measures 1.02mm. Many high-end body jewelry brands default to 16G (1.29mm) even for standard lobe piercings to provide better structural support. When you experience pain, tearing, or irritation with your regular gauge earrings, the root cause is almost always a mismatch between your fistula's healed diameter and the jewelry's actual thickness, threading style, or metallurgical grade.
Troubleshooting 4 Common Fit and Sizing Failures
1. The 'Cheese Cutter' Effect (Posts Too Thin)
One of the most insidious problems with mass-market regular gauge earrings is the use of ultra-thin 22G (0.64mm) or 24G (0.51mm) wires for drop and dangle styles. While these thin wires slide into an 18G or 16G healed fistula with zero resistance, they create a severe mechanical hazard. The physics are simple: a heavy brass or glass dangle suspended on a microscopic wire concentrates all gravitational force onto a tiny surface area at the bottom of the piercing channel.
Over time, this constant downward pressure acts like a cheese cutter, slowly migrating the piercing downward and thinning the inferior tissue ridge. If left uncorrected, this leads to permanent lobe splitting. The Fix: Retire thin-wire dangles immediately. Transition to 18G or 16G leverback hooks or threadless drop ends that distribute weight across a wider, safer surface area.
2. Micro-Tearing from Forced Insertion (Posts Too Thick)
Conversely, attempting to force a 16G (1.29mm) post into a fistula healed at 18G (1.02mm) represents a 26% overstretch of the tissue. Because earlobes possess tissue memory, forcing a thicker post causes microscopic tearing along the epithelial lining. This trauma triggers an inflammatory response, often resulting in hypertrophic scarring (the dreaded 'piercing bump') or localized blowouts.
If your regular gauge earrings feel tight, require excessive wiggling to pass through the back of the lobe, or leave the earlobe feeling hot and throbbing after insertion, you are likely dealing with a gauge mismatch. The Fix: Never force jewelry. Use a sterile, single-use insertion taper to gradually stretch the fistula over a period of weeks, or downsize your jewelry purchases to true 18G or 20G posts.
3. Fistula Snagging (External Threading Issues)
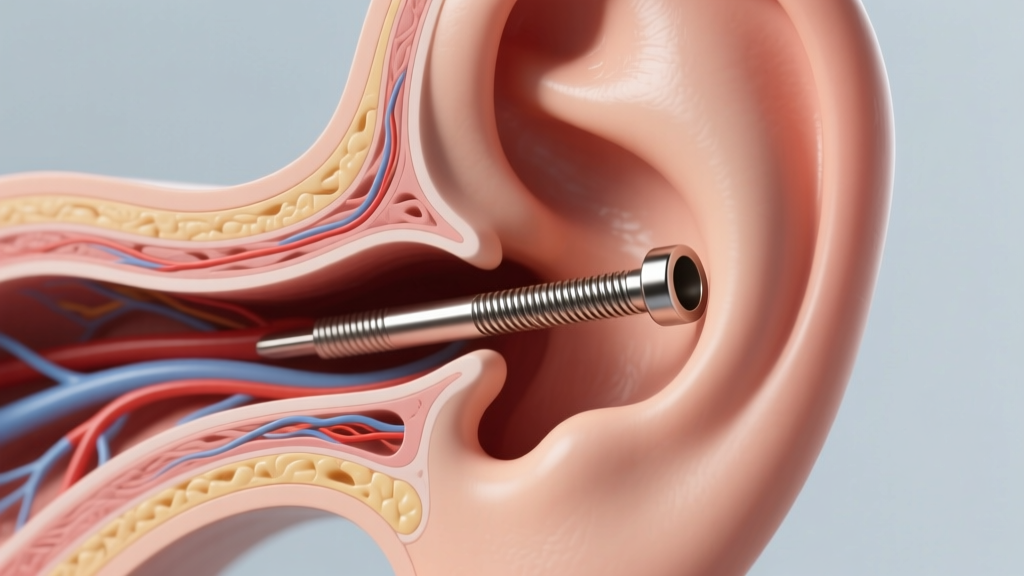
If your earring post is the correct gauge but still causes pain upon insertion or removal, the culprit is likely external threading. Externally threaded jewelry features screw patterns cut directly into the post itself. As this post passes through the delicate fistula, the sharp threads act like a microscopic file, scraping and snagging the healed tissue.
The Fix: Upgrade to internally threaded jewelry (where the screw is on the decorative end, and the post is perfectly smooth) or threadless (push-pin) systems. Threadless jewelry, which relies on tension rather than screws, has become the gold standard in 2026 for seamless, trauma-free insertions in regular gauge piercings.
4. The 'Phantom Allergy' (Material vs. Friction)
Many wearers mistake chronic irritation and crusting for a metal allergy, when in fact, it is a friction issue caused by poor manufacturing tolerances in cheap regular gauge earrings. Low-quality 'surgical steel' often contains nickel and features poorly polished posts with microscopic burrs that harbor bacteria and irritate the piercing channel.
According to guidelines from the Association of Professional Piercers (APP), only specific grades of metal are safe for long-term wear. The Fix: Discard mystery metals. Switch exclusively to ASTM F-136 implant-grade titanium or solid 14k/18k nickel-free gold. Titanium's mirror-polished surface drastically reduces friction and eliminates the risk of nickel-induced contact dermatitis, a common complication detailed in DermNet's clinical overview of piercing complications.
Gauge Measurement and Troubleshooting Matrix
| Gauge Size | Millimeter (mm) | Common Application | Troubleshooting Action Required |
|---|---|---|---|
| 22G / 24G | 0.64mm / 0.51mm | Vintage clips, ultra-thin wire dangles | Stop wearing immediately; high risk of cheese-cutter migration. |
| 20G | 0.81mm | Standard mall-kiosk lobe piercings, basic studs | Ideal for delicate lobes; avoid heavy pendants on this size. |
| 18G | 1.02mm | Professional needle lobe piercings, cartilage | The safest 'regular' size for balancing strength and comfort. |
| 16G | 1.29mm | High-end body jewelry, daith, rook, thick lobes | Requires a taper if transitioning from an 18G mall piercing. |
Step-by-Step Sizing Verification Guide
If you are unsure what gauge your current piercings actually are, follow this clinical verification process before purchasing new regular gauge earrings:
- Acquire Digital Calipers: Do not rely on visual estimation or printed gauge cards, which are notoriously inaccurate. Purchase a pair of digital millimeter calipers.
- Measure the Post, Not the Hole: Remove a well-fitting, comfortable earring from your lobe. Close the caliper jaws gently around the smoothest part of the post (avoiding any decorative ends or threading).
- Read the Metric Output: Match the millimeter reading to the matrix above. If it reads ~0.8mm, you are a 20G. If it reads ~1.0mm, you are an 18G.
- Check for Tissue Resistance: Reinsert the earring. If it glides with zero friction, your fistula has accommodated this size. If it requires a firm push, your natural healed size is likely one gauge smaller.
When to Consult a Professional Piercer
Attempting to self-stretch or force mismatched regular gauge earrings can lead to irreversible tissue damage, including lobe blowouts and severe keloid formation. When in doubt, seek professional intervention.
If you are experiencing persistent pain, localized heat, or notice the angle of your piercing shifting, your regular gauge earrings are actively damaging your tissue. A certified professional piercer can assess the fistula's health, measure the exact internal diameter, and safely transition your piercing to the correct gauge using sterile, single-use tapers. By understanding the precise mechanics of gauge sizing, threading, and metallurgy, you can transform your daily jewelry experience from a painful chore into a comfortable, lifelong expression of style.