How to Safely Remove Earrings Stuck on Back: Step-by-Step Guide
Learn how to safely remove earrings stuck on back with our step-by-step guide. Expert tips for friction, screw, and embedded earring emergencies.

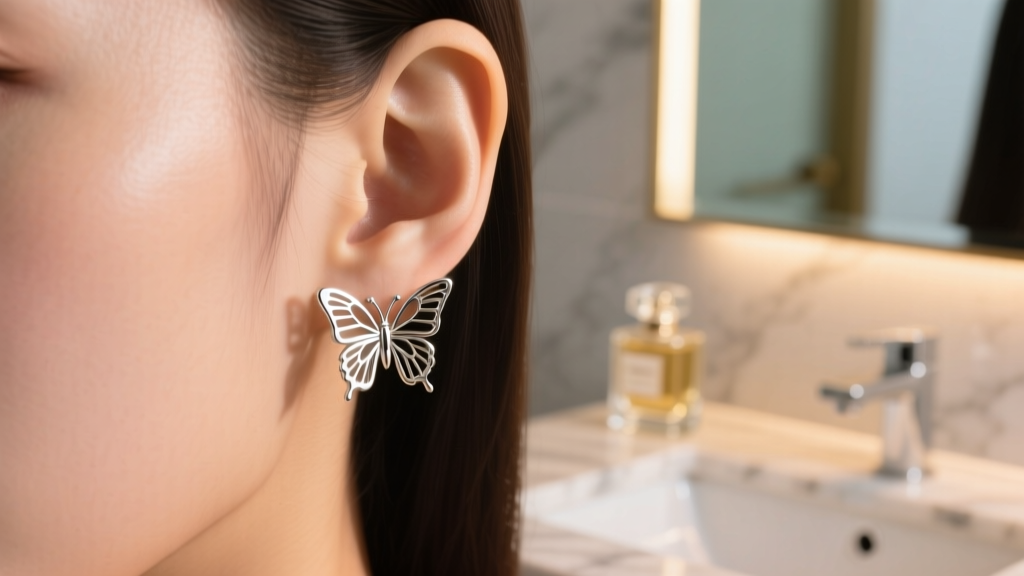
There are few beauty emergencies as quietly panic-inducing as realizing you have earrings stuck on back of your earlobe or cartilage. Whether it is a standard butterfly clutch that has calcified with sebum, an internally threaded screw back that has cross-threaded, or a post that has become embedded due to swelling, forcing the jewelry out can lead to torn tissue, scarring, or severe infection. In 2026, professional piercers and dermatologists strongly advise against the "pull and pray" method. Instead, a systematic, hygienic approach is required to safely release the hardware without traumatizing the fistula (the piercing channel).
This comprehensive guide breaks down the exact mechanics of why earring backs seize, the specialized tools you need, and step-by-step removal protocols for every type of earring backing.
The Anatomy of a Seized Earring Back
Before attempting removal, you must understand why the jewelry is stuck. Earring backs do not simply "get tight" on their own; they are fused by biological or mechanical forces.
- Biological Cement (Sebum & Keratin): Standard 20-gauge or 18-gauge friction backs (butterfly clutches) trap dead skin cells, sebum, and soap residue. Over months, this mixture oxidizes and hardens into a cement-like bond between the clutch and the earlobe.
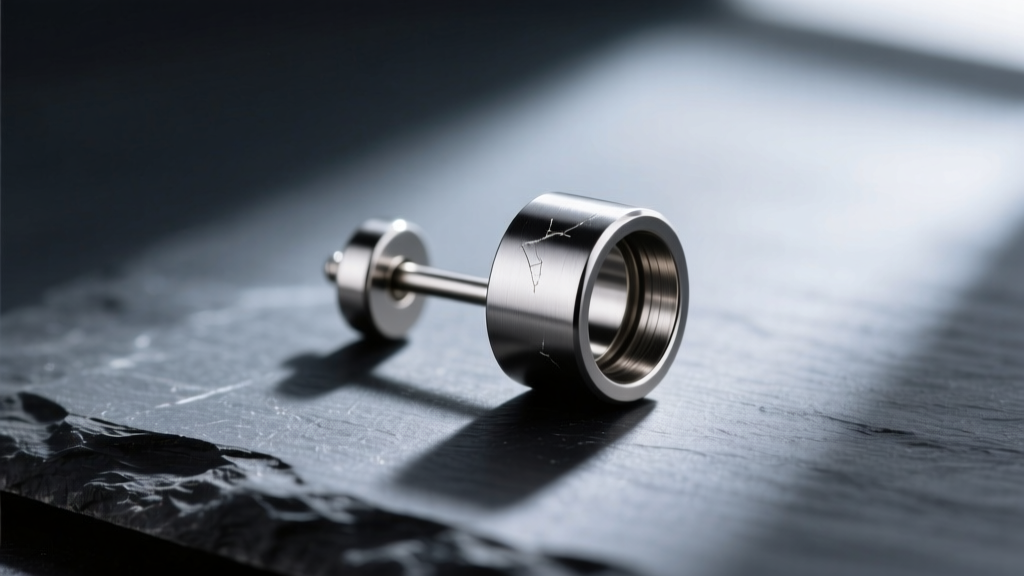
- Mechanical Seizing (Cross-Threading): High-quality 16-gauge or 14-gauge cartilage studs often use internally threaded screw backs. If the post was inserted at an angle, the threads cross, effectively locking the bead to the post.
- Tissue Embedding: If an earring is too tight, or if the ear experiences trauma or an allergic reaction (common with nickel-containing brass alloys), the lobe will swell and engulf the back of the earring entirely.
Preparation: Tools and Hygiene Protocols
Do not reach for standard household needle-nose pliers. Their serrated teeth will crush soft gold or titanium posts and slip, causing severe lobe lacerations. Gather the following professional-grade supplies:
- Sterile Hemostats (Locking Forceps): These provide a smooth, locking grip that will not slip or crush the jewelry.
- Nitrile Gloves: Latex can cause contact dermatitis, and bare skin lacks the friction needed to grip smooth metal.
- Sterile 0.9% Sodium Chloride Saline: Used to soften biological buildup.
- Warm Compress: To increase blood flow and soften hardened sebum.
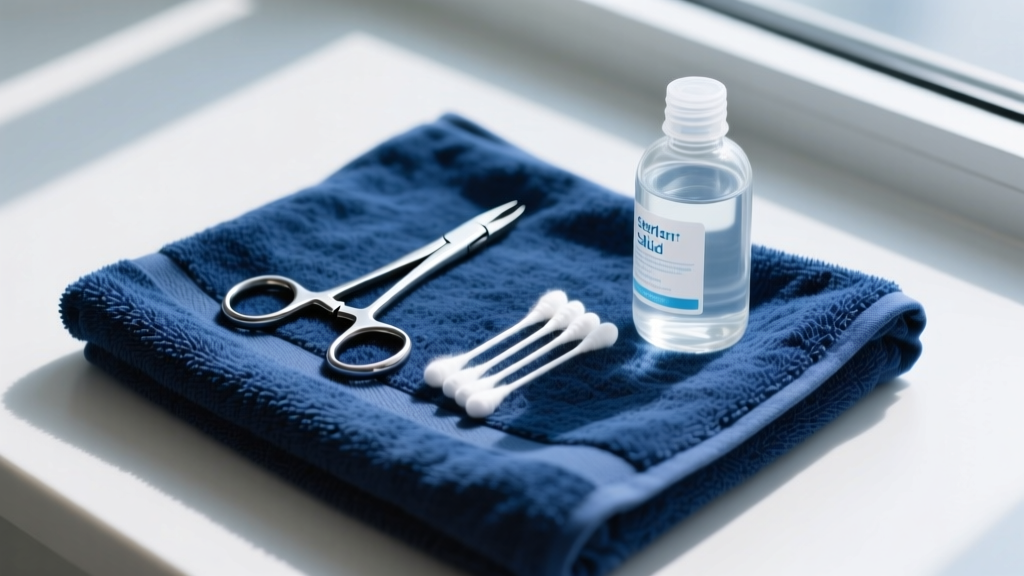
Expert Warning: Never apply harsh chemical solvents like acetone, rubbing alcohol, or superglue removers to an earring stuck on the skin. These chemicals will cause severe chemical burns on the delicate tissue of the earlobe and cartilage. Always stick to sterile saline and warm water.
Step-by-Step Removal Methods by Backing Type
Method 1: The Butterfly Friction Back (Biological Seizing)
This is the most common scenario for standard lobe piercings. The metal clutch is glued to the skin by hardened sebum.
- Soak: Saturate a cotton pad with warm sterile saline and hold it against the back of the earlobe for 5 to 10 minutes. This rehydrates and softens the keratin bond.
- Stabilize: Put on your nitrile gloves. With your non-dominant hand, firmly pinch the front of the earring stud against the earlobe to prevent the post from pushing deeper into the tissue.
- Grip and Wiggle: Using your dominant hand, grip the butterfly clutch. Do not pull straight out. Instead, use a microscopic "wiggling" motion (up and down, not side-to-side) while applying gentle outward pressure.
- Hemostat Assist: If fingers fail, lock the smooth-jawed hemostats onto the *wings* of the butterfly back (never the center tube) and gently twist counter-clockwise while pulling away from the ear.
Method 2: The Threaded Screw Back (Stripped or Cross-Threaded)
Common in 14k gold or implant-grade titanium cartilage studs. If the backing is spinning but not unscrewing, the threads are stripped or cross-threaded.
- The Rubber Band Trick: Place a wide, thick rubber band flat against the back of the earring bead. Press your thumb hard into the rubber band and turn counter-clockwise. The rubber fills the stripped grooves and provides the friction needed to catch the remaining threads.
- Two-Person Hemostat Method: If the post is spinning inside the fistula, one person must use hemostats to grip the front gemstone setting securely, while the second person uses hemostats to unscrew the back.
Method 3: Embedded Earring Emergencies
If the skin has completely grown over or swollen around the earring back, stop immediately. This is a medical situation. Attempting to dig the backing out with tweezers or needles at home will introduce staph bacteria deep into the tissue, risking perichondritis (cartilage infection) or systemic infection.
Apply a cold compress to reduce swelling, take an over-the-counter anti-inflammatory (like Ibuprofen), and visit a professional piercer or urgent care clinic. A professional will use a sterile scalpel to make a micro-incision to release the pressure and remove the hardware safely.
Troubleshooting Matrix: When to Seek Professional Help
Use this decision matrix to determine if your stuck earring requires professional intervention. According to guidelines from the Association of Professional Piercers (APP), knowing when to stop DIY removal is critical for preventing permanent tissue damage.
| Symptom / Scenario | Probable Cause | DIY Fix Viability | Professional Action Required |
|---|---|---|---|
| Clutch won't budge, no pain | Sebum/Keratin buildup | High (Saline soak + Hemostats) | None, unless post bends. |
| Screw back spins freely | Cross-threading / Stripped | Medium (Rubber band friction) | Piercer can cut the post with sterile wire cutters. |
| Lobe is red, hot, and throbbing | Infection / Abscess | Zero (Do not remove) | Doctor. Removing traps infection inside the fistula. |
| Skin is covering the back | Embedding / Swelling | Zero | Piercer or ER for sterile extraction. |
Prevention: Upgrading Your Earring Hardware
The best way to deal with earrings stuck on back is to eliminate the hardware that causes the problem. In 2026, butterfly friction backs are considered obsolete by fine jewelers and professional piercers due to their high failure rate and tendency to harbor bacteria.
Upgrade your jewelry to the following standards:
- Threadless (Push-Pin) Jewelry: Uses tension rather than threads. The slightly bent post pushes into a hollow tube back. It is secure, will never cross-thread, and is easily removed by bending and pulling.
- Internally Threaded Titanium: Ensure the metal is ASTM F136 implant-grade titanium. The threads are on the post, not the inside of the bead, meaning the smooth post glides through the piercing without tearing the fistula.
- Flat-Back Labrets: Replace long posts that catch on hair and clothing with custom-fitted flat-backs that sit flush against the ear, reducing the mechanical stress that bends posts and jams clutches.
For more information on safe jewelry materials and piercing aftercare, consult resources provided by the Cleveland Clinic regarding piercing maintenance and infection prevention. By investing in high-quality, precision-machined jewelry, you ensure that your earrings remain secure on your ear, but never permanently stuck to it.


