How to Take Off Flat Back Earrings Without Pain or Damage
Learn exactly how to take off flat back earrings safely. Expert tips on grip techniques, threadless vs. threaded posts, and stuck jewelry.

The Anatomy of Flat Back Earrings: Threaded vs. Threadless
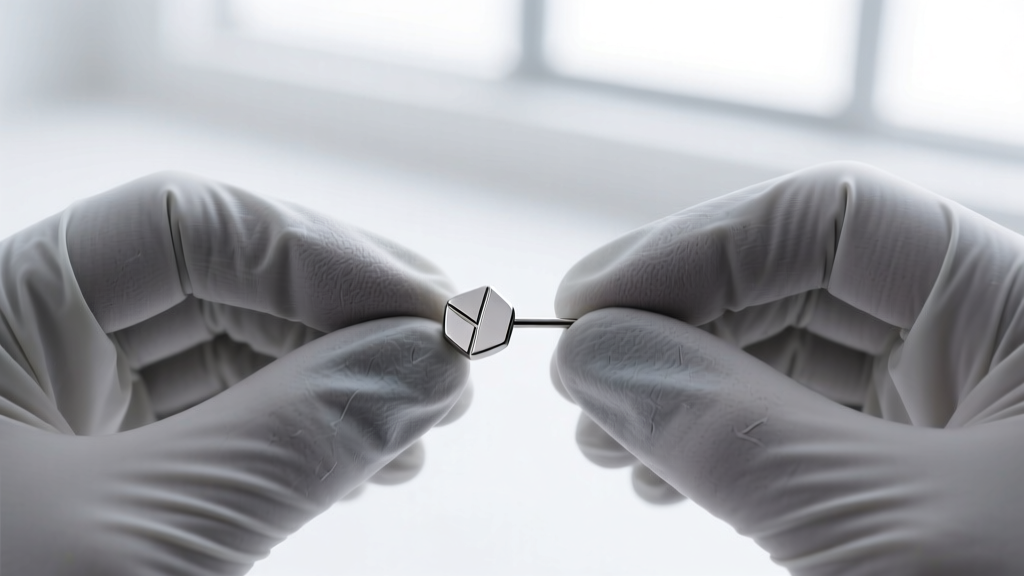
Flat back earrings, known in the professional piercing industry as labret studs, are the gold standard for cartilage piercings like the helix, tragus, conch, and flat. Unlike butterfly-back studs that harbor bacteria and press uncomfortably into the scalp, flat backs feature a smooth, flush disc that rests parallel to the skin. However, knowing how to take off flat back earrings requires understanding their specific locking mechanisms. High-quality body jewelry typically relies on one of two systems: threadless (push-pin) tension or internal threading.
Before attempting removal, you must identify your jewelry type. According to the Association of Professional Piercers (APP), implant-grade titanium (ASTM F136) and solid 14k or 18k gold are the only acceptable materials for long-term wear. The gauge size also dictates the thickness of the post you are handling: 18-gauge (1.0mm) is common for standard lobes and delicate nostrils, 16-gauge (1.2mm) is the industry standard for most cartilage piercings, and 14-gauge (1.6mm) is used for thicker lobes or industrial bars. Applying the wrong removal technique to these precision-engineered posts can result in bent pins, stripped threads, or traumatized fistulas.
Step-by-Step: How to Take Off Flat Back Earrings (Threadless)
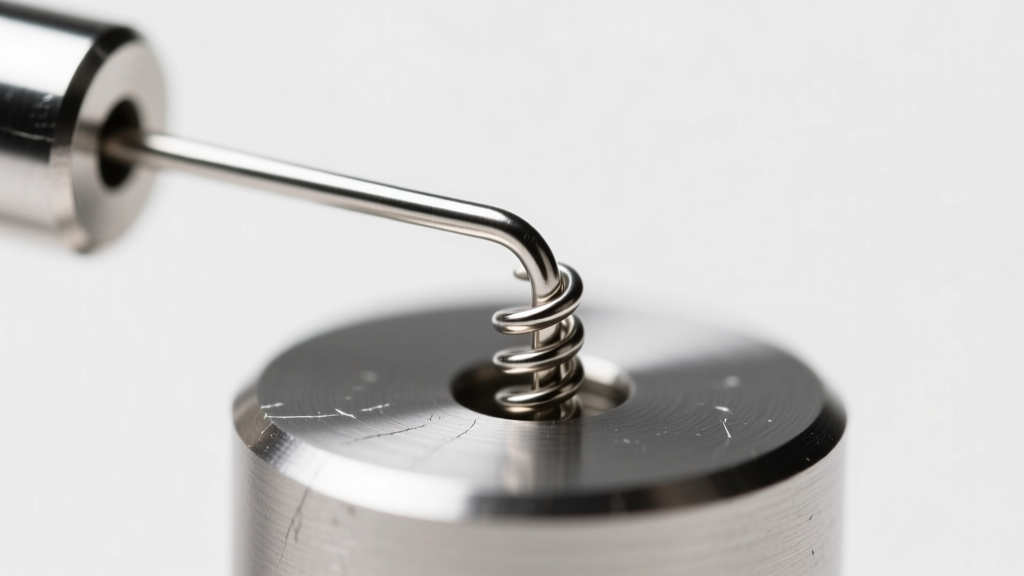
Threadless jewelry, pioneered by brands like Neometal, uses spring tension rather than screws. The front pin is slightly bent before being inserted halfway into the hollow back post. The metal's memory creates an outward grip against the inner wall of the post. If you simply pull the ends apart, the bent pin will scrape against the inner wall, causing severe pain, potential tissue tearing, and permanent warping of the jewelry.
- Prep Your Grip: Wash your hands thoroughly. Put on a pair of textured nitrile gloves. Bare fingers often lack the friction needed to separate high-tension titanium or gold joints, especially if natural skin oils are present.
- Secure the Base: With your non-dominant hand, pinch the flat back disc firmly against the back of your ear. Use your thumb and index finger to stabilize the disc so it cannot twist or pull on the piercing channel.
- Push Together: With your dominant hand, grip the front gem or bead. Instead of pulling immediately, push the front and back pieces together slightly. This compresses the bent pin inside the post, releasing the outward spring tension.
- The Snap Pull: While maintaining that slight inward compression, pull the front piece straight out in a swift, firm motion. The pin should slide out smoothly without resistance.
Expert Insight: If the pin feels stuck, do not twist it. Twisting a threadless pin inside a 16-gauge post will snap the pin or severely scratch the interior of a gold post, ruining the jewelry.
Step-by-Step: Removing Internally Threaded Flat Backs
Internally threaded jewelry, manufactured by elite brands like BVLA and Anatometal, features a screw mechanism on the back of the front gem, which threads into a hollow receiver inside the post. This ensures no sharp screw threads pass through your piercing. As noted in BVLA's technical guidelines, proper removal requires turning the front, not the back.
- Stabilize the Disc: Grip the flat back disc securely with your non-dominant hand. It must remain completely stationary to prevent torque on the healing or healed fistula.
- Turn the Front Counter-Clockwise: Grip the front gem with your dominant hand and twist counter-clockwise ('lefty-loosey').
- Use Leverage for Small Gems: If you are removing a 2mm or 3mm gem, it can be difficult to grip. Wrap a small piece of latex or nitrile glove material over the gem to increase friction, then twist.
Warning: Never attempt to unscrew the back disc while holding the front still. This reverses the mechanical advantage, increases the risk of cross-threading, and can accidentally unscrew the wrong component if the jewelry has a specialized locking mechanism.
Troubleshooting: What to Do When the Earring is Stuck
Sebum, dead skin cells, and dried saline can act like biological cement in the microscopic gaps of your jewelry. If you encounter resistance, consult this troubleshooting matrix before resorting to brute force.
| Failure Mode | Root Cause | Expert Solution |
|---|---|---|
| Fingers slipping on gem | Skin oils or smooth PVD coating | Wear nitrile gloves; wrap gem in a textured paper towel or rubber band for grip. |
| Threadless pin won't release | Dried sebum inside the post | Apply a warm saline compress for 3 minutes to soften debris, then use the 'push-and-pull' method. |
| Threaded front won't budge | Cross-threading or over-tightening | Stop immediately. Apply rubber-tipped hemostats to the front gem for leverage. If it resists, see a piercer. |
| Entire post spins in ear | Fistula is too tight or swollen | Do not force it. Visit a professional piercer who can use sterile tapers and dermal grips to safely extract it. |
Essential Tools for Stubborn Cartilage Studs
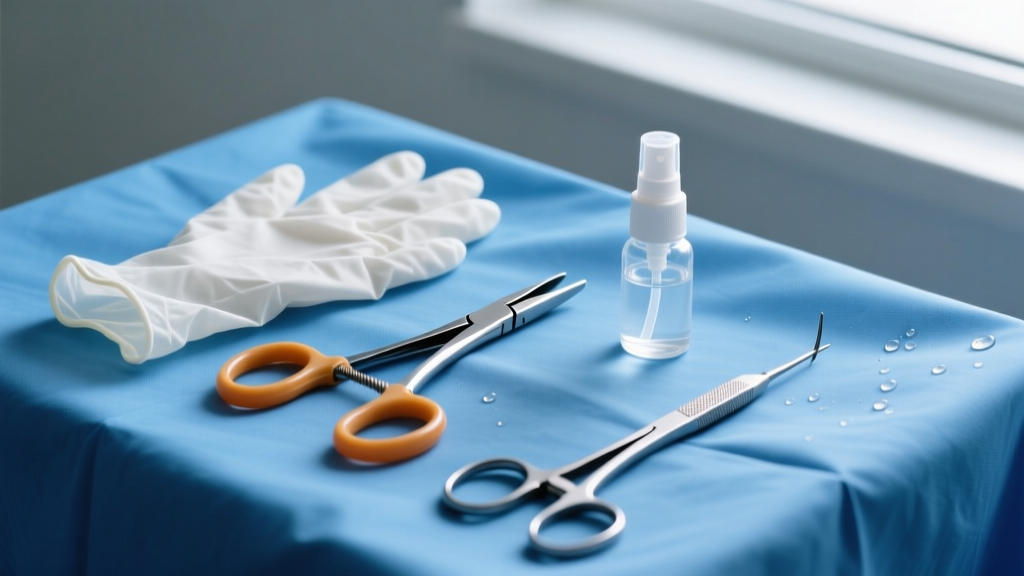
Professional piercers do not rely on bare hands alone. If you frequently change your own cartilage jewelry, investing in the right tools is critical to avoid damaging expensive pieces or your own anatomy.
- Rubber-Tipped Hemostats: Standard stainless steel hemostats will crush soft 14k gold and scratch the mirror finish on titanium. Always use hemostats with silicone or rubber sheaths to grip the front gem without marring the metal or cracking delicate gemstone settings (like prong-set opals or sapphires).
- Nitrile Exam Gloves: Essential for infection control and providing the high-friction grip required to break the seal of a tight threadless joint.
- Sterile Saline Spray (0.9% Sodium Chloride): Used to soften biological buildup around the joint before removal, and to flush the fistula immediately after the jewelry is extracted.
Post-Removal Care and Fistula Hygiene
Once you have successfully figured out how to take off flat back earrings and the jewelry is out, the care process is not over. The fistula (the skin tube lining the piercing channel) is delicate. According to dermatological guidelines on wound care from the Mayo Clinic, introducing new irritants to an open channel can trigger contact dermatitis or localized infections.
Immediately spray the empty piercing with sterile saline to flush out trapped sebum and dead skin. If you are not inserting new jewelry right away, avoid touching the hole with unwashed hands. If the piercing is fully healed (typically 6 to 12 months for cartilage), the hole may begin to shrink within hours. If you plan to leave the piercing empty for more than a day, consider inserting a sterile glass or titanium retainer to maintain the gauge and prevent the fistula from closing around trapped debris.
Finally, clean your removed flat back earrings with warm water and mild, fragrance-free soap. Dry them completely with a lint-free cloth before storing them in an airtight jewelry box to prevent oxidation or tarnishing of the metal components.