How to Take Off a Starter Earring and Upgrade Your Ear Curations
Learn how to take off a starter earring safely and transition to curated 2026 ear trends. Expert tips on removal, healing, and styling upgrades.

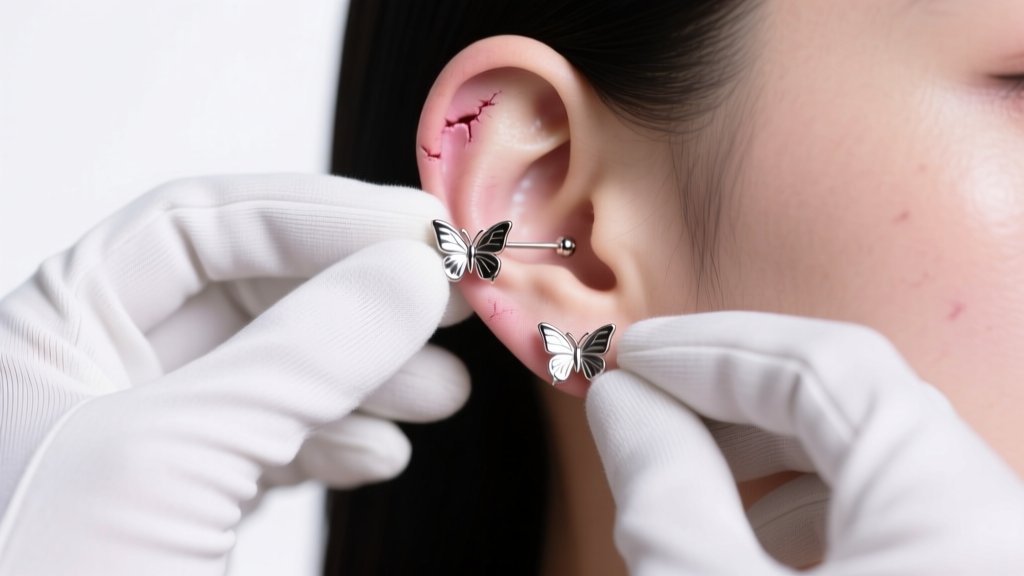
The journey to a perfectly curated ear stack begins with a single, often frustrating milestone: the removal of your initial piercing jewelry. Whether you visited a professional studio or a local parlor, learning how to take off a starter earring is a rite of passage that bridges the gap between basic healing and high-end ear styling. As we move through 2026, the aesthetic standards for ear curation have evolved dramatically, leaving the bulky, utilitarian 'mall kiosk' look behind in favor of seamless, flush-fitting luxury. However, the transition from a stubborn starter stud to a premium threadless labret requires anatomical knowledge, patience, and an understanding of modern jewelry mechanics.
The Anatomy of a Starter Earring: Why They Are So Stubborn
To safely remove your jewelry, you must first understand its engineering. Starter earrings typically utilize a 'butterfly' or friction back clutch. These clasps rely on a tiny metal dimple that snaps into a groove on the post, creating tension to hold the earring in place. While cost-effective for mass production, this design is notorious in the professional piercing community for harboring bacteria and becoming fused to the earlobe over time.
According to the Association of Professional Piercers (APP), friction backs are generally discouraged for long-term wear because their crevices trap dead skin cells, sebum, and dried lymph fluid. Over a standard 6-to-8-week lobe healing period, this biological debris acts like cement, locking the butterfly clutch onto the post. Furthermore, starter posts are usually crafted from 20-gauge (0.8mm) or 18-gauge (1.0mm) surgical steel, which can be thin enough to bend if you apply uneven pressure during removal, leading to micro-tears in the delicate fistula (the piercing channel).
Step-by-Step: How to Take Off a Starter Earring Without Pain
Ripping out a starter earring is a guaranteed way to induce swelling, micro-trauma, and a setback in your styling timeline. Follow this clinical, step-by-step protocol to safely detach the jewelry.
1. Preparation and Softening
Wash your hands thoroughly with antimicrobial soap. Next, soak a sterile cotton pad in warm, sterile saline solution and hold it against the front and back of the earlobe for three to five minutes. The warmth increases localized blood flow and softens any hardened lymph or sebum trapped inside the butterfly clutch.
2. The Grip Technique
Skin-on-metal friction is often insufficient, especially if your fingers are naturally dry or if you are nervous. Put on a pair of clean, textured nitrile gloves. The rubber grip will allow you to hold the front stud securely without needing to squeeze the delicate earlobe, which can cause pain and swelling.
3. The Push-Pull Maneuver
Do not simply pull the back straight off. Instead, use your thumb and index finger to grip the front stud, and your opposite hand to grip the butterfly back. Gently push the post forward (away from the neck) by a millimeter to disengage the dimple from the thickest part of the post groove, then pull the clutch straight back. If it resists, apply a gentle, micro-twisting motion to the back while pulling. Never yank.
The 2026 Style Shift: Ditching the 'Piercing Parlor' Look
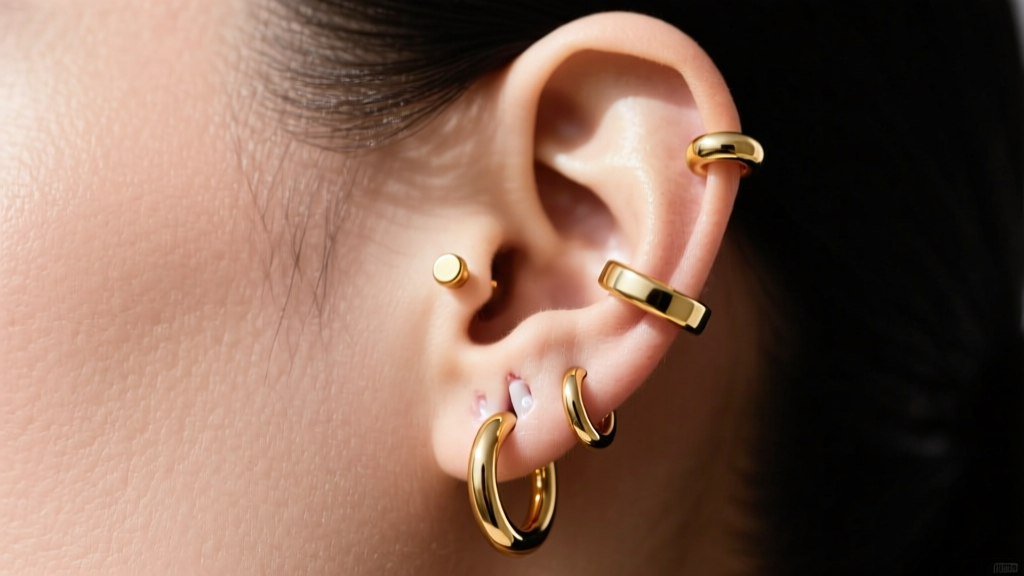
Once the starter earring is out, the true style analysis begins. The dominant ear trend of 2026 is the 'Curated Constellation'—a highly deliberate, asymmetrical arrangement of fine jewelry that treats the ear as a canvas. Starter earrings, with their protruding 5mm butterfly backs, completely disrupt this aesthetic. They catch on turtlenecks, pull on hair, and visually clutter the neck space.
Modern ear styling demands flat-back labrets and seamless huggies. Flat-backs sit entirely flush against the back of the earlobe or cartilage, creating a clean, invisible profile from behind while showcasing intricate gemstone settings on the front. This structural shift is not just about comfort; it is a fundamental requirement for achieving the high-end, minimalist aesthetic championed by luxury piercing houses like BVLA (Body Vision Los Angeles) and Maria Tash.
Material and Gauge Transition Guide
Upgrading your jewelry requires an understanding of gauge sizes and material grades. Moving from a 20G starter to a 16G or 14G curated piece may require a professional taper to gently stretch the fistula without tearing. Below is a comparative analysis of starter versus upgraded jewelry.
| Feature | Standard Starter Earring | 2026 Upgraded Curated Jewelry |
|---|---|---|
| Backing Type | Butterfly / Friction Clutch | Threadless Push-Pin or Internally Threaded Flat-Back |
| Material Grade | 316L Surgical Steel (Contains Nickel) | ASTM F-136 Implant-Grade Titanium or 14k/18k Solid Gold |
| Standard Gauge | 20G (0.8mm) or 18G (1.0mm) | 16G (1.2mm) for Cartilage / 18G (1.0mm) for Lobes |
| Aesthetic Profile | Protrudes 4-6mm, catches on fabrics | Flush-fitting, seamless, high-polish or gem-set |
| Hygiene Factor | High bacteria trap in clutch crevices | Smooth surfaces, easily cleaned, low allergy risk |
Curating Your First Post-Healing Ear Stack
With the starter earring removed, you are ready to build your stack. The golden rule of 2026 ear curation is mixing textures while maintaining a cohesive metal tone. If your primary lobe piercing features a bezel-set 14k yellow gold diamond, complement it with a seamless yellow gold huggie hoop in the second-hole position.
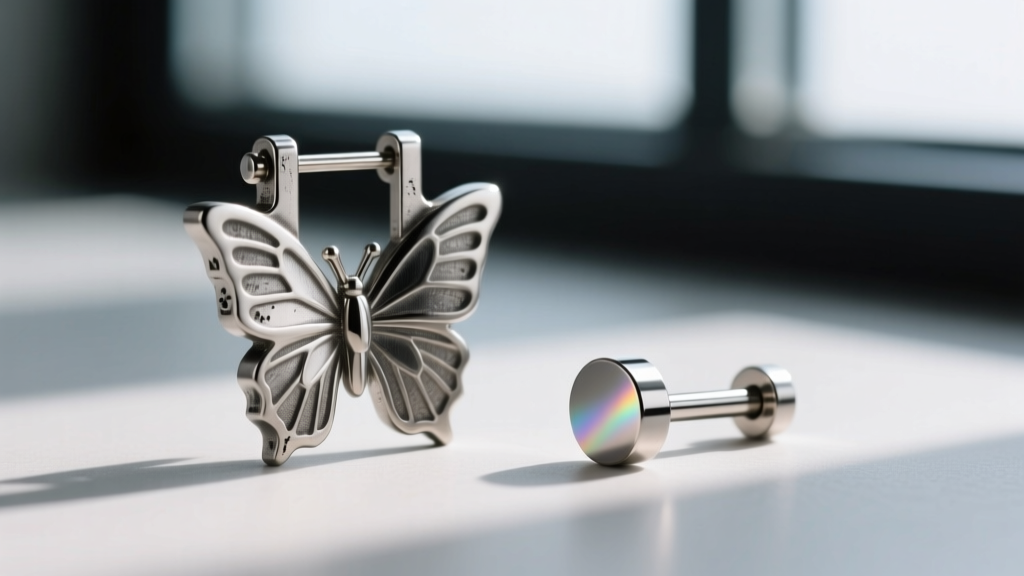
For cartilage piercings (such as the helix, conch, or forward helix), threadless jewelry is the industry standard. Threadless ends feature a tiny pin that you slightly bend before inserting into the hollow post. The tension of the bent metal against the inside of the post creates a secure, custom fit that will never unscrew or fall out in your sleep—a massive upgrade from the friction backs of your starter earrings. When shopping, look for brands that adhere to APP standards, ensuring mirror-finish polishing that minimizes tissue irritation during the transition phase.
Troubleshooting Common Removal Failures
Sometimes, despite your best efforts, a starter earring refuses to budge. Understanding the failure modes can save you a trip to the emergency room and preserve the integrity of your piercing.
- The Embedded Clutch: If the earlobe has swollen and essentially 'swallowed' the butterfly back, do not dig into the skin with tweezers. Apply an ice pack to reduce the edema, then visit a professional piercer who can use a sterilized taper to safely push the post forward and relieve the pressure.
- The Stripped Post: If the metal groove on the post is worn down and the clutch spins freely without releasing, use two pairs of sterilized jewelry pliers (with padded jaws) to grip the front and back independently, pulling them apart along the horizontal axis.
- Crusting and Adhesion: If dried blood or lymph is gluing the jewelry to the skin, the American Academy of Dermatology recommends softening the crusts with warm water rather than picking at them, which can introduce staphylococcus bacteria into the open wound.
The Final Verdict on Ear Upgrades
True ear styling begins the moment you discard the utilitarian hardware of the healing phase. Upgrading to flush-fitting, implant-grade titanium or solid gold is not merely a cosmetic choice; it is a commitment to the long-term health and architectural beauty of your piercing.
Knowing how to take off a starter earring is the foundational skill of modern body modification styling. By approaching the removal process with clinical care and immediately transitioning to structurally superior, trend-aligned jewelry, you set the stage for a curated ear that is as healthy as it is visually striking. Take your time, prioritize implant-grade materials, and embrace the seamless aesthetics that define the current era of fine jewelry piercing.


