Can I Change My Earrings After 3 Weeks? A Piercing Care Guide
Wondering if you can change your earrings after 3 weeks? Learn the exact healing timelines, risks of early swapping, and safe cleaning protocols.

The Short Answer: Why 3 Weeks Is the Danger Zone
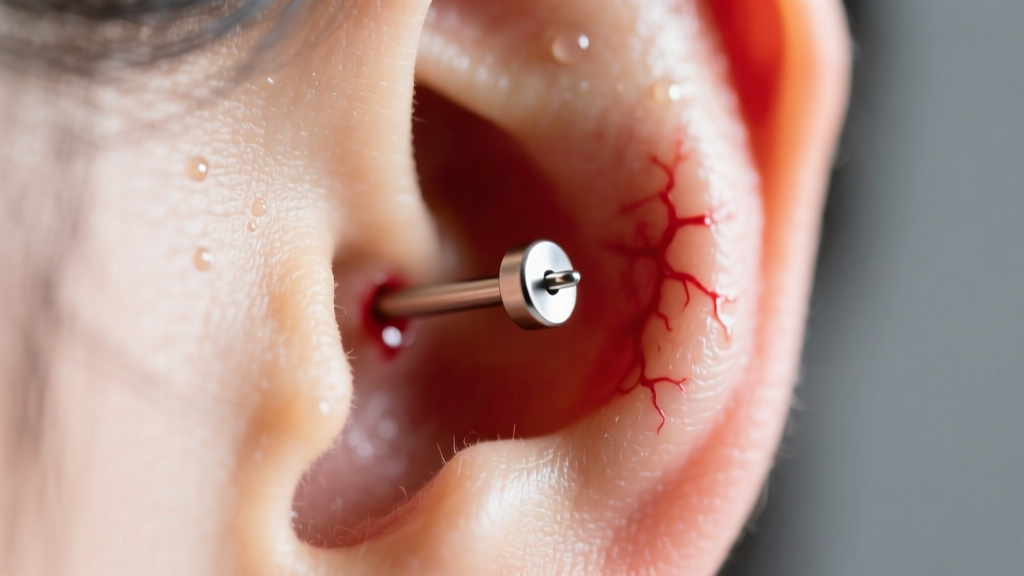
If you are asking, 'can I change my earrings after 3 weeks?' the short answer from professional piercers and dermatologists is a resounding no. At the three-week mark, your piercing is in the middle of the proliferative phase of healing. While the surface may look closed and feel relatively painless, the internal fistula—the tube of epithelial tissue that forms to line the piercing channel—is still incredibly fragile and incomplete.
Removing the starter jewelry at this stage causes the micro-tears in the fistula to collapse, often leading to immediate closure, trapped bacteria, and severe irritation bumps. According to the Association of Professional Piercers (APP), premature jewelry changes are the leading cause of delayed healing and contact dermatitis in new piercings. Unless you are experiencing a severe allergic reaction to your starter metal, the jewelry must remain in place to act as a stent while the body builds a permanent cellular tunnel.
Lobe vs. Cartilage: The Biological Healing Timelines
To understand why three weeks is insufficient, you must understand the vascular differences between earlobe and cartilage tissue. Earlobes are highly vascular, meaning they have a robust blood supply that delivers white blood cells and nutrients to the wound site. Cartilage, on the other hand, is avascular; it relies on the surrounding perichondrium for nutrient delivery, making its healing process exponentially slower and more prone to complications like perichondritis.
| Piercing Type | Tissue Vascularity | Minimum Healing Time | Safe First Swap Window | Standard Starter Gauge |
|---|---|---|---|---|
| Standard Earlobe | High (Vascular) | 6 to 8 Weeks | 8 to 12 Weeks | 18G or 16G |
| Upper Lobe / Flat | Moderate | 3 to 4 Months | 4 to 6 Months | 16G |
| Helix / Cartilage | Low (Avascular) | 6 to 9 Months | 9 to 12 Months | 16G or 14G |
| Conch / Daith | Low (Avascular) | 9 to 12 Months | 12+ Months | 16G or 14G |
As the data illustrates, changing an earring at three weeks is biologically premature for every single location on the ear. Even the fastest-healing standard lobe requires a minimum of six weeks to form a stable epithelial lining.
What Happens If You Swap Too Early? (Failure Modes)
Ignoring the biological timeline and forcing a jewelry change at week three triggers a cascade of negative tissue responses. Here are the specific failure modes you risk:
- Fistula Collapse and Blowouts: The new, unhealed tissue is highly elastic but lacks structural integrity. Forcing a new earring post through the channel can tear the fistula, causing a 'blowout' where the tissue pushes outward behind the jewelry.
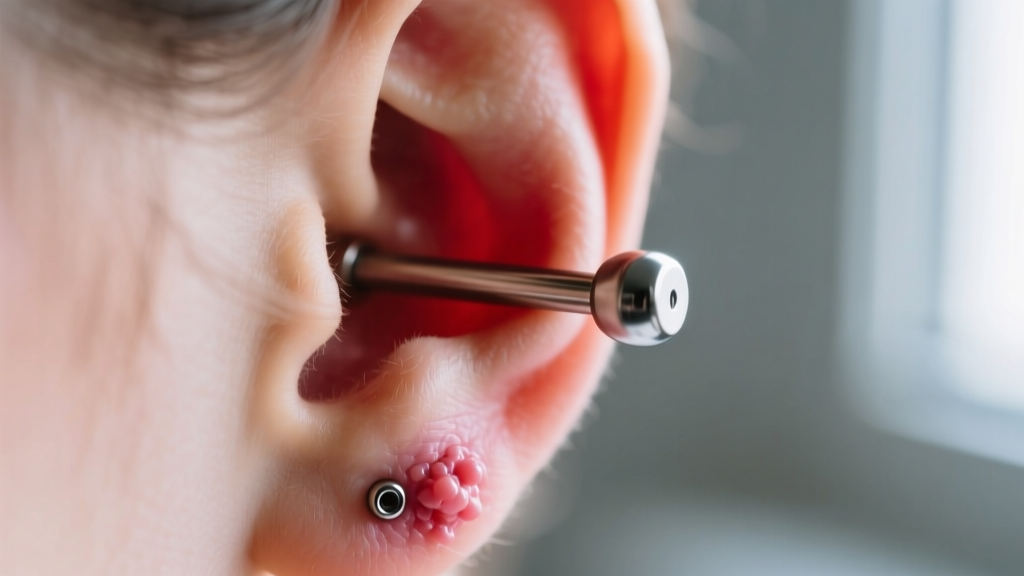
- Hypertrophic Scarring: The trauma of removing and reinserting jewelry triggers an overproduction of collagen. This manifests as a hypertrophic bump—a raised, irritated ring of scar tissue localized to the piercing site.
- Nickel Sensitization: Many cheap starter earrings contain nickel. At three weeks, the wound is still weeping lymph. Introducing bare hands and non-sterile jewelry introduces pathogens and allergens directly into the bloodstream, risking systemic contact dermatitis.
The Emergency Swap: How to Change Safely at Week 3
There is one exception to the rule: medical necessity. If your starter earring is made of low-grade surgical steel and you are developing a severe nickel allergy (characterized by intense itching, weeping yellow fluid, and spreading redness), you must swap the metal to prevent systemic sensitization. The Cleveland Clinic warns that leaving an allergen in an open wound can lead to secondary bacterial infections.
If you must perform an emergency swap at week three, you are not 'changing jewelry for fashion'; you are performing a sterile medical procedure to replace an irritant with a biocompatible implant.
Step-by-Step Sterilization Protocol
- Procure Implant-Grade Titanium: Purchase a sterile, internally threaded or threadless flat-back labret made from ASTM F-136 implant-grade titanium. Do not use gold, silver, or surgical steel.
- Prepare a Sterile Field: Wash your hands with antibacterial soap for 60 seconds. Put on disposable nitrile gloves. Lay out a clean paper towel.
- Softening the Crusties: Spray the front and back of the current earring with sterile 0.9% sodium chloride wound wash. Let it sit for 3 minutes to dissolve any dried lymph.
- The Removal: Gently unscrew or pull the starter earring. Do not yank. If there is resistance, stop and apply more saline.
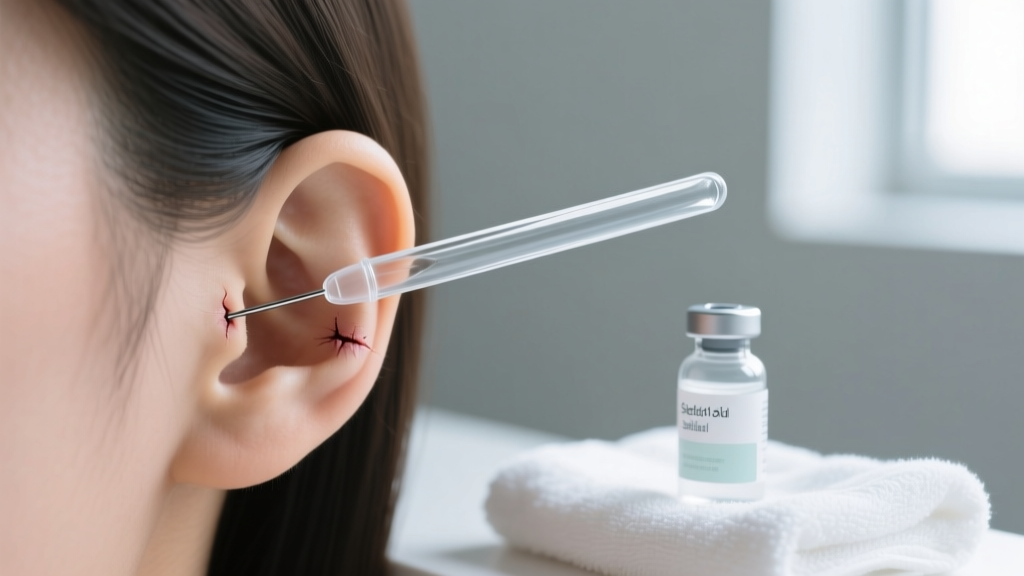
- Insertion via Taper: Never push a raw earring post through a 3-week-old hole. Use a sterilized glass or steel insertion taper matching your gauge (e.g., 16G) to gently guide the new titanium jewelry through the fragile fistula without scraping the walls.
Signs Your Piercing Is Actually Ready for a Change
How do you know when the waiting period is actually over? Do not rely solely on the calendar. Your body dictates the timeline. Before attempting your first jewelry change, verify that your piercing meets all of the following clinical benchmarks:
'A healed piercing should look and feel like normal, unbroken skin. If there is any tenderness, warmth, or discharge, the epithelialization process is incomplete.' — American Academy of Dermatology (AAD)
- Zero Lymph Production: You have not seen any 'crusties' (dried lymph fluid) on the jewelry for at least 14 consecutive days.
- Normal Tissue Color: The skin immediately surrounding the entry and exit holes perfectly matches your natural skin tone, with no pink or purple inflammation rings.
- Painless Glide: The jewelry glides through the channel with zero friction or catching. (Note: Never intentionally rotate or twist your jewelry to test this; simply observe how it feels during normal cleaning).
- No Odor: There is no 'piercing cheese' or sebum buildup odor, which indicates the fistula is still shedding dead cells heavily.
Ongoing Care: Cleaning Routines for Months 2 to 6
Even after you pass the 6-week or 6-month mark and successfully change your earrings, the fistula continues to mature and toughen for up to a year. Your maintenance routine must evolve from 'wound care' to 'hygiene maintenance.'
During the first two months, you should be spraying the area twice daily with sterile saline. Once you transition to your new jewelry, reduce cleaning to once a day in the shower. Let warm water and a mild, fragrance-free glycerin soap gently wash over the area. Rinse thoroughly to ensure no soap residue dries inside the channel.
Crucial Warning on Chemical Cleaners: Never use rubbing alcohol, hydrogen peroxide, tea tree oil, or Bactine on a healing or newly changed piercing. These harsh astringents destroy the delicate, newly formed epithelial cells, effectively resetting your healing clock back to day one and causing severe chemical burns on the sensitive fistula tissue. Stick strictly to sterile 0.9% sodium chloride and gentle mechanical cleaning with non-woven gauze.


