Restore and Repair Premier Designs Inside Out Earrings
Learn how to troubleshoot, repair, and restore vintage Premier Designs inside out earrings. Fix broken hinges, replace stones, and prevent tarnish.

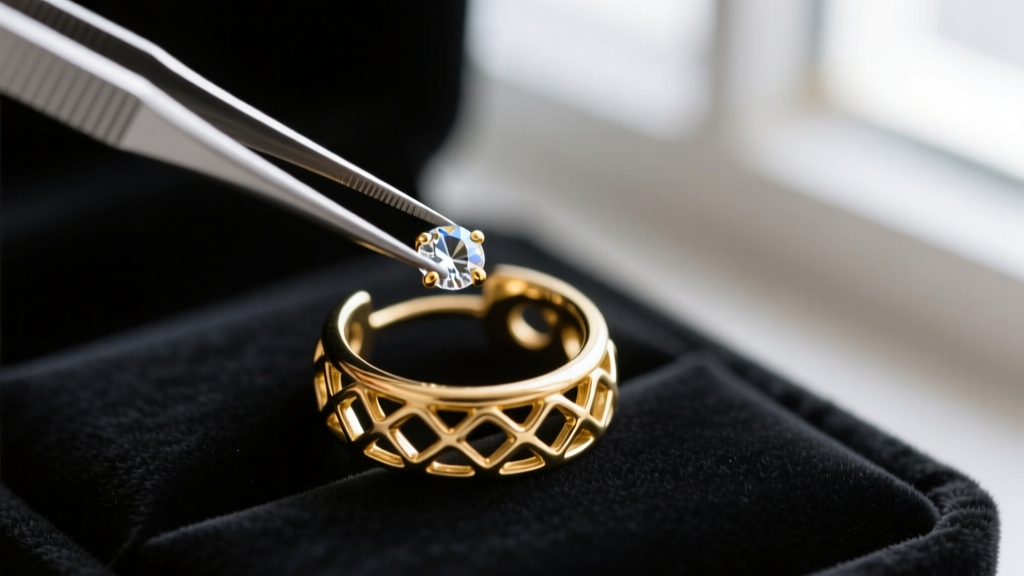
The Legacy and Mechanics of Premier Designs Inside Out Hoops
Premier Designs ceased its direct-sales operations in late 2020, leaving a massive community of collectors and everyday wearers with a finite, strictly vintage supply of their iconic jewelry. Among their most sought-after and recognizable pieces are the 'inside out' hoop earrings. These are characterized by rhinestone or crystal channels set along the inner curve of the hoop, designed to catch the light subtly against the jawline and neck. Because these pieces are now discontinued, a broken hinge, missing stone, or tarnished finish can feel like a minor tragedy for a loyal fan.
Unlike modern fast-fashion jewelry, Premier Designs utilized high-quality base metals—typically lead-free pewter and brass—finished with thick, proprietary electroplating. However, decades of wear, skin acidity, and mechanical stress inevitably take their toll. This comprehensive troubleshooting guide provides expert-level repair techniques to restore your Premier Designs inside out earrings to their original glory, ensuring they remain a staple in your rotation for years to come.
Troubleshooting the Snap-Catch Hinge Mechanism
The most common failure point on any hinged hoop earring is the closure. Premier Designs inside out hoops typically utilize a tension-wire post that snaps into a grooved catch on the opposite end of the hoop. Over time, this wire can bend, or the catch groove can become impacted with debris, preventing a secure closure.
Step-by-Step Hinge Realignment
If your hoop refuses to snap shut or pops open during wear, do not immediately assume the metal is broken. Follow these precise steps:
- Clean the Catch: Use a wooden toothpick dipped in 90% isopropyl alcohol to gently scrape out the catch groove. Impacted skin oils and lotion often prevent the wire from seating fully.
- Assess the Tension Wire: Examine the straight wire post under a jeweler's loupe or magnifying glass. If it is bent upward or downward, it will miss the groove entirely.
- Adjust with Nylon-Jaw Pliers: Never use standard steel jewelry pliers directly on the wire, as they will crush the metal and scratch the gold or silver-tone plating. Use nylon-jaw pliers to gently bend the wire back into perfect horizontal alignment. Apply pressure in micro-millimeter increments.
- Thicken the Wire (If Worn): If the wire has worn down and is too thin to catch the groove, apply a microscopic drop of UV-curing resin to the tip of the wire. Cure it with a UV lamp for 30 seconds to create a custom-fitted 'bulb' that will snap securely into the catch.
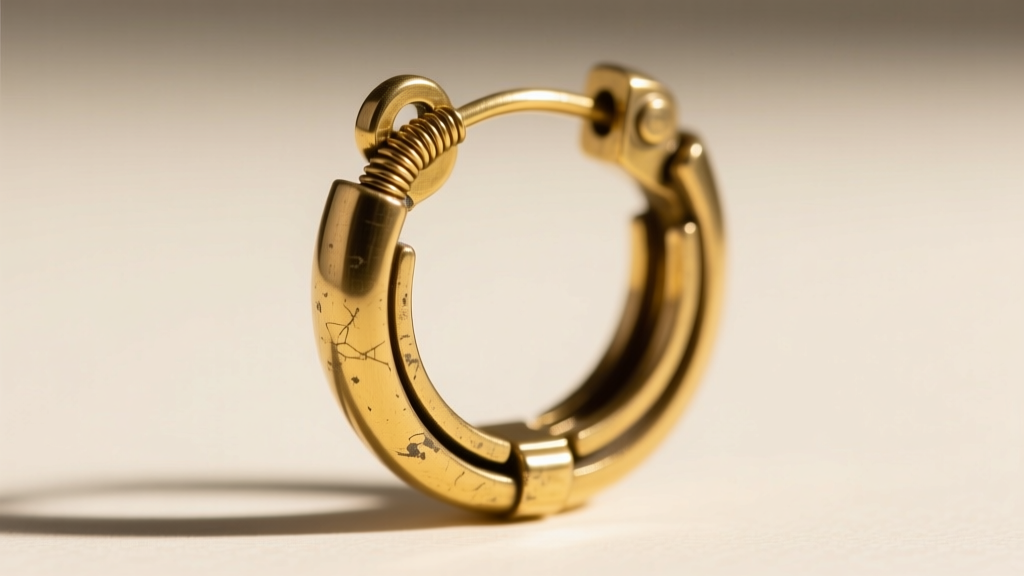
Replacing Missing Inner-Channel Rhinestones
The inner channel of an inside out hoop is subject to friction from hair and clothing, making stone loss a frequent issue. Premier Designs used a mix of foil-back acrylics and flat-back glass crystals. Replacing them requires exact sizing and the correct chemical adhesives.
Sizing and Sourcing the Stones
Do not guess the stone size. Use a digital caliper to measure the empty bezel or the diameter of the remaining stones. Most Premier Designs inside out hoops utilize SS12 (3.0-3.2mm) or SS16 (3.8-4.0mm) stones. Consult the Fire Mountain Gems rhinestone sizing chart to ensure you order the correct 'SS' (Stone Size) designation. For vintage accuracy, look for 'foil-back' stones if the original setting has a mirrored bottom, or 'flat-back' if the setting is solid metal.
Adhesive Selection and Application
The Gemological Institute of America (GIA) notes that the refractive index of glass versus acrylic requires different bonding considerations, but for jewelry repair, flexibility is key. Avoid super glue (cyanoacrylate), which becomes brittle, clouds foil-back stones, and leaves a white residue.
- GS Hypo Cement: Best for SS12 stones. Its needle-nose applicator allows you to place a microscopic dot of adhesive into the bezel without overflowing.
- E6000 Jewelry & Bead: Best for SS16 and larger stones. It remains flexible after curing, absorbing the shock of the earring being dropped or bumped.
Apply the adhesive to the bezel, not the stone. Use a wax-tipped jewelers pick to pick up the replacement stone and press it firmly into the channel. Allow 24 hours for a full cure before wearing.
Reversing Base Metal Tarnish and Plating Wear
Premier Designs' electroplating was exceptionally durable for costume jewelry, but micro-pitting and tarnish occur when the protective clear coat wears away, exposing the brass or pewter to oxygen and sulfur in the air.
Safe Cleaning Protocols
Never place vintage inside out earrings in an ultrasonic cleaner. The high-frequency vibrations will shatter the delicate foil backing on older acrylic stones and shake loose any stones held in by aging glue. Instead, use a drop of mild, phosphate-free dish soap and a baby toothbrush to gently agitate the inner channel. Rinse with distilled water and dry immediately with a microfiber cloth.
Sealing and Protecting the Finish
If the plating is intact but prone to tarnishing from your skin's natural acidity, you must create a barrier. Museum conservators and master jewelers rely on Renaissance Wax polish. Apply a microscopically thin layer of this micro-crystalline wax to the earring post, the hinge, and the outer curve of the hoop using a cotton swab. Buff it gently with a soft cloth. This seals the metal from moisture and skin oils, preventing the 'green skin' reaction and halting tarnish in its tracks without altering the jewelry's luster.
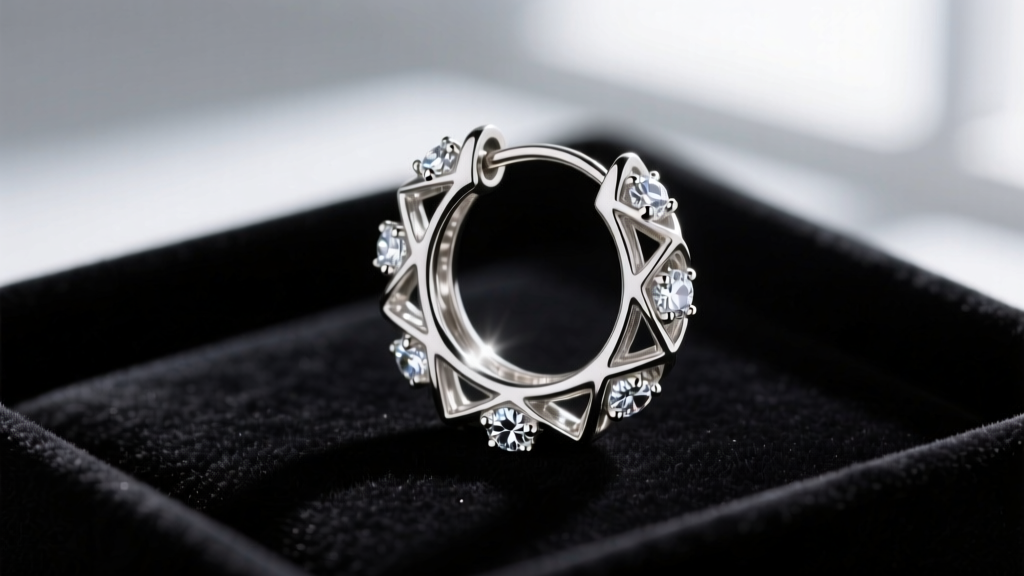
Essential Repair Toolkit and Material Matrix
To properly maintain a vintage jewelry collection, you need the right tools. Below is a decision matrix for selecting the correct materials based on the specific repair required for your inside out hoops.
| Repair Issue | Recommended Tool / Material | Why It Works | Estimated Cost |
|---|---|---|---|
| Bent Tension Wire | Nylon-Jaw Pliers | Grips metal firmly without marring or scratching the electroplated finish. | $15 - $25 |
| Loose / Missing Stones | GS Hypo Cement / Wax Pick | Precision application prevents glue overflow that ruins stone brilliance. | $8 - $12 |
| Tarnish Prevention | Renaissance Wax | Creates an invisible, acid-free moisture barrier over base metals. | $10 - $15 |
| Debris in Catch Groove | Wooden Toothpick / 90% IPA | Dissolves oils without scratching the soft brass or pewter catch. | < $5 |
Sourcing Donor Pieces and Modern Alternatives
Sometimes, an earring is beyond repair. If the hoop itself has suffered severe metal fatigue and snapped at the hinge, or if the base metal has corroded through the plating, restoration is no longer viable. In these cases, your best strategy is to source a 'donor' piece.
Search secondary markets like eBay, Mercari, and Poshmark using specific long-tail keywords like 'Premier Designs inside out hoops broken lot' or 'PD jewelry parts.' You can often purchase a damaged pair for under $10 simply to harvest the intact rhinestones, tension wires, or snap catches for your primary pair.
If you are open to modern alternatives that mimic the inside-out aesthetic, look for contemporary brands that utilize channel-set inner hoops. While the exact proprietary weight and vintage charm of Premier Designs is irreplaceable, understanding the mechanics of your vintage pair allows you to evaluate the quality of modern replacements—ensuring you only invest in pieces with sturdy hinge mechanisms and secure stone settings.


