How to Take Out a Flat Back Earring: Expert Removal Guide
Learn exactly how to take out a flat back earring safely. Our expert guide covers threadless, internally threaded, and stuck cartilage jewelry removal.

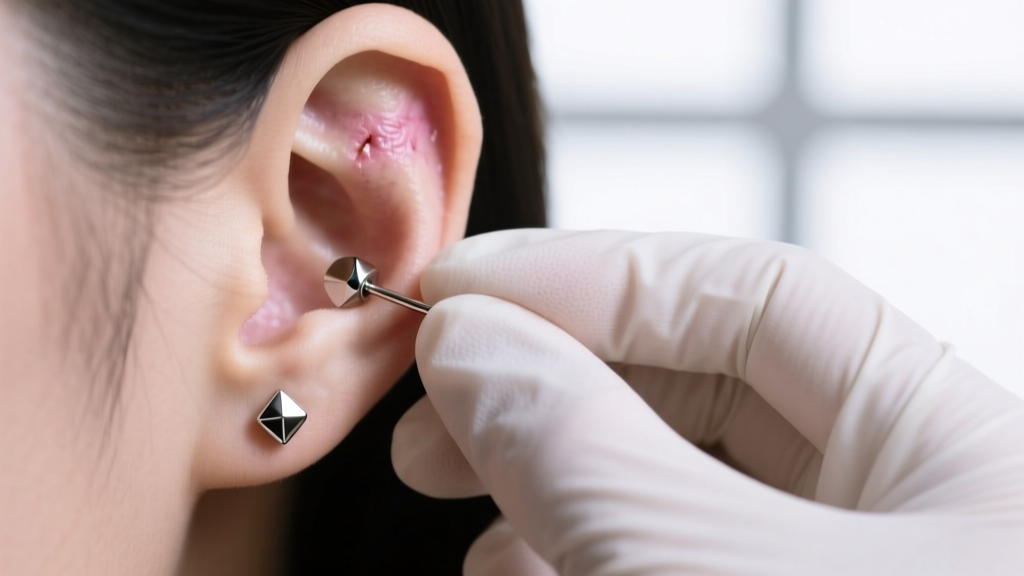
Flat back earrings, often referred to as labret studs, are the gold standard for cartilage, tragus, and lobe piercings. Their low-profile design minimizes snagging and prevents the 'cheese-cutter effect' common with butterfly backs. However, their secure engineering means removal is rarely as simple as pulling. When learning how to take out a flat back earring, you must first identify the mechanical locking system holding the jewelry in place. Attempting to force a flat back out without understanding its mechanism can lead to cross-threading, damaged anodized finishes, or severe trauma to the delicate fistula (the healed piercing channel).
This expert deep dive breaks down the technical specifications, tool requirements, and step-by-step protocols for safely removing the two primary types of flat back earrings: threadless (push-pin) and internally threaded.
Understanding Flat Back Earring Mechanisms
Before applying any torque or tension, you must determine whether your jewelry is threadless or internally threaded. The Association of Professional Piercers (APP) strongly recommends against externally threaded jewelry, as the screw threads on the post can cause micro-tears in the fistula during insertion and removal. Therefore, high-quality flat backs will fall into one of two categories:
1. Threadless (Push-Pin) Mechanisms
Threadless jewelry relies on tension rather than screws. The decorative front piece features a bent pin that slides into the hollow flat back post. The tension created by the pin pressing against the inner wall of the post locks the jewelry securely in place. This is the most common mechanism for 18-gauge and 16-gauge cartilage jewelry, prized for its seamless look and security.
2. Internally Threaded Mechanisms
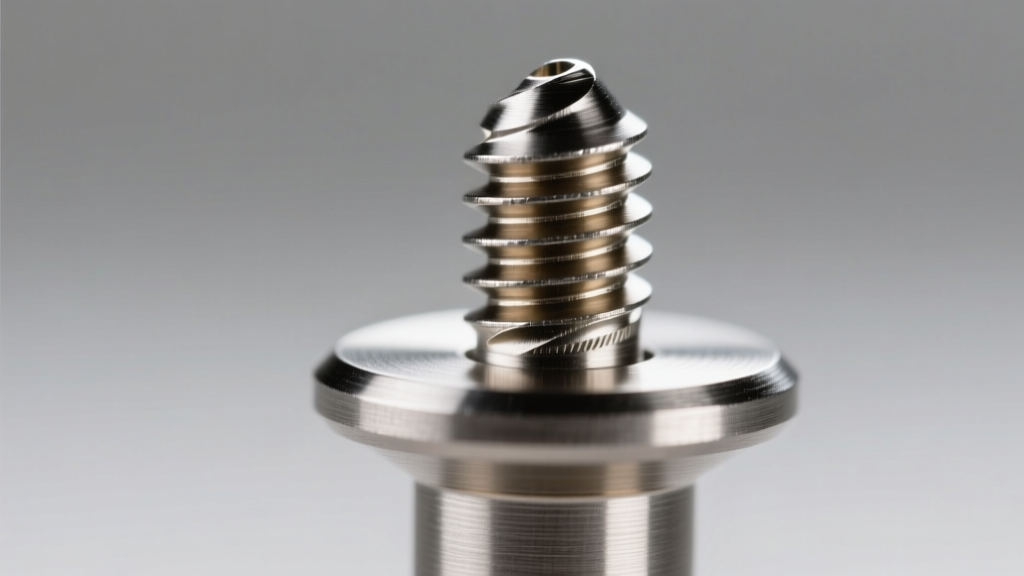
Internally threaded jewelry features a screw mechanism where the threading is located on the inside of the flat back post (or the decorative end, depending on the manufacturer). The smooth post passes through the fistula, protecting the tissue. These typically utilize precision M1.2 threading (common for 16g and 14g) or M1.6 threading (common for 12g and 10g). Removal requires counter-rotation, not pulling.
Essential Tools for Safe Cartilage and Lobe Removal
The number one reason people fail to remove flat back earrings is a lack of grip. Skin oils, natural sebum, and microscopic lymph buildup create a slippery barrier. To properly extract the jewelry, assemble the following kit:
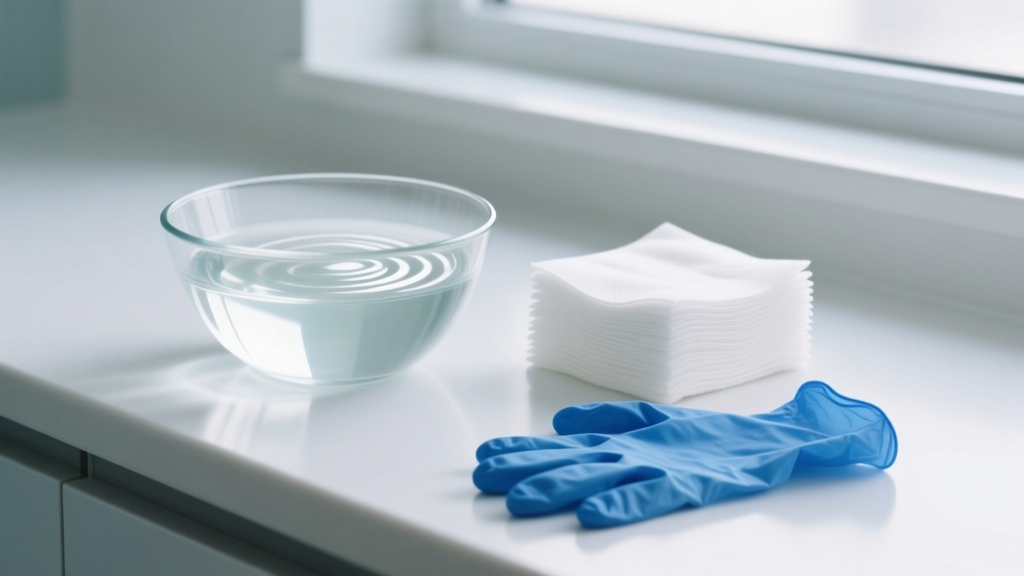
- Nitrile Gloves: Latex can cause allergic reactions and degrades with certain oils. Nitrile provides the necessary high-friction grip.
- Sterile Saline Solution (0.9% NaCl): Used to soften dried lymph and sebum that may be acting as a biological cement around the jewelry base.
- Sterile Gauze Pads: For wiping away debris and providing an extra layer of grip.
- Magnifying Mirror: Crucial for visualizing the junction between the post and the decorative end, especially for tragus or conch piercings.
Pre-Removal Preparation Protocol
Never attempt to remove cartilage jewelry with bare, unwashed hands. Wash your hands thoroughly with antibacterial soap, dry them, and put on your nitrile gloves. If the jewelry feels 'stuck' or you see crusties around the base, soak a sterile gauze pad in warm 0.9% sterile saline and hold it against the front and back of the earring for 3 to 5 minutes. According to the APP Aftercare Guidelines, softening biological debris is critical to preventing fistula trauma during extraction. Never use Vaseline, oils, or harsh chemicals to lubricate the jewelry, as these can trap bacteria and degrade the mirror polish of ASTM F-136 titanium.
Step-by-Step: How to Take Out a Flat Back Earring (Threadless)
If your earring has no visible seam and does not twist, it is threadless. The most common mistake is simply pulling the front and back apart like a tug-of-war. This will not work if the pin was bent to the proper 15-to-20-degree angle by your piercer.
- Secure the Back: Reach behind your ear and firmly pinch the flat back disc between your thumb and index finger. Ensure your nitrile glove is gripping the metal, not the skin.
- Grip the Front: With your other hand, pinch the decorative front piece (the gem or bead). Use a sterile gauze pad over the front if the gemstone is too small or slippery to grip.
- The Push-In Release: Instead of pulling immediately, gently push the front piece inward toward the ear by about 1 millimeter. This slight compression alters the angle of the tension pin inside the post, breaking the friction seal.
- Extract at an Angle: While maintaining the inward pressure, wiggle the front piece slightly side-to-side while pulling it away from the flat back. It should pop out with a subtle release of tension.
Step-by-Step: Removing Internally Threaded Flat Backs
Internally threaded jewelry requires the 'lefty-loosey' counter-clockwise rotation. However, applying torque incorrectly can lead to cross-threading, where the metal screws bind and strip.
- Stabilize the Front: Firmly grip the decorative front piece. Do not let it spin.
- Rotate the Back: Grip the flat back disc and turn it counter-clockwise. You should feel a smooth, mechanical release.
- Follow the Thread: Once the post disengages from the front piece, continue turning the flat back until it completely clears the internal threads. Do not pull the back away from the front until the threading has fully cleared, or you risk stripping the M1.2/M1.6 grooves.
- Slide the Post Out: Once separated, gently slide the smooth post out of the fistula. If you feel resistance, stop immediately. You may be pulling at an angle that catches the post edge against the healing tissue.
Troubleshooting Cross-Threading and Stuck Backs
If an internally threaded earring will not unscrew, it is likely cross-threaded or cemented by lymph. Do not use metal pliers or hemostats. Clamping metal tools onto ASTM F-136 titanium will permanently scratch the mirror polish, create micro-abrasions where bacteria can harbor, and ruin any anodized color finishes. If the jewelry is hopelessly stuck, apply a warm saline compress for 10 minutes. If it still will not budge, visit a professional piercer who can use specialized padded insertion tapers and rubber-tipped hemostats to safely break the seal without damaging the jewelry or your ear.
Material Grades and Gauge Sizes: Technical Specifications
Understanding the exact specifications of your jewelry helps dictate the amount of force required for removal. Below is a technical breakdown of standard flat back configurations:
| Mechanism Type | Standard Gauge Range | Threading / Tension Spec | Removal Difficulty |
|---|---|---|---|
| Threadless (Push-Pin) | 18g, 16g, 14g | 15° - 20° Pin Bend | Low-Medium (Requires push-in trick) |
| Internally Threaded | 16g, 14g, 12g | M1.2 (16g/14g) or M1.6 (12g) | Medium (Requires counter-torque) |
| Externally Threaded | 20g, 18g, 16g | External Post Threading | High (Prone to lymph trapping/cross-threading) |
Note: The APP and dermatological experts universally recommend ASTM F-136 implant-grade titanium for all body jewelry. This specific alloy contains low nickel and is highly biocompatible, reducing the inflammatory swelling that often makes jewelry removal difficult.
Post-Removal Aftercare and Hole Maintenance
Once you have successfully extracted the flat back earring, the work is not entirely finished. The fistula is a delicate tube of epithelial tissue that can quickly accumulate sebum and dead skin cells, leading to the notorious 'ear cheese' odor or localized irritation bumps.
Expert Tip: If you are removing the jewelry to clean it and plan to reinsert it immediately, do not let the piercing sit empty for more than a few minutes. Cartilage piercings, even fully healed ones, can begin to constrict within hours due to the elastic nature of the tissue.
Spray the empty fistula gently with sterile saline to flush out any trapped debris. If you are downsizing or changing to a new piece of jewelry, ensure the new post is also implant-grade titanium and properly lubricated with a water-based lubricant (never oil-based) to glide through the channel without causing micro-trauma. By respecting the mechanical engineering of your jewelry and utilizing proper grip techniques, you can maintain the integrity of both your premium earrings and your piercing anatomy for years to come.