Easy Seed Bead Earring Tutorial: Hypoallergenic Drops
Learn how to make custom hypoallergenic jewelry with this beginner-friendly seed bead earring tutorial. Master wire-wrapping and bead sizing today.

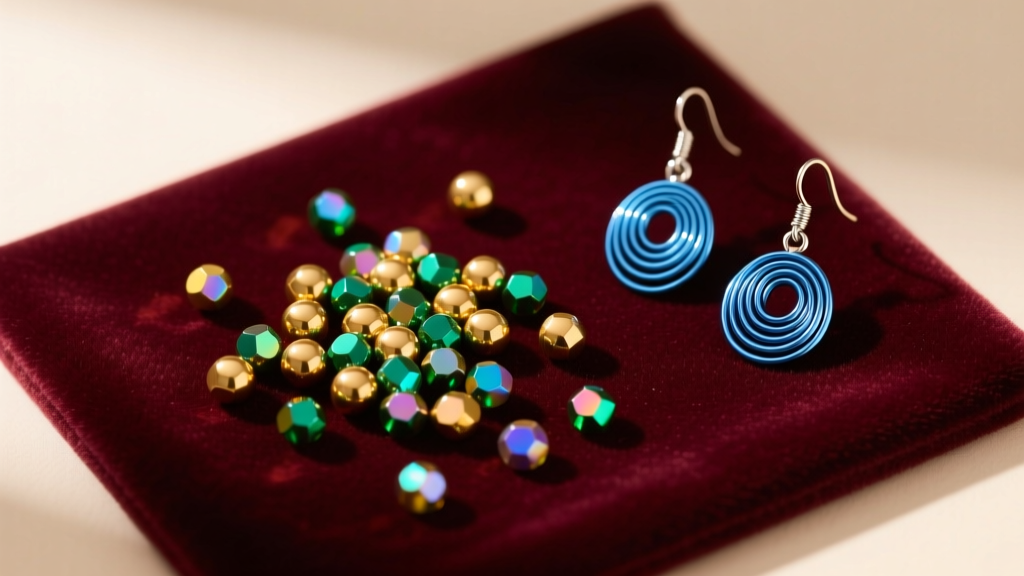
The Art of the Seed Bead: Why DIY Jewelry Making Matters
Welcome to the meticulous and deeply rewarding world of seed bead jewelry. For beginners, the transition from buying mass-produced earrings to crafting your own offers two massive advantages: total design customization and absolute control over metal purity. Many commercial earrings use nickel-heavy base metals that trigger contact dermatitis. By mastering this seed bead earring tutorial, you will learn how to pair premium Japanese glass beads with implant-grade, hypoallergenic wire to create luxurious dangles that are as safe as they are stunning.
According to the Association of Professional Piercers, implant-grade titanium (ASTM F-136) and pure niobium are the gold standards for sensitive earlobes. In this guide, we will bypass cheap craft-store brass and focus on building a high-end, skin-safe seed bead drop earring from scratch.
Decoding the Aught System: Seed Bead Sizing Explained
Seed beads are categorized using the "aught" system (denoted by /0), which historically refers to how many beads fit into a standard linear inch. The higher the number, the smaller the bead. Understanding this is critical for selecting the correct wire gauge.
| Bead Size | Approx. Diameter | Hole Size | Compatible Wire Gauge | Best Use Case |
|---|---|---|---|---|
| 15/0 | 1.5mm | ~0.7mm | 26ga - 28ga | Intricate bead weaving, micro-fringe |
| 11/0 | 2.0mm | ~0.8mm | 24ga - 26ga | Standard dangles, fringe, loom work |
| 8/0 | 3.0mm | ~1.0mm | 22ga - 24ga | Bold statement drops, spacers |
For this tutorial, we are using Size 11/0 Miyuki or Toho seed beads. As noted in the Fire Mountain Gems seed bead encyclopedia, Japanese 11/0 beads offer unparalleled uniformity compared to cheaper Czech alternatives, ensuring your dangles hang perfectly straight without bulging.
Materials and Tools Checklist
Before we begin stringing, gather the following professional-grade supplies. Budget approximately $35 for your initial toolkit, which will yield dozens of pairs.
- Beads: 1 tube (approx. 8 grams) of Miyuki 11/0 metallic bronze seed beads ($4.50).
- Focal Bead: Two 4mm Swarovski bicone crystals or premium cubic zirconia rounds.
- Wire: 24-gauge dead-soft pure niobium or ASTM F-136 titanium wire. Crucial: Ensure the wire is "dead-soft" temper. Half-hard wire will spring back and snap during wrapping.
- Tools: Flush cutters, chain-nose pliers, and round-nose pliers.
- Mat: A gray or black velvet beading mat to prevent beads from rolling.
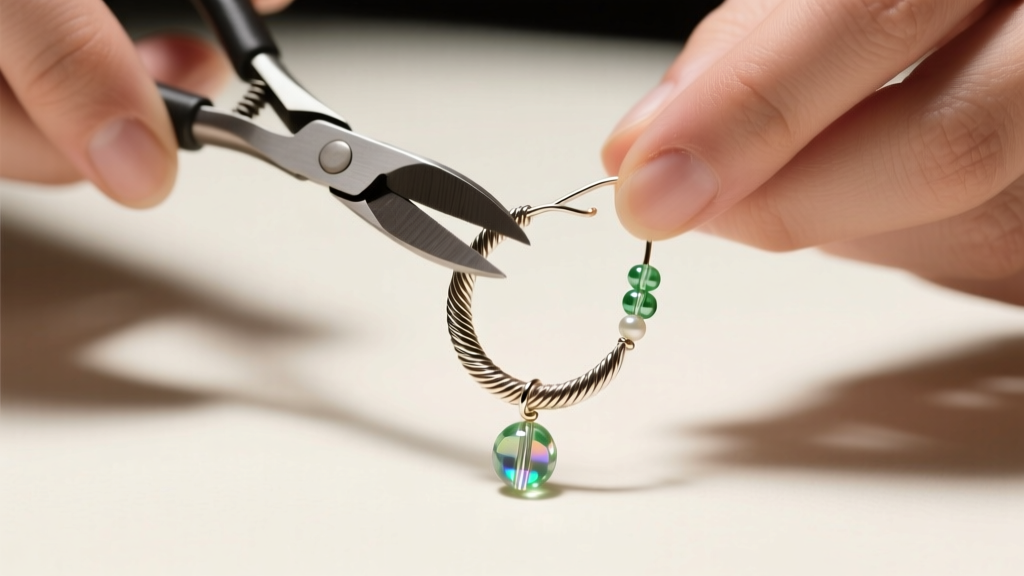
Step-by-Step Seed Bead Earring Tutorial
This design utilizes a wire-wrapped dangle technique. Unlike simple loops which can easily pull open and drop your beads, a wrapped loop mechanically locks the wire around itself, ensuring your heirloom-quality seed bead drops stay intact for years.
Phase 1: Creating the Bottom Stopper Loop
Cut a 3.5-inch length of your 24-gauge dead-soft niobium wire using flush cutters. Ensure the cut is perfectly flat. About half an inch from the bottom end, use your chain-nose pliers to grasp the wire. Bend it into a 90-degree angle. Next, use your round-nose pliers to catch the short end and roll it into a small, tight loop. Wrap the remaining tail tightly around the base of the loop twice to secure it, then snip off the excess wire with your flush cutters. This creates a secure "P" shaped base that your beads will rest against.
Phase 2: Threading the Gradient Drop
Thread your beads onto the straight wire in the following sequence to create a sophisticated, light-catching gradient:
- Five 11/0 metallic bronze seed beads.
- One 4mm crystal focal bead.
- Five 11/0 metallic bronze seed beads.
Gently tap the wire against your beading mat to ensure all the seed beads settle neatly into a straight column. The total stacked length should be roughly 1.25 inches.
Phase 3: Securing the Top Wrapped Loop
With the beads snug against the bottom stopper, bend the remaining top wire at a strict 90-degree angle directly above the top seed bead. Grip the wire with your round-nose pliers and roll it backward to form a top loop. Before releasing the pliers, wrap the wire tail tightly down the "neck" of the wire (the small gap between the loop and the top bead) at least three times. Use chain-nose pliers to squeeze the final wrap tight, and snip the tail flush against the coil.
Phase 4: Attaching the Ear Wire
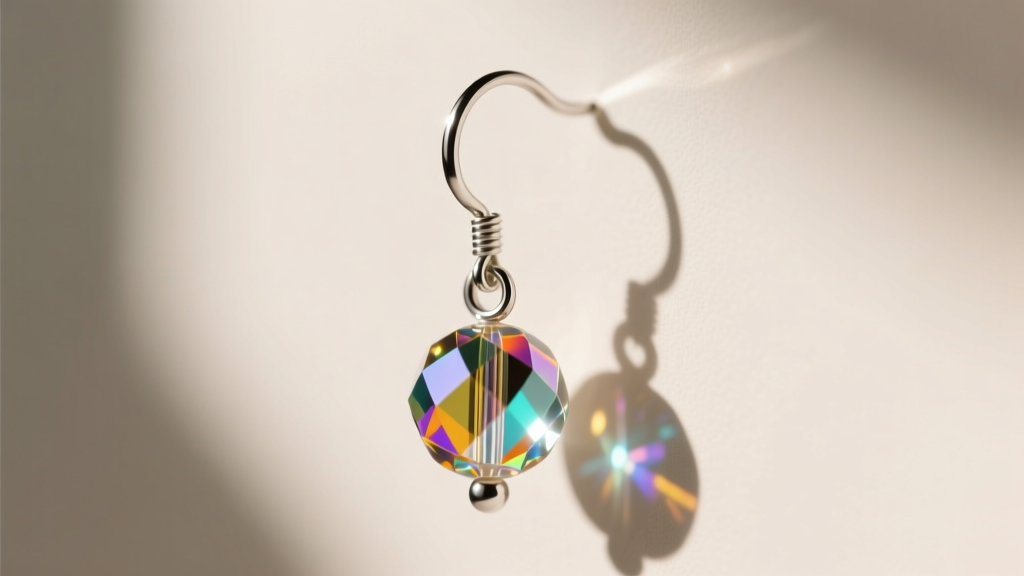
Open a pre-made hypoallergenic niobium or titanium fishhook ear wire by twisting it laterally (never pull the loop apart like a C, or it will lose its circular tension). Slide your finished seed bead dangle onto the ear wire loop, and twist it securely closed.
Troubleshooting Common Beginner Mistakes
Even with the best materials, beginners often encounter structural issues. Here is how to troubleshoot the most common failure modes in seed bead wire wrapping:
- Wire Kinking: Niobium and titanium are softer than copper. If you grip the wire too hard with chain-nose pliers that have serrated teeth, you will permanently mar the metal. Fix: Always use smooth-jawed pliers, or dip the tips of your pliers in tool dip.
- Beads Spinning: If your focal crystal spins independently of the seed beads, your top and bottom loops are not tight enough against the bead column. Fix: Use your chain-nose pliers to gently squeeze the wrapped coils flush against the glass.
- Loops Pulling Open: This happens when beginners use "half-hard" wire for wrapping. Half-hard wire has been work-hardened and wants to return to its original straight shape. Fix: Strictly purchase "dead-soft" wire for any component requiring a wrapped loop.
Cost Breakdown: DIY vs. Retail Boutique
Why invest the time into this seed bead earring tutorial when you can buy jewelry online? The answer lies in the intersection of material safety and profit margins.
Expert Insight: Most mass-market jewelry brands use brass or copper plated with a microscopic layer of gold or silver, backed by a nickel flash. Once the plating wears off, the nickel touches the skin. By making your own, you guarantee 100% nickel-free, biocompatible materials.
| Component | DIY Cost (Per Pair) | Retail Markup Equivalent |
|---|---|---|
| Miyuki 11/0 Seed Beads (10 beads) | $0.15 | N/A (Usually acrylic in cheap retail) |
| Premium 4mm Crystal Focals (x2) | $0.60 | $4.00 - $8.00 |
| Implant-Grade Titanium Ear Wires | $1.20 | $12.00 - $18.00 |
| 24ga Niobium Wire (7 inches) | $0.40 | $3.00 |
| Total Estimated Value | $2.35 | $28.00 - $45.00 |
As demonstrated by wholesale suppliers like Halstead Bead, mastering wire wrapping and bead stringing allows you to produce boutique-quality, hypoallergenic earrings for less than the cost of a cup of coffee. More importantly, you gain the peace of mind that comes with knowing exactly what metals are resting against your earlobes.
Final Thoughts on Bead Care
Seed beads, particularly those with metallic galvanized finishes, can tarnish if exposed to high humidity or acidic skin chemistry over long periods. To preserve the iridescent luster of your Miyuki drops, store your finished earrings in an anti-tarnish ziplock bag with a small silica gel packet when not in use. Wipe the titanium hooks down with rubbing alcohol after each wear to remove sebum and keep the metal pristine for your next wear.


