How Do I Get a Stuck Earring Back Off? Expert Removal Guide
Learn how do I get a stuck earring back off safely. Expert guide on removing locked, screwed, or jammed earring backs without damage.

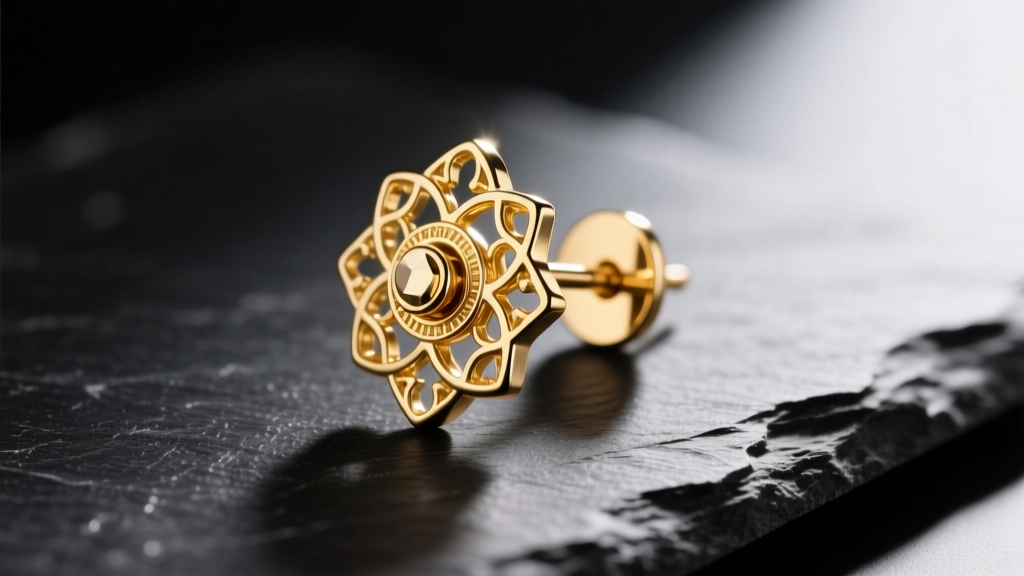
If you have ever stared into a mirror, fingers slipping against a tiny piece of metal, asking yourself, "how do i get a stuck earring back off?" you are not alone. As jewelry design evolves, the mechanisms keeping our favorite pieces secure have become increasingly complex. What was once a simple friction push has evolved into intricate locking systems, screw-backs, and high-tension threadless ends. While these advancements are a boon for preventing lost diamonds and heavy sculptural drops, they introduce a new modern dilemma: removal anxiety.
This comprehensive guide bridges the gap between contemporary jewelry styling and practical metallurgy. We will diagnose why your earring back is jammed, break down the exact removal protocols for every major backing type, and explore the material science that causes metal galling and calcification.
The Rise of Secure-Lock Jewelry: Why Your Earrings Are Stuck
In recent years, the jewelry industry has seen a massive shift toward "heavy lobe" and architectural cartilage styling. Designers are crafting oversized, asymmetrical 14k gold and platinum studs that weigh upwards of 8 to 12 grams. A standard 20-gauge butterfly friction back simply cannot support this weight without drooping or falling out. Consequently, high-end jewelers and independent piercers have adopted secure-lock mechanisms like the La Pousette clutch and precision screw-backs.
While these secure backs are engineering marvels, they are highly susceptible to environmental factors. Sebum (skin oils), dead skin cells, and microscopic debris can easily lodge inside the spring-loaded tubes of a La Pousette or the threaded grooves of a screw-back. When combined with the natural warmth and moisture of the earlobe, this debris calcifies, essentially cementing the backing in place. Furthermore, the trend of "sleep-proof" jewelry means many wearers leave these complex backs on for weeks, increasing the likelihood of a jammed mechanism.
Diagnosing the Jam: Identifying Your Earring Back Type
Before applying force, you must identify the exact mechanism you are dealing with. Applying the wrong removal technique can result in a torn earlobe, a bent post, or a ruined locking mechanism. Review the diagnostic table below to identify your backing and its primary failure mode.
| Back Type | Common Gauge | Primary Failure Mode | Removal Difficulty |
|---|---|---|---|
| Butterfly Friction | 20G - 18G (0.8mm - 1.0mm) | Sebum calcification, bent prongs | Low-Medium |
| Screw-Back | 18G - 14G (1.0mm - 1.6mm) | Cross-threading, metal galling | Medium-High |
| La Pousette (Locking) | 20G - 16G (0.8mm - 1.2mm) | Spring mechanism jam, debris lock | High |
| Threadless (Press-Fit) | 16G - 14G (1.2mm - 1.6mm) | Bent pin, inserted too deeply | Medium |
Step-by-Step: How Do I Get a Stuck Earring Back Off?
Regardless of the backing type, your first step is preparation. Wash your hands thoroughly and put on nitrile gloves. Human skin lacks the micro-texture required to grip smooth, 2-millimeter metal components. Nitrile provides the necessary friction to apply torque without slipping and tearing your skin.
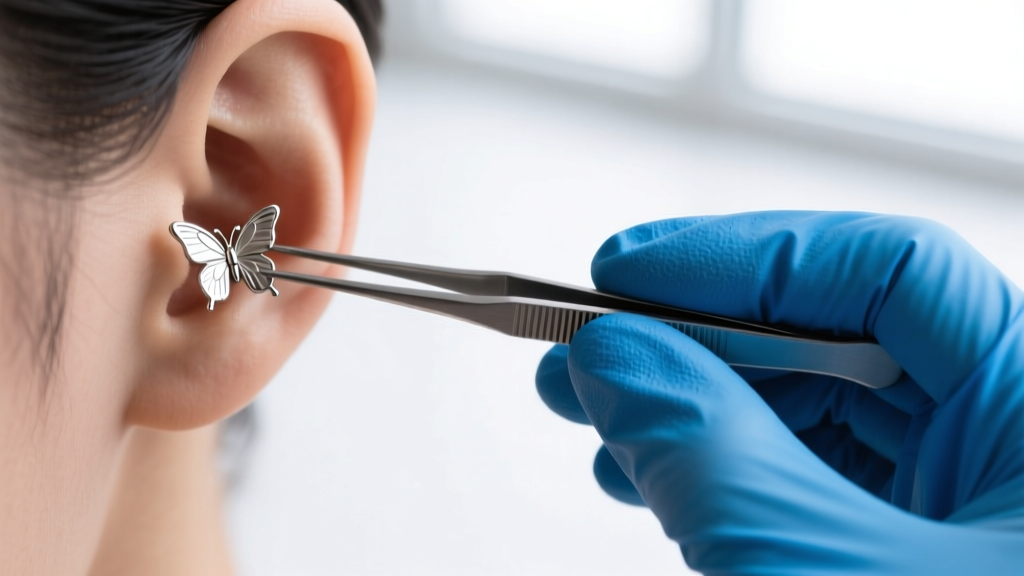
Method 1: The Traction & Twist (For Friction and Butterfly Backs)
If a standard butterfly back is stuck, it is almost always due to calcified sebum acting as an adhesive between the post's notch and the metal prongs.
- Soak: Saturate a cotton pad with sterile saline or warm water and hold it against the back of the earlobe for 3 to 5 minutes. This softens the biological debris.
- The Rubber Band Trick: Wrap a small, thick rubber band around the front stud and another around the back clutch. This gives your gloved fingers maximum grip.
- Wiggle, Don't Pull: Never pull straight back. Instead, gently wiggle the backing side-to-side (perpendicular to the post) while applying mild outward pressure. This breaks the calcified seal without bending the post.
Method 2: The Lubrication Protocol (For Screw-Backs and Threadless)
Screw-backs frequently suffer from cross-threading, where the internal threads of the backing misalign with the external threads of the post, locking them together. According to the Association of Professional Piercers (APP), forcing a cross-threaded piece can permanently strip the metal.
"The most common cause of a jammed screw-back isn't user error, but microscopic cross-threading caused by forcing the backing at an angle. Always reverse-thread gently before tightening."
- Reverse Threading: Place the backing on the post and turn it counter-clockwise (lefty-loosey) until you feel a distinct "click" or drop. This means the threads have realigned.
- Lubricate: If it remains stuck, apply a micro-drop of sterile jojoba oil or vitamin E oil to the seam where the post meets the backing. Let it sit for 10 minutes to penetrate the threads, then attempt the reverse-thread click again.
- Threadless Ends: For press-fit threadless jewelry, the pin inside the decorative end is bent to create tension. Grip the front gem and the back disc firmly with nitrile gloves, and pull apart while slightly twisting. If the pin was bent too sharply during insertion, you may need rubber-tipped tweezers to gain leverage.
Method 3: The Pliers & Grip Technique (For Warped Metal and La Pousette)
The La Pousette clutch features a tiny internal spring and locking groove. If debris enters the tube, the spring fails to depress, locking the back permanently. Furthermore, cheap alloy butterfly backs can warp and clamp down on the post.
- Use the Right Tools: Never use bare metal pliers on fine jewelry. Use nylon-jaw pliers or wrap the tips of standard jewelry tweezers in medical tape to prevent scratching the gold or platinum.
- Depress the Clutch: For a La Pousette, use a sterilized sewing needle or a specialized earring back removal tool to gently press the internal spring mechanism through the side access holes while pulling the backing away from the ear.
- When to Cut: If a cheap brass or steel friction back is completely warped and clamped onto a valuable 18k gold post, do not risk breaking the post. Take it to a jeweler who can use a flush cutter to safely snip the backing off.
Material Matters: Titanium vs. Gold vs. Brass Failure Points
The metallurgy of your earring dictates how it fails. Understanding this is crucial for both removal and future purchasing decisions. The Gemological Institute of America (GIA) frequently highlights how metal alloys interact with skin chemistry and environmental factors.
Implant-Grade Titanium (ASTM F-136): Titanium is highly biocompatible and resistant to corrosion. However, it is prone to galling (cold welding) when two pieces of titanium rub together under pressure without lubrication. If your titanium screw-back is stuck, it is likely galled. Warm water and gentle, steady torque are required; jerking the metal will cause it to seize further.
14k and 18k Gold: Gold alloys are softer than titanium and steel. The primary risk when removing a stuck gold earring back is bending the post. A standard 20-gauge (0.8mm) gold post will bend under less than 2 pounds of lateral pressure. Always support the front of the stud with your index finger to counteract the pulling force on the back.
Brass and Nickel-Silver (Costume Jewelry): These base metals oxidize rapidly when exposed to the moisture and salts of the human body. The resulting green/black copper oxide acts as a literal cement. If a costume earring back is stuck, soak it in a 50/50 mixture of white vinegar and warm water for 15 minutes to dissolve the oxidation before attempting removal.
Preventative Styling: Alternatives to High-Friction Backs
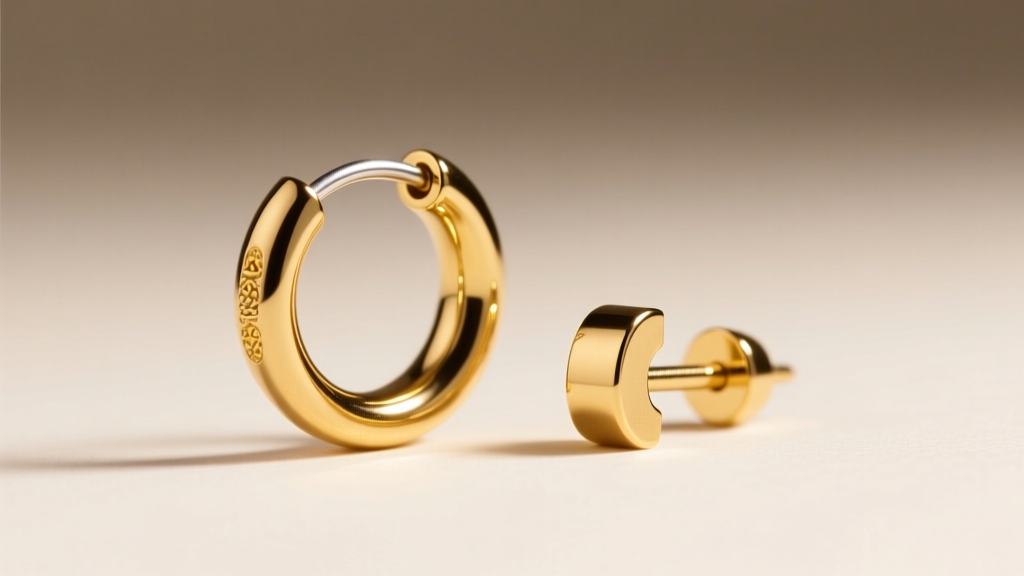
The ultimate solution to stuck earring backs is to eliminate them from your styling repertoire entirely. The 2026 jewelry trend landscape heavily favors seamless and internally threaded alternatives that offer security without the mechanical failure points of traditional backings.
1. Threadless (Press-Fit) Jewelry
Originally popularized in the professional piercing community, threadless jewelry is now mainstream. The decorative end features a slightly bent pin that slides into a hollow post. The tension of the bent metal holds it in place. There are no threads to cross, no springs to jam, and no notches to calcify. Removal simply requires a firm pull and twist.
2. Seamless Clickers and Huggies
For cartilage and lobe hoop styling, huggies with a hinged "clicker" closure are the gold standard. The segment snaps into a hidden groove with an audible click, providing a secure, flush finish that will never snag on hair or require a separate backing piece.
3. Internally Threaded Screw-Backs
If you prefer screw-backs for heavy studs, ensure you purchase internally threaded pieces. In cheap jewelry, the screw threads are on the post itself, which can scrape and damage the piercing channel during insertion. In high-quality internally threaded jewelry, the threads are hidden inside the backing, keeping the post perfectly smooth.
When to See a Professional Piercer
While most stuck earring backs can be resolved at home with patience, nitrile gloves, and saline, there are scenarios where professional intervention is mandatory. If the earring post is embedded in the earlobe due to swelling (a condition known as embedding), or if the ear is red, hot to the touch, and secreting pus, do not attempt to force the backing off. The pressure required could rupture infected tissue. Visit a reputable professional piercer or a medical clinic immediately. Piercers possess specialized insertion tapers, hemostats, and sterile environments to safely cut away jammed hardware without exacerbating tissue trauma.
By understanding the mechanics of your jewelry and respecting the materials, you can confidently manage your collection, ensuring that your style remains as flawless as it is secure.


