Earring Stuck in Earlobe: How to Remove at Home Safely
Panicking over an earring stuck in your earlobe? Learn how to remove at home safely using lubricants, ice, and proper gauge troubleshooting.


Waking up with a swollen, painful ear piercing is a jarring experience. Whether you slept on a standard 20G (0.81mm) stud or wore heavy hoops that triggered the "cheese-cutter effect," localized edema can quickly trap your jewelry beneath the skin's surface. If your primary concern is an earring stuck in earlobe how to remove at home without causing tissue tearing or scarring, the secret lies in reducing swelling before applying rotational force. In this comprehensive 2026 care guide, we break down the exact clinical protocols, material science, and troubleshooting steps required to safely free embedded jewelry.
The Anatomy of an Embedded Earring
Before attempting removal, it is crucial to understand why the jewelry became trapped in the first place. The earlobe is composed of highly vascularized adipose and connective tissue, making it prone to rapid swelling when irritated.
- Nickel Contact Dermatitis: According to the American Academy of Dermatology, nickel allergies are a leading cause of piercing swelling. Many inexpensive "surgical steel" earrings contain 8-12% nickel. When exposed to sweat, nickel ions leach into the tissue, triggering an immune response that causes the earlobe to engorge and swallow the earring back.
- Improper Post Length: Standard flat-back labrets or butterfly clutches are often manufactured with a 6mm or 8mm post. If your earlobe is naturally thicker than 8mm, or if minor trauma causes a 1mm swell, the jewelry will immediately embed.
- Sleep Trauma: Laying on a side-sleeping pillow creates sustained pressure, restricting lymphatic drainage and forcing the skin to fold over the front gemstone or rear clutch.
Essential Tools for Safe At-Home Removal
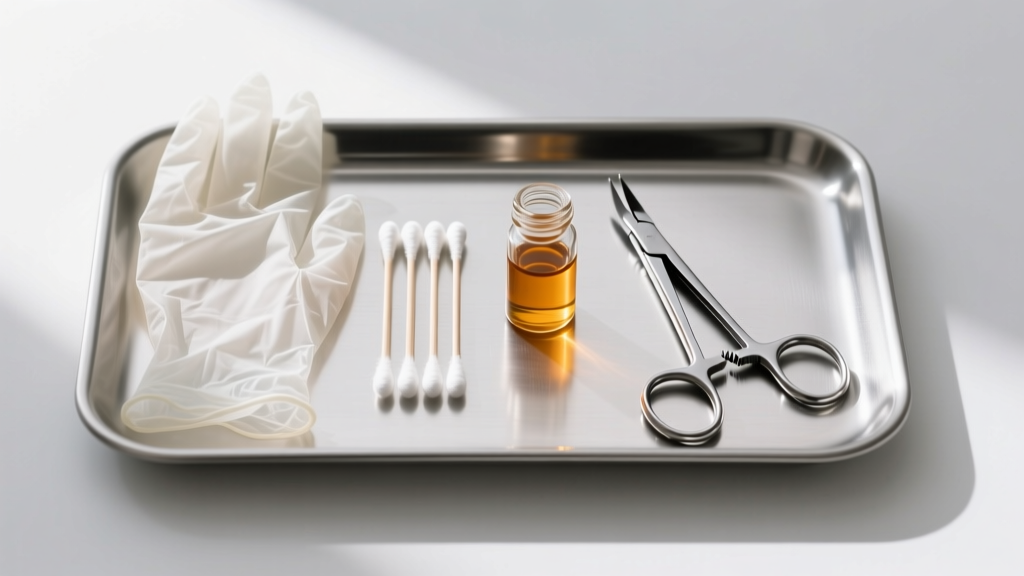
Never use bare fingers to remove embedded jewelry. Sebum, dead skin cells, and natural oils reduce your grip strength, leading to slipped fingers and accidental tissue tearing. Assemble the following kit before beginning:
- Medical-Grade Nitrile Gloves: Provides maximum friction grip. Avoid latex, which can trigger secondary allergic reactions.
- Sterile Saline Solution (0.9%): For flushing debris and softening crusties.
- Jojoba Oil or Water-Based Lubricant: Jojoba closely mimics human sebum and provides excellent slip without trapping anaerobic bacteria (never use petroleum jelly or Vaseline).
- Fine-Tipped Hemostats or Pennington Forceps: Essential for gripping tiny 16G (1.29mm) or 14G (1.63mm) threading balls or butterfly wings.
- Ice Pack or Cold Compress: To induce vasoconstriction and reduce edema.
Step-by-Step: Earring Stuck in Earlobe How to Remove at Home
Follow this exact sequence to minimize pain and prevent lobe tearing.
Phase 1: Vasoconstriction and Softening
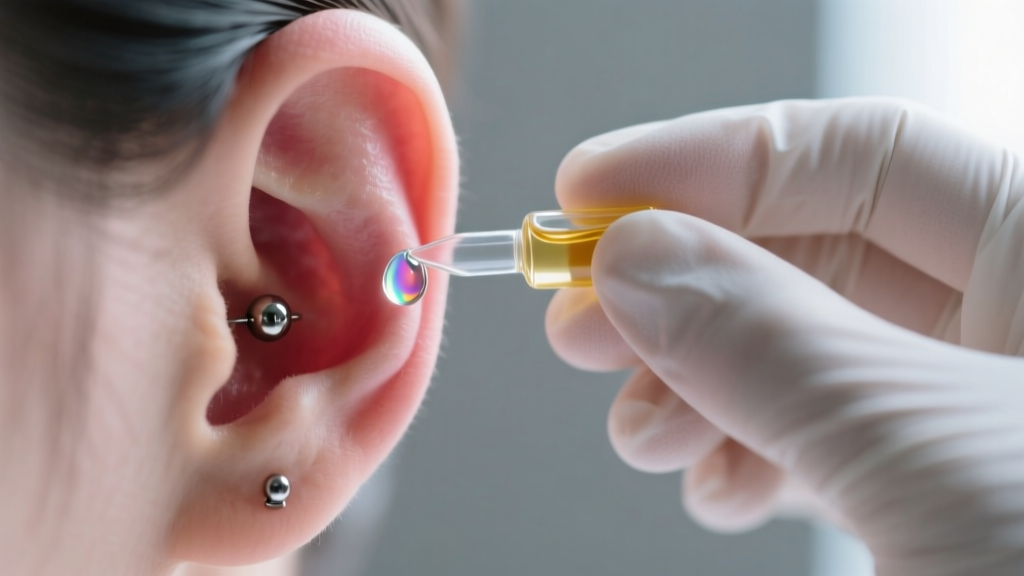
Wrap an ice pack in a clean paper towel and apply it to the earlobe for exactly 5 to 7 minutes. The cold restricts blood flow, temporarily shrinking the swollen tissue away from the metal clutch. Next, flood the area with sterile saline to soften any dried lymph fluid (crusties) acting as a biological glue.
Phase 2: Lubrication and Grip
Put on your nitrile gloves. Apply a generous drop of jojoba oil directly to the embedded area, massaging it gently so it seeps between the metal post and the swollen skin. If you are dealing with a butterfly back, use your thumb and index finger to pinch the back and front of the earring simultaneously.
Phase 3: The "Push and Twist" Technique
Do not pull straight out. Pulling creates friction against the swollen fistula (the piercing channel). Instead, gently push the front of the stud inward while simultaneously twisting the back counter-clockwise. The twisting motion acts like a screw, drawing the back out of the tissue gradually. If the skin is folded over the front gem, use a sterilized wooden cuticle stick to gently roll the skin back and expose the metal edge.
Type-Specific Removal Tactics and Failure Modes
Different earring mechanisms require distinct removal strategies. The Association of Professional Piercers notes that internally threaded or threadless jewelry drastically reduces embedding risks, but many commercial earrings still use outdated friction-fit or external threading. Review the table below for your specific jewelry type.
| Earring Back Type | Common Failure Mode | Recommended Removal Tool | Success Strategy |
|---|---|---|---|
| Butterfly Clutch (Friction) | Wings sink into swollen tissue | Nitrile gloves & hemostat | Pinch front gem, grip wings with hemostat, twist and pull. |
| Flat-Back Labret (Threadless) | Front pin bends, creating a hook | Pennington forceps | Grip front gem firmly, push post forward to disengage tension pin. |
| Seamless Hoop / Captive Bead | Ball bearing drops or jams in fistula | Ring opening pliers | Expand ring diameter slightly to relieve tension on the bead. |
| Screw-Back Stud | Cross-threading due to swelling pressure | Rubber grip pad | Apply extreme inward pressure while turning counter-clockwise. |
Recognizing Infection vs. Irritation
It is vital to differentiate between standard irritation (edema) and a bacterial infection before attempting removal. If the earring is fully encapsulated by the skin (meaning no metal is visible on either side), stop immediately. Attempting to cut the skin at home with non-sterile tools invites Staphylococcus aureus and MRSA infections.
Clinical Red Flags: If your earlobe is hot to the touch, radiating red streaks down your neck, or oozing thick, foul-smelling green/yellow pus, the jewelry may be acting as a drain. Removing it could cause the surface to heal over, trapping an abscess inside the lobe. Seek urgent care or a professional piercer immediately.
Post-Removal Aftercare and Prevention
Once the earring is successfully removed, the fistula will be raw and vulnerable to blowouts or scarring. Follow this 2026 standard aftercare protocol to ensure the earlobe heals correctly.
1. Flush and Disinfect
Immediately flush the empty piercing channel with sterile 0.9% saline. Avoid hydrogen peroxide or rubbing alcohol, as these destroy newly forming fibroblast cells and delay healing.
2. Upgrade Your Materials
The most common reason for recurring embedding is wearing low-grade metals. Invest in ASTM F-136 Implant-Grade Titanium jewelry. While a high-quality titanium flat-back labret may cost between $35 and $85, it is entirely nickel-free, highly polished to a mirror finish (preventing bacterial adhesion), and available in custom post lengths (e.g., 9mm or 10mm) to accommodate natural lobe thickness.
3. Downsize Promptly
If you are healing a new piercing, initial jewelry is intentionally long to allow for swelling. Once the swelling subsides (usually around 3-4 weeks), you must downsize the post length. Leaving a 10mm post in a healed 6mm lobe guarantees that the earring will eventually snag on hair or clothing, leading to trauma and re-embedding.
4. Nighttime Protection
For side sleepers, invest in a piercing pillow (a U-shaped travel pillow that leaves the ear suspended in a hollow center) or wear a soft, stretchy headband to keep hair and fabric away from the lobes while you sleep. Never sleep in butterfly-back studs; switch to threadless titanium ends with secure tension pins for overnight wear.


