How to Style Cross Huggie Earrings for Any Piercing
Learn how to style cross huggie earrings for lobe, helix, and tragus piercings. Discover sizing, gauge guides, and curating tips for your ear stack.

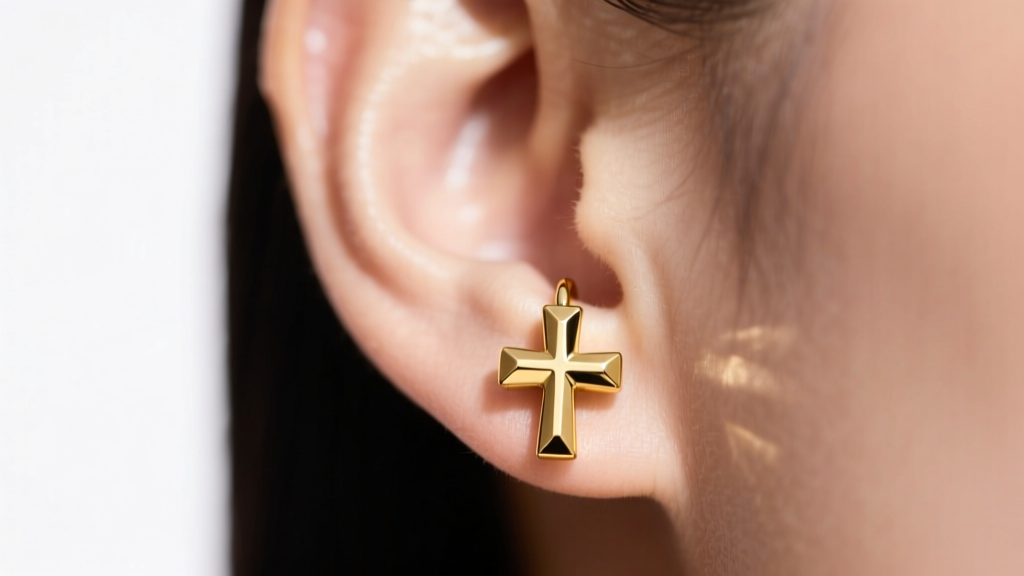
The Renaissance of the Cross Huggie Earring
Cross huggie earrings have transcended their early-2000s pop-punk roots to become a staple of modern, elevated ear curation. Unlike traditional dangle earrings that catch on hair and clothing, huggies are designed to 'hug' the earlobe or cartilage, providing a seamless, continuous hoop silhouette with the added edge of a cruciform charm. Whether the cross is fixed directly into the hoop, dangling from a micro-chain, or embedded with pavé diamonds, styling them requires a strategic understanding of ear anatomy, jewelry gauge, and metallurgy.
In this comprehensive step-by-step guide, we will break down exactly how to measure, select, and style cross huggie earrings for every piercing on your ear. From avoiding the dreaded 'cheese cutter effect' in cartilage piercings to building a balanced ear stack, this guide provides the technical specifications you need to curate like a professional piercer.
Step 1: Map Your Piercings and Measure Inner Diameter
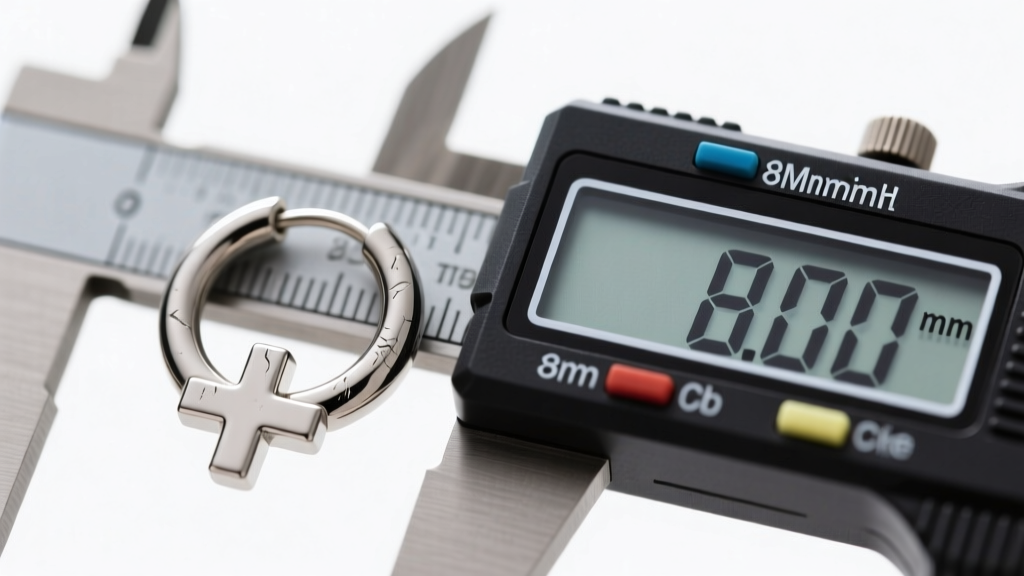
The most common mistake consumers make when buying huggies is guessing the size. A huggie that is too tight will cause pressure necrosis and irritation bumps, while one that is too loose will ruin the 'hugging' aesthetic and snag easily. You must measure the inner diameter of the hoop, not the outer edge.
For precise measurements, use a digital caliper. If you are measuring an existing hoop that fits perfectly, close the caliper jaws inside the hoop. If you are measuring your ear, use a flexible sewing tape measure or consult a professional piercer to measure the distance from the piercing hole to the edge of your ear tissue.
Inner Diameter Sizing Chart by Piercing Type
| Piercing Location | Recommended Inner Diameter | Cross Charm Orientation |
|---|---|---|
| Standard Lobe | 10mm - 12mm | Dangling or Fixed Vertical |
| Upper Lobe / Flat | 8mm - 10mm | Fixed Horizontal or Micro-Dangle |
| Helix / Mid-Helix | 8mm - 10mm | Fixed Vertical (Short Drop) |
| Tragus | 6mm - 8mm | Fixed (No Dangle to avoid catching) |
| Daith | 10mm - 12mm | Fixed Inward-Facing |
Step 2: Select the Correct Gauge to Prevent Migration
Gauge refers to the thickness of the wire that passes through your piercing. This is a critical factor often overlooked in fashion jewelry. Standard lobe piercings done with a gun are usually 20G (0.8mm) or 18G (1.0mm), while professional needle piercings for both lobes and cartilage are typically 16G (1.2mm) or 14G (1.6mm).
The 'Cheese Cutter Effect' Explained
If you wear an 18G (1.0mm) cross huggie in a 16G (1.2mm) helix piercing, the thinner wire will act like a cheese cutter through the tissue. Over time, the weight of the cross charm combined with the thin wire will cause the piercing to migrate downward, eventually splitting the cartilage entirely. According to the Association of Professional Piercers (APP), jewelry must match the exact gauge of the piercing fistula to maintain tissue health and structural integrity.
- 20G (0.81mm): Rare for quality huggies; mostly found in cheap fashion brands. Avoid for cartilage.
- 18G (1.02mm): Standard for lower lobe huggies. Safe for healed lobes but not recommended for helix or tragus.
- 16G (1.29mm): The gold standard for cartilage huggies (helix, tragus, flat). Provides structural support.
- 14G (1.60mm): Used for thick lobes or daith piercings. Requires custom or specialized body jewelry brands like BVLA or Anatometal.
Step 3: Choose High-Grade Metallurgy for Longevity
Because huggies sit flush against the skin, they trap moisture, dead skin cells, and sebum. Low-quality metals will oxidize, causing contact dermatitis or localized infections. When investing in cross huggie earrings, you must scrutinize the metal composition.
Approved Metals for Daily Wear
The Gemological Institute of America (GIA) and professional piercers universally recommend specific alloys for long-term skin contact. Look for these exact material grades:
- Implant-Grade Titanium (ASTM F-136): Completely nickel-free, lightweight, and highly biocompatible. Ideal for sensitive ears or newly healed piercings. Often anodized to different colors, though polished silver is most common for the base of the cross charm.
- 14K or 18K Solid Gold: Must be nickel-free and alloyed for biocompatibility (often using palladium or silver instead of nickel). 14K is slightly harder and more scratch-resistant, making it excellent for huggie hinges. 18K offers a richer yellow hue but is softer.
- Platinum: The ultimate luxury option. Hypoallergenic, incredibly dense, and will never tarnish, though it comes with a premium price tag (often exceeding $600 per earring).
'Never sleep in plated or gold-vermeil huggies. The friction of the pillow will wear away the microscopic gold layer, exposing the brass or copper base to your piercing tract, which guarantees an irritation bump within a week.' — Master Piercer, NYC
Step 4: Curate Your Ear Stack
Cross huggies are statement pieces, even when they are small. The key to styling them is balancing the visual weight of the cross with complementary, minimalist jewelry in adjacent piercings.
Stacking Recipe 1: The Edgy Minimalist (Lobe Focus)
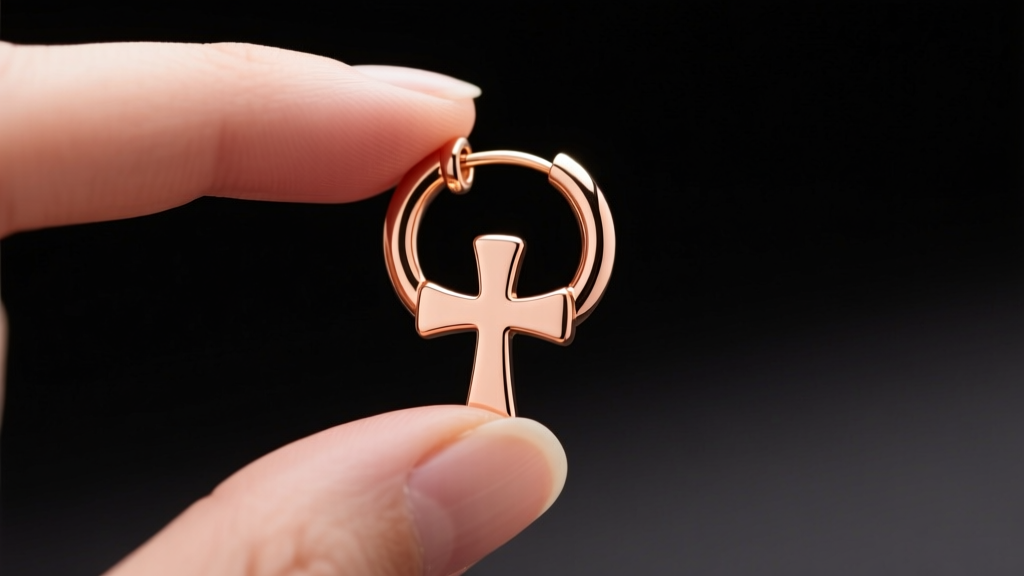
- Piercing 1 (Lower Lobe): 10mm 14k Yellow Gold Cross Huggie with a micro-pavé diamond cross.
- Piercing 2 (Upper Lobe): 4mm bezel-set black diamond stud.
- Piercing 3 (Helix): Simple 16G titanium clicker hoop with no charms.
Stacking Recipe 2: The Cartilage Curation (Helix Focus)
- Piercing 1 (Lower Lobe): 8mm solid gold seamless continuous hoop.
- Piercing 2 (Mid-Helix): 8mm 16G Cross Huggie with a fixed, horizontal gothic cross.
- Piercing 3 (Flat): Small opal cabochon flat-back labret stud.
Step 5: Master the Clasp Mechanism
Huggies typically utilize one of two closure mechanisms: the hinged snap clasp or the clicker segment. Improper handling is the number one reason huggies break or bend out of shape.
How to Safely Open and Close a Hinged Huggie
- Opening: Grip the hoop on both sides of the hinge. Gently twist laterally (side-to-side) to pop the pin out of the catch. Never pull the hoop apart vertically, as this will warp the metal and misalign the pin.
- Closing: Insert the earring through the piercing. Bring the two ends together. You should feel the pin slide into the catch. Squeeze the top and bottom of the hoop firmly between your thumb and index finger until you hear a distinct 'click' or 'snap'.
- Troubleshooting: If the clasp won't snap shut, do not force it. Use a magnifying glass to check if lint or dried soap is blocking the catch. Clean it with a soft toothbrush and warm water, dry completely, and try again.
Maintenance and Cleaning Routine
Because the cross charm on a huggie often features intricate detailing, milgrain edges, or pavé stones, it requires a specific cleaning regimen to maintain its brilliance and prevent bacterial buildup near the piercing site.
- Daily: Rinse your ears and jewelry in the shower. Let warm water run over the huggies to flush out shampoo residue and sebum.
- Weekly: Use a sterile, non-woven gauze pad soaked in sterile saline wound wash to gently wipe around the hinge and the back of the cross charm.
- Monthly Deep Clean: Soak solid gold or platinum cross huggies in a bowl of warm water with a few drops of mild, unscented dish soap for 10 minutes. Gently scrub the cross detailing with an ultra-soft baby toothbrush. Rinse and dry with a microfiber cloth. Note: Never use ultrasonic cleaners on huggies with opal, pearl, or emerald accents, as the vibrations will shatter the stones.
By following these precise sizing, metallurgy, and styling guidelines, your cross huggie earrings will remain a secure, comfortable, and striking focal point of your ear curation for years to come.


