How to Style, Measure, and Secure Chain Heart Earrings
Learn how to measure, style, and secure chain heart earrings for multi-piercing setups. Expert tips on chain lengths, gauges, and ear anatomy.

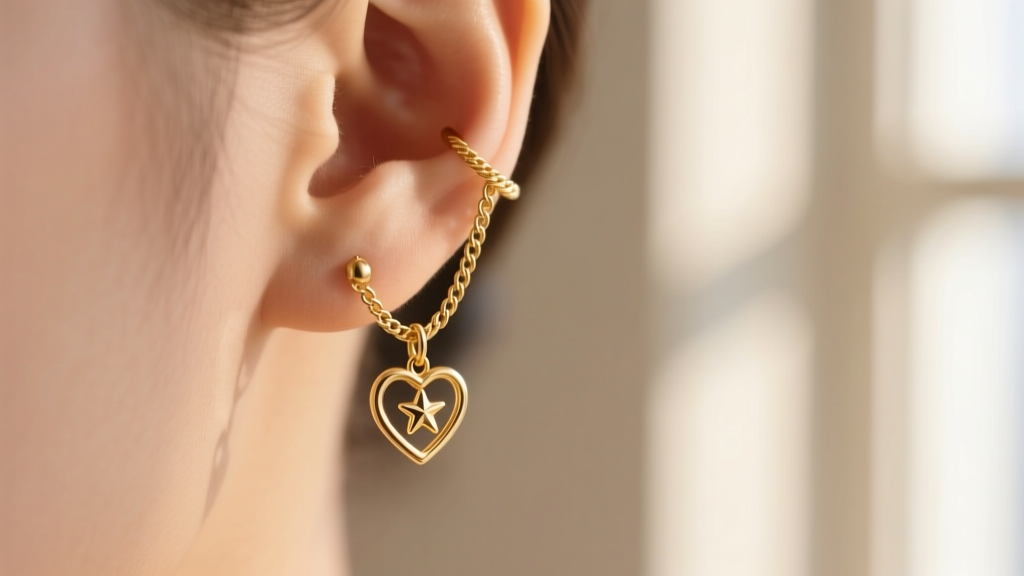
The Evolution of Chain Heart Earrings in 2026
Chain heart earrings have evolved far beyond simple lobe drops. Today, they represent a sophisticated intersection of anatomical styling and modular jewelry design. Whether you are connecting a lobe stud to a helix hoop or creating a cascading double-lobe drape, mastering the mechanics of chain earrings requires precision. This step-by-step guide will walk you through mapping your ear anatomy, measuring exact chain lengths, and securing your jewelry to prevent loss and hair snagging.
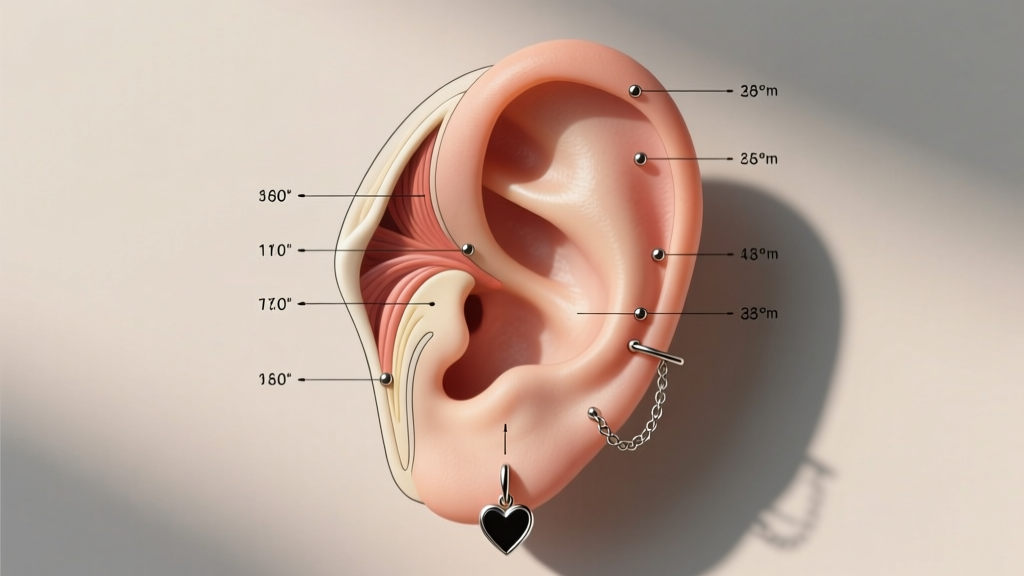
Step 1: Mapping Your Ear Anatomy and Piercing Gauges
Before purchasing or assembling chain heart earrings, you must understand the gauge (thickness) of your existing piercings. The most common failure point in multi-piercing chain setups is a mismatch between the jewelry post and the chain's connecting jump rings.
- Standard Lobe Piercings: Typically 20G (0.8mm) or 18G (1.0mm).
- Helix and Cartilage Piercings: Usually 16G (1.2mm) or 14G (1.6mm).
If you are connecting a 16G helix hoop to a 20G lobe stud, the chain must accommodate the thickest gauge. According to the Association of Professional Piercers, using jewelry that is too thin for a specific piercing gauge can cause the 'cheese-cutter effect,' where the thin metal migrates through the tissue. For fresh or sensitive piercings, always opt for implant-grade titanium (ASTM F136) for the base studs and hoops, while the decorative chain and heart charms can be crafted from 14k or 18k solid gold.
Step 2: Measuring the Perfect Chain Drop Length
Guessing the chain length is the fastest way to end up with an uncomfortable, pulling earring. Ear cartilage shifts when you smile, chew, or sleep. To measure the exact distance between two piercings for a connected chain earring, use a digital caliper or a flexible sewing tape measure.
- Measure the direct point-to-point distance between the center of your lobe piercing and your helix piercing while your face is relaxed.
- Add 15% to 20% slack to this measurement to allow for natural ear movement and skin elasticity.
- Factor in the size of the heart charm. A 6mm heart charm will add visual weight, requiring a slightly thicker chain to prevent drooping.
Chain Length and Thickness Reference Chart
| Piercing Combo | Average Distance | Recommended Chain Length | Ideal Chain Thickness |
|---|---|---|---|
| Standard Lobe to Lower Helix | 22mm - 28mm | 30mm - 35mm | 0.9mm - 1.1mm Cable |
| Upper Lobe to Mid Helix | 15mm - 20mm | 20mm - 25mm | 0.8mm Cable or Box |
| Double Lobe Cascade | 10mm - 14mm | 15mm - 18mm | 1.2mm Curb Chain |
Step 3: Securing the Heart Charms and Chain Links
The structural integrity of chain heart earrings relies entirely on the jump rings used to connect the components. A standard unsoldered jump ring has a tiny slit where the wire ends meet. When caught on a sweater or tangled in long hair, this slit can pull open, resulting in the loss of your heart charm or the entire chain.
The Soldered vs. Unsoldered Rule
For the chain itself, always use soldered jump rings or a continuous cable chain where the links are fused shut with a laser or torch. The only place an unsoldered jump ring should be used is at the very end of the chain, where the heart charm attaches. This allows you to swap out charms (e.g., changing a gold heart for a pearl or gemstone heart) without needing a jeweler's torch.
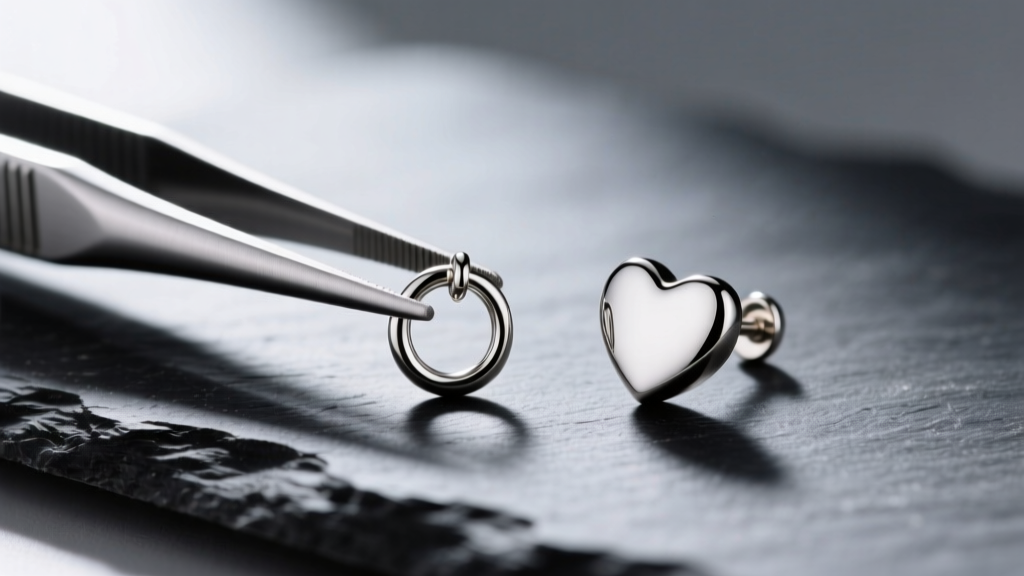
When attaching the heart charm, ensure the jump ring is closed flush. Use two pairs of flat-nose jewelry pliers to twist the ring closed laterally—never pull the ends apart outward, as this weakens the metal's temper and creates an oval shape that will easily snag.
Step 4: Styling Frameworks for Multi-Piercing Setups
Once your measurements and hardware are secured, it is time to style. In 2026, the trend has moved away from overly delicate, barely-there chains toward slightly more substantial, architectural drapes that highlight the ear's natural curves.
The Helix-to-Lobe Drape
This is the most iconic chain heart earring style. Use a 16G titanium flat-back labret in the helix with a small, integrated loop. Connect a 1.0mm 14k gold cable chain down to an 18G lobe hoop. Suspend a 5mm solid gold heart charm exactly at the midpoint of the chain. This creates a beautiful 'V' shape that frames the side of the face.
The Ear Cuff Hybrid
If you do not have a helix piercing, you can achieve a similar look using a tension ear cuff. However, ear cuffs are prone to slipping. To secure a chain to an ear cuff, choose a cuff with a silicone grip lining or a screw-back mechanism. Connect the chain to a secure lobe stud, ensuring the chain is taut enough to hold the cuff in place but loose enough to avoid bending the cuff's metal.
The Double-Lobe Cascade
For a more subtle, everyday look, connect your first and second lobe piercings with a short, 15mm chain. Instead of a dangling drop, use a heart charm that sits flush against the chain links. This creates a 'charm bracelet' effect across the earlobe that is highly resistant to snagging on masks, scarves, or hair.
Maintenance, Cleaning, and Tangle Prevention
Chain earrings are notorious for tangling in storage and accumulating sebum and skin cells in the tiny links. Proper maintenance is crucial for longevity and hygiene.
- Storage: Never throw chain heart earrings loosely into a jewelry box. Store them flat in a dedicated pill organizer or a velvet-lined travel case. Fasten any lobster clasps to prevent the chain from weaving through itself.
- Cleaning: For solid gold and titanium chains without soft gemstones, an ultrasonic jewelry cleaner used for 3 minutes will easily dislodge debris from the chain links. However, the Gemological Institute of America warns against using ultrasonic cleaners on porous stones. If your heart charm features an opal, pearl, or emerald, clean it manually with a soft baby toothbrush, warm water, and a drop of mild dish soap.
- Tarnish Prevention: If you opt for sterling silver chain heart earrings, be aware that silver oxidizes quickly when exposed to the sulfur in sweat and hair products. Store silver chains with anti-tarnish silica strips and polish them weekly with a treated jeweler's cloth.
Troubleshooting Common Chain Earring Failures
Even with careful planning, you may encounter issues. Here is how to troubleshoot the most common problems:
Problem: The chain keeps twisting and kinking.
Solution: You are likely using a box chain or a snake chain, which have rigid geometric links that easily kink. Switch to a classic oval cable chain or a rounded curb chain, which naturally drape and resist twisting.
Problem: The heart charm keeps flipping upside down.
Solution: The jump ring connecting the charm is too large, allowing the charm to rotate freely. Replace the 4mm jump ring with a tighter 2.5mm or 3mm jump ring, or use a soldered 'O' ring that restricts the charm's rotation to a single axis.
Problem: The earring feels heavy and pulls on the lobe.
Solution: The heart charm is too dense. Hollow-cast heart charms or bezel-set gemstone hearts (like a lightweight quartz or beryl) provide the same visual volume at a fraction of the weight, relieving stress on the lobe piercing.
By treating your chain heart earrings as a modular, anatomical system rather than a simple accessory, you can achieve a flawless, secure, and highly personalized look that withstands the rigors of daily wear.


