How to Style and Secure Circle Stud Earrings Perfectly
Learn how to choose, style, and securely fasten circle stud earrings. Expert guide on gauge sizes, post lengths, and ear stacking techniques.

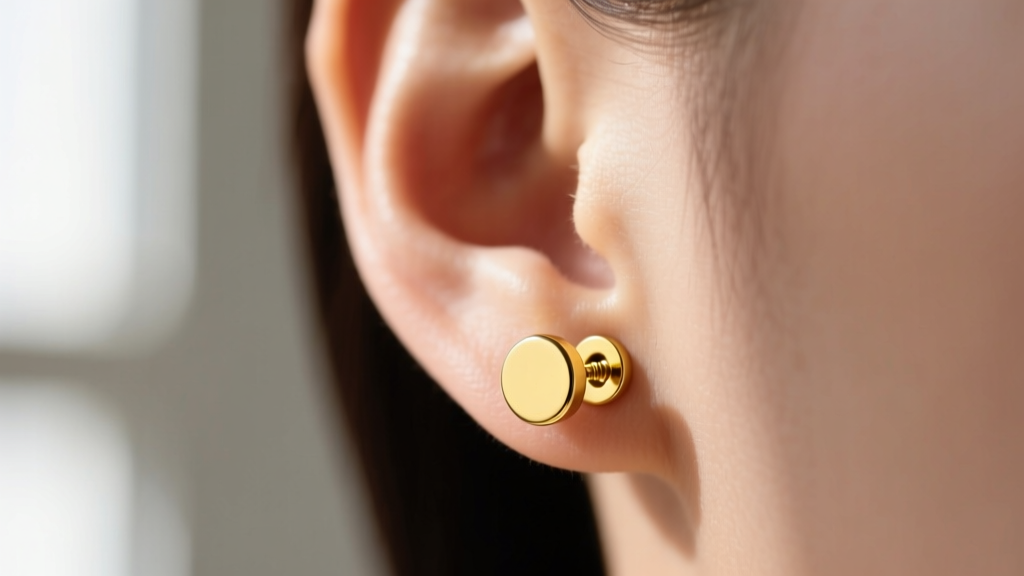
Circle stud earrings are a cornerstone of fine jewelry, offering a seamless blend of minimalist elegance and everyday versatility. Whether you are building a curated ear stack or selecting a singular, high-impact piece for your primary lobe piercing, the geometric perfection of a circle stud provides a timeless aesthetic. However, the difference between a comfortable, secure earring and one that droops, irritates, or gets lost lies entirely in the technical details of its anatomy and how you fasten it.
In this comprehensive guide, we break down the exact specifications, step-by-step securing methods, and maintenance protocols required to get the most out of your circle stud earrings. From understanding gauge thickness to mastering the art of the ear stack, this guide provides actionable, expert-level insights for jewelry enthusiasts and piercing professionals alike.
Understanding Circle Stud Anatomy and Sizing
Before purchasing or styling circle studs, you must understand the three critical dimensions that dictate fit and comfort: diameter, gauge, and post length. The diameter refers to the width of the circle face, typically ranging from a delicate 3mm to a bold 12mm. The gauge is the thickness of the post that passes through your piercing, while the post length determines how much metal sits behind your ear.
Selecting the wrong post length is the most common reason circle studs droop forward. If the post is too long for your tissue thickness, the backing sits too far back, causing the front circle to tilt downward. Conversely, a post that is too short will pinch the tissue, leading to swelling and discomfort.
| Piercing Location | Recommended Gauge | Ideal Post Length | Best Backing Type |
|---|---|---|---|
| Standard Lobe | 20g (0.81mm) or 18g (1.02mm) | 6mm - 8mm | Friction or Screw Back |
| Thick Lobe | 18g (1.02mm) | 8mm - 10mm | Screw Back or Silicone Disc |
| Helix / Cartilage | 16g (1.29mm) or 18g (1.02mm) | 5mm - 6mm | Flat Back (Labret) |
| Tragus | 18g (1.02mm) or 16g (1.29mm) | 5mm - 6mm | Flat Back (Labret) |
Step-by-Step Guide to Securing Your Circle Studs
Properly fastening your earrings ensures they sit flush against the ear and prevents accidental loss. The method varies slightly depending on the backing mechanism your circle studs utilize.
Step 1: Prep and Alignment
Always wash your hands thoroughly before handling your jewelry. Hold the circle stud by its front face between your thumb and index finger. Gently guide the post through the piercing channel from the front. Never force the post; if you encounter resistance, the piercing may have shrunk or the angle may be misaligned. For cartilage piercings, using a flat-back labret style is vastly superior to standard posts, as the flat disc prevents the earring from sinking into the tissue during sleep.
Step 2: Threading and Fastening
For screw-back circle studs, slide the backing onto the post and turn it clockwise. The critical mistake most people make is allowing the front circle to spin while they twist the back. To prevent this, press the front circle flush against your earlobe with your thumb to hold it stationary while your other hand twists the backing until it is snug. Do not overtighten, as this can strip the microscopic threads.
For friction (butterfly) backs, push the backing onto the post until you feel it click into the second or third groove. Ensure the backing is not pressing tightly into the skin; you should be able to slide a piece of paper between the backing and your earlobe to allow for proper airflow and lymphatic drainage.
How to Curate an Ear Stack with Circle Studs
Circle studs are the ultimate anchor pieces for a curated ear stack. Their uniform shape provides a cohesive visual thread that ties together more complex jewelry, such as ornate cuffs or gemstone drops. When building a stack, follow the principle of descending scale.
- Lobe 1 (Primary): Use a medium-to-large circle stud (8mm - 10mm) in a high-shine metal like 18k yellow gold. This serves as the focal point of your ear stack.
- Lobe 2 (Secondary): Step down to a 5mm or 6mm circle stud. If your primary stud is plain metal, consider a pave diamond or mother-of-pearl inlay circle stud for the second hole to add texture.
- Lobe 3 (Tertiary): Opt for a micro 3mm or 4mm circle stud. This delicate size sits perfectly near the edge of the lobe without overcrowding the cartilage.
- Helix / Flat: Transition to an internally threaded, flat-back circle stud in 16g. The flat back ensures the jewelry does not catch on hair or clothing, which is a common issue with traditional butterfly backs in upper-ear piercings.
Troubleshooting Common Circle Stud Issues
Even high-quality jewelry can present physical challenges based on individual anatomy. Here is how to solve the most frequent issues reported by jewelry wearers.
The Drooping Front: If your circle stud constantly tilts forward, your post is too long for your lobe thickness, or the backing is too lightweight to counterbalance the front face. The Fix: Downsize to a shorter post (e.g., moving from 8mm to 6mm) or swap the standard metal backing for a wider, heavier silicone O-ring or disc backing to provide rear counterweight.
Spinning Posts: If the post spins freely inside the piercing, making it impossible to thread a screw-back, the piercing channel is likely stretched or the gauge is too thin. The Fix: Upgrade from a 20-gauge post to an 18-gauge or 16-gauge post. The thicker metal will fill the channel, providing the friction needed to hold the front steady while you secure the back.
Skin Discoloration: A green or dark shadow behind the earlobe indicates a reaction to copper or nickel alloys in the metal. According to the Gemological Institute of America, lower-karat gold alloys often contain reactive base metals. The Fix: Switch exclusively to 14k or 18k nickel-free gold, platinum, or ASTM F-136 implant-grade titanium.
Daily Maintenance and Deep Cleaning Protocol
Because circle studs sit flush against the skin, they are prone to trapping sebum, dead skin cells, and hair products directly behind the circle face. Establishing a rigorous cleaning protocol is essential for maintaining both the brilliance of the metal and the health of your piercing.
The Association of Professional Piercers recommends using a sterile saline solution for daily upkeep. For a deep clean, follow this protocol:
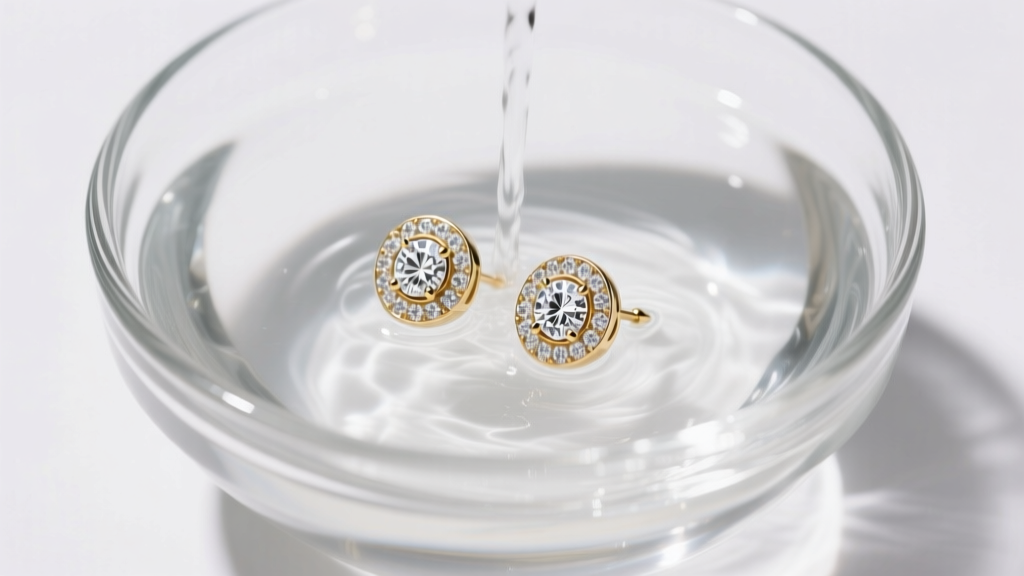
- Remove the earrings and place them in a small glass bowl.
- Submerge the jewelry in warm water mixed with a few drops of mild, fragrance-free liquid soap.
- Allow them to soak for five to ten minutes to loosen built-up debris.
- Use an extra-soft baby toothbrush to gently scrub the post, the threading, and the back of the circle face.
- Rinse thoroughly under distilled water to prevent hard water spots on the metal.
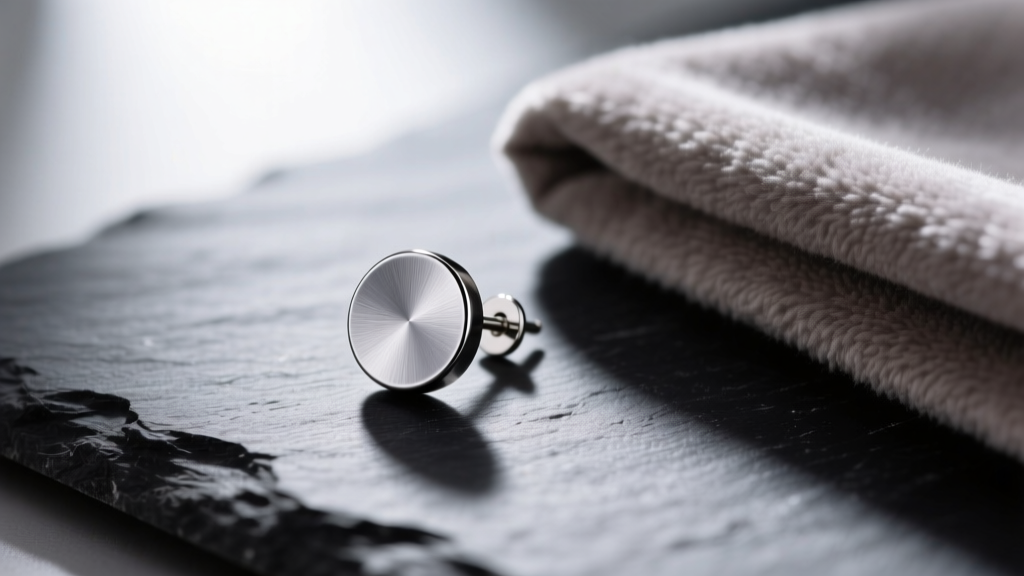
- Pat dry with a lint-free microfiber cloth before reinserting.
What to Avoid
Never use rubbing alcohol, bleach, or harsh chemical jewelry dips on your circle studs. While these chemicals might remove tarnish from base metals, they will aggressively strip the rhodium plating off white gold and can cause microscopic pitting in natural gemstones or pearls. Furthermore, avoid using ultrasonic cleaners on any circle studs that feature tension-set stones or fracture-filled diamonds, as the high-frequency vibrations can loosen the settings and cause stone loss.
Final Thoughts on Building Your Collection
Mastering the use of circle stud earrings requires looking past the surface aesthetic and paying close attention to the structural engineering of the jewelry. By selecting the correct gauge, matching the post length to your specific tissue depth, and utilizing the proper fastening techniques, you transform a simple accessory into a comfortable, secure, and lifelong staple. Whether you are anchoring a complex cartilage stack or wearing a solitary 18k gold circle on your primary lobe, precision in your choices guarantees effortless style and optimal piercing health.


