How to Style Unique Earring Designs in an Asymmetrical Ear Stack
Learn how to style unique earring designs in an asymmetrical ear stack. Discover gauge rules, metal pairings, and expert curation steps.

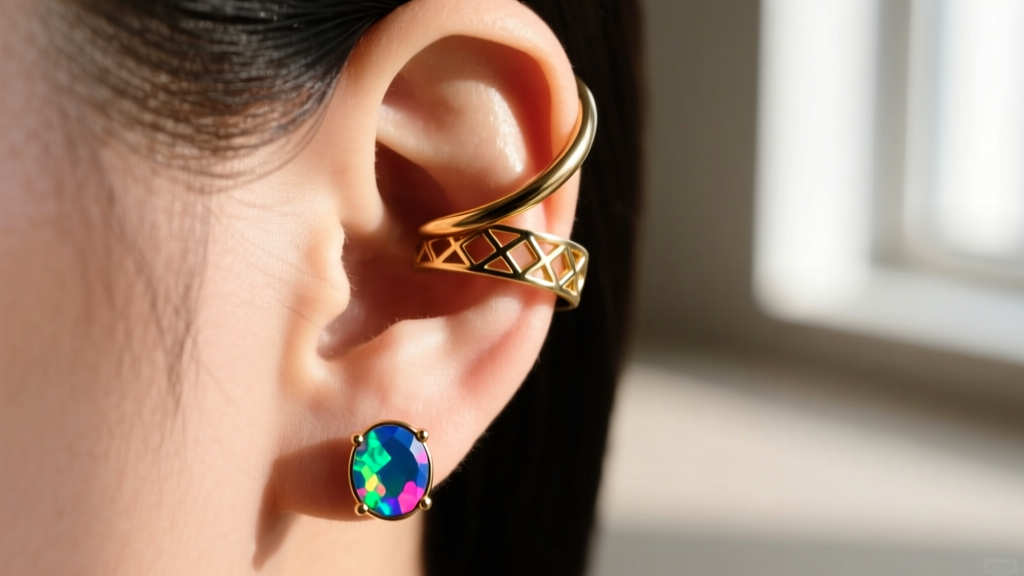
The Anatomy of an Asymmetrical Ear Stack
Curating an ear constellation is no longer just about collecting random piercings; it is a deliberate exercise in spatial awareness, material science, and personal expression. When integrating unique earring designs into an asymmetrical stack, the goal is to create a cohesive visual flow that balances heavy focal points with delicate accents. Unlike symmetrical setups, where matching pairs do the heavy lifting, an asymmetrical curation requires you to treat each ear as an independent canvas that still speaks to the other. This guide breaks down the exact methodology professional piercers and jewelry stylists use to map, select, and style high-end, unconventional ear jewelry without compromising comfort or tissue health.
Step 1: Mapping Your Piercings and Gauge Constraints
Before purchasing any avant-garde jewelry, you must understand the structural limitations of your existing piercings. The most common styling failure occurs when a collector buys a stunning 14k gold piece only to realize the post gauge is incompatible with their fistula.
- Standard Lobes: Typically pierced at 20g or 18g. Many unique earring designs for lobes, especially heavy dangles or ear cuffs that wrap around the helix, require a sturdy 18g post to prevent the "cheese-cutter effect" (where thin wire slowly migrates through the tissue).
- Cartilage (Helix, Conch, Flat): Usually pierced at 16g or 14g. According to the Association of Professional Piercers, cartilage jewelry should ideally be internally threaded or threadless to avoid tissue trauma during insertion.
- Inner Ear (Rook, Daith, Tragus): Often 16g. These areas require specialized hardware like curved barbells or snug clickers. Unique earring designs here must account for the tight anatomical folds to avoid snagging on hair or headphones.
Pro Tip: If you want to wear a specific 16g threadless end in an 18g lobe piercing, you can use a 16g-to-18g silicone or titanium step-down O-ring, though having a professional piercer stretch the lobe safely is the superior long-term solution.
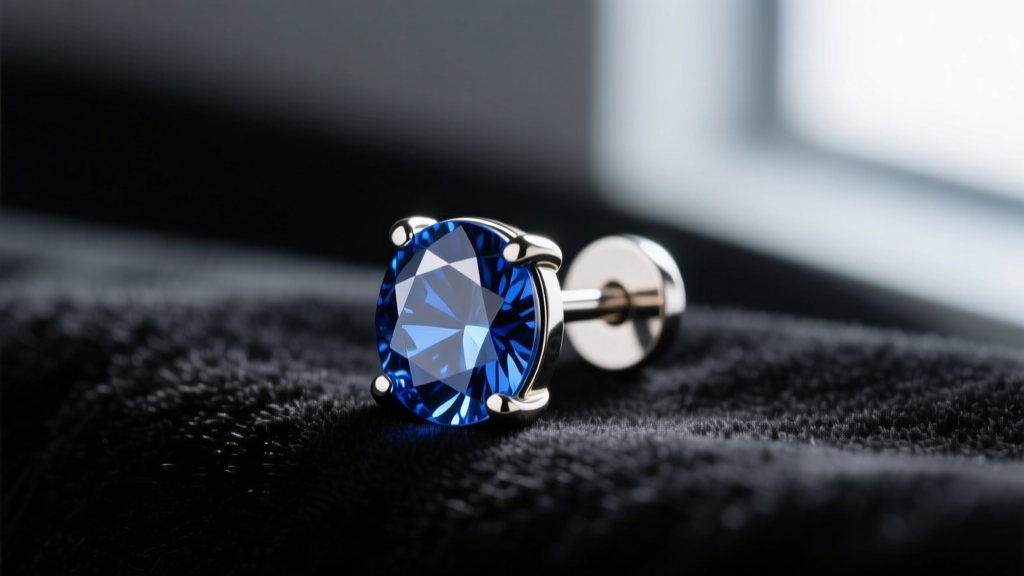
Step 2: Selecting Unique Earring Designs by Zone
To build a balanced stack, divide your ear into three distinct zones. Each zone serves a specific visual purpose, and the jewelry selected must respect the anatomy of that area.
The Lobe Anchor (Visual Weight: High)
The lobe is the foundation of your stack. This is where you place your largest, heaviest piece. If you are incorporating unique earring designs, consider an oversized geometric stud, a heavy textured huggie, or a sculptural drop. Because the lobe tissue is soft and pliable, it can support pieces weighing up to 8-10 grams, provided you use a flat-back labret post with a secure threadless pin or a thick butterfly back to distribute the weight.
The Helix and Conch Focal Points (Visual Weight: Medium)
The outer and inner upper ear act as the secondary focal points. For the conch, a large bezel-set gemstone or a delicate chain connecting to a forward helix creates a striking look. For the helix, seamless hoops or hinged segment rings with intricate milgrain detailing add texture. When styling unique earring designs in the helix, ensure the inner diameter (ID) is perfectly matched to your ear's curvature—typically 8mm to 10mm for a snug fit, or 12mm for a relaxed drape.
The Tragus and Rook Accents (Visual Weight: Low)
These inner-ear placements are small, shadowy, and prone to snagging. The best unique earring designs for these zones are minimalist but high-impact. Think tiny bezel-set diamonds, opals, or micro-spikes. Avoid prong-set stones in the tragus, as the prongs will catch on towels and hair, potentially loosening the gemstone and irritating the piercing channel.
Step 3: Balancing Metals, Textures, and Gemstones
Asymmetry thrives on contrast, but it requires a unifying element to prevent the ear from looking chaotic. The most reliable unifying element is your metal tone. While mixing metals is a growing trend, it must be done intentionally. Pairing high-polish 14k yellow gold with matte-brushed titanium creates a sophisticated, modern contrast. Below is a decision matrix for pairing textures and materials when styling unique earring designs.
| Base Metal | Best Texture Pairing | Ideal Gemstone Accent | Visual Effect |
|---|---|---|---|
| 14k Yellow Gold | Hammered or Matte Brushed | Raw Diamonds, Moonstone | Warm, organic, and vintage-inspired |
| 18k White Gold | High Polish, Milgrain | Sapphires, Emeralds | Crisp, luxurious, and high-contrast |
| ASTM F-136 Titanium | Anodized (Teal/Purple) | Opals, Lab-Created Rubies | Edgy, futuristic, and hypoallergenic |
| Niobium | Smooth Black (Anodized) | Onyx, Black Spinels | Moody, subtle, and lightweight |
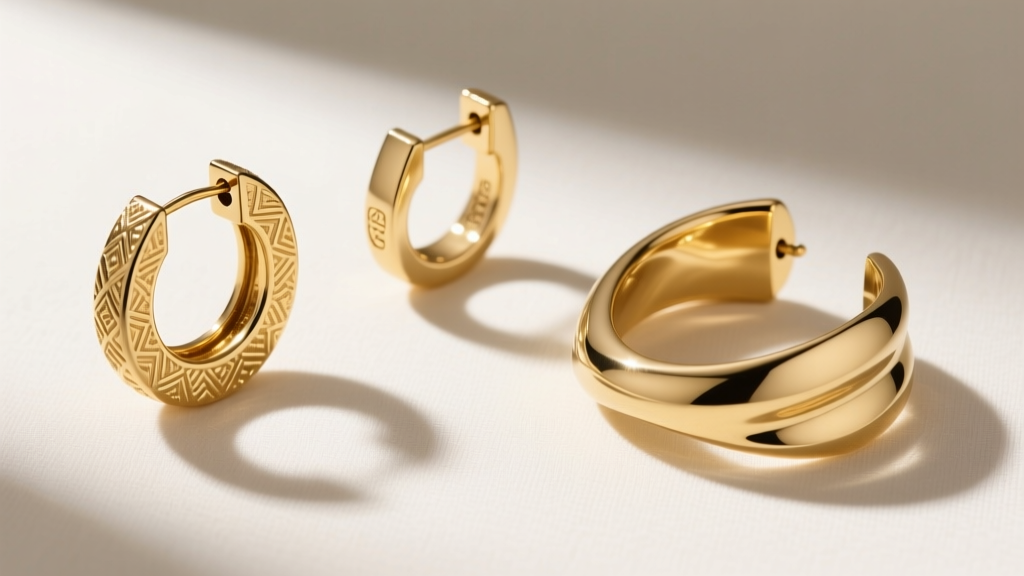
Step 4: Sourcing Authentic Unique Earring Designs
The market is flooded with mass-produced jewelry marketed as "unique." To find genuinely distinct pieces, you must look to specialized body jewelry manufacturers and independent goldsmiths. Brands like BVLA, Anatometal, and Maria Tash offer threadless ends and clickers that feature intricate, high-end gemstone settings rarely found in standard retail stores. For truly one-of-a-kind pieces, commissioning a custom jeweler is the ultimate route.
When evaluating a jeweler for custom unique earring designs, demand proof of material quality. For gold, look for the 585 (14k) or 750 (18k) hallmark. For titanium, the jeweler must specify ASTM F-136 implant-grade, not just "surgical steel," which often contains nickel and can cause contact dermatitis. The Gemological Institute of America (GIA) provides excellent resources on understanding gemstone treatments; ensure your jeweler discloses if stones are fracture-filled or heat-treated, as this affects both value and durability in a cartilage piercing.
Expert Commissioning Tip: When briefing a jeweler for a custom ear chain or connector, provide them with a 1:1 scale photograph of your ear with the exact millimeter measurements between your piercings. A chain that is even 2mm too short will pull on the fistulas, causing migration and rejection.
Troubleshooting Common Styling Failures
Even the most beautiful unique earring designs can fail if practical wearability is ignored. Here is how to troubleshoot the most common issues in an asymmetrical stack:
- The Helix Hoop Flip: If your helix hoop constantly flips upside down, the inner diameter is too large, or the post is too long. Switch to a smaller ID hoop or have a piercer downsize the post to eliminate the gap that allows the jewelry to rotate.
- Ear Cuff Slippage: Non-pierced ear cuffs look great for a night out but are notorious for falling off and getting lost in your hair. For a permanent "cuff" look, opt for a hinged helix hoop or a captive bead ring that mimics the cuff aesthetic without the risk of loss.
- Snagging on Prongs: If your conch or helix stud constantly catches on your hair, the prongs holding the gemstone are likely too high. Take the piece to a jeweler to have the prongs filed down and polished, or switch to a bezel-set design where the metal completely encircles the stone.
- Sleeping Discomfort: Asymmetrical stacks often mean one ear is heavily decorated. If you sleep on your decorated side, you risk embedding the jewelry into your skin or bending the posts. Invest in a travel neck pillow and sleep with your ear in the center hole to relieve all pressure on the cartilage.
Final Thoughts on Ear Curation
Styling unique earring designs in an asymmetrical stack is a marathon, not a sprint. It requires patience, especially if you are waiting for new cartilage piercings to fully heal (which can take 9 to 12 months). By respecting your anatomical gauge constraints, balancing visual weight across the ear's three zones, and investing in high-quality, implant-grade materials, you can build a curated ear that is not only visually breathtaking but also comfortable and healthy for a lifetime of wear.


