Troubleshooting Clear Earring Backs: Slipping, Yellowing & Infection
Fix slipping, yellowing, and irritation caused by clear earring backs. Expert troubleshooting guide for silicone and plastic earring stoppers.

Clear earring backs are the unsung heroes of the jewelry box. They are cheap, accessible, and designed to keep your favorite studs secure. However, anyone who wears earrings daily knows the frustration of a slipped back, a yellowed piece of plastic, or an irritated earlobe. As we move through 2026, the jewelry industry has seen a massive shift toward hypoallergenic metals and high-grade polymers, yet the standard clear friction back remains a ubiquitous—and often problematic—accessory.
Whether you are dealing with a back that refuses to stay on, a stopper that has fused to your ear post, or recurring contact dermatitis, this comprehensive troubleshooting guide will help you diagnose the failure points of clear earring backs and provide actionable, expert-level solutions.
The Hidden Problems with Clear Earring Backs
Most clear earring backs are manufactured from either Polyvinyl Chloride (PVC) or standard silicone. While they serve a basic functional purpose, their design inherently creates three major failure modes:
- Friction Loss: The microscopic ridges inside the plastic tube wear down over time, leading to slipping.
- Material Degradation: Exposure to UV light, skin oils, and cosmetics causes the polymers to oxidize, turn yellow, and become brittle.
- Bacterial Trapping: The tight space between the earring post and the plastic back creates an anaerobic environment where sebum, dead skin cells, and bacteria thrive, often leading to localized infections or 'ear cheese' (the distinct odor associated with unworn jewelry).
Why Do Clear Earring Backs Turn Yellow and Brittle?
If you have ever reached for a pair of clear backs only to find them stiff, brownish-yellow, and prone to cracking, you are witnessing polymer degradation. This is not a sign of poor hygiene; it is a chemical reaction.
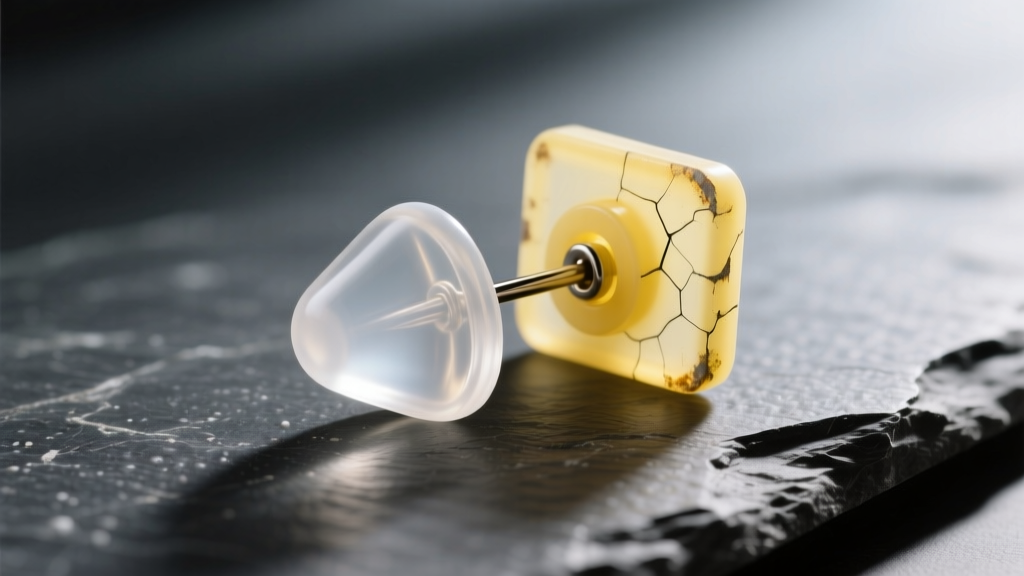
Cheap clear backs are typically made from PVC. PVC requires plasticizers to remain flexible. Over time, these plasticizers leach out, especially when exposed to the natural acids and lipids in human sebum. Furthermore, UV radiation from sunlight breaks down the polymer chains. According to material science principles regarding contact dermatitis and material degradation, degraded PVC can also release trace chemicals that trigger allergic contact dermatitis in sensitive earlobes.
Expert Tip: If your clear backs have turned yellow, do not attempt to clean them with rubbing alcohol or bleach. The chemical solvents will accelerate the breakdown of the remaining plasticizers, making the back brittle enough to shatter while on the ear post. Discard them immediately.
Troubleshooting Slipping and Falling Earrings
There is nothing more frustrating than losing a diamond stud because the clear back slid off. Slipping is almost always a gauge-mismatch issue. Standard clear backs are molded with a fixed inner diameter, usually around 0.85mm to 0.90mm. If your earring post is thinner, or if the plastic has stretched, friction is lost.
| Post Gauge | Post Diameter (mm) | Standard Clear Back Hole | Friction Result |
|---|---|---|---|
| 22 Gauge | 0.64mm | 0.85mm | Poor (High slip risk) |
| 20 Gauge | 0.81mm | 0.85mm | Good (Initial fit) |
| 18 Gauge | 1.02mm | 0.85mm | Tight (Stretches plastic) |
| 16 Gauge | 1.29mm | 0.85mm | Will not fit / Tears back |
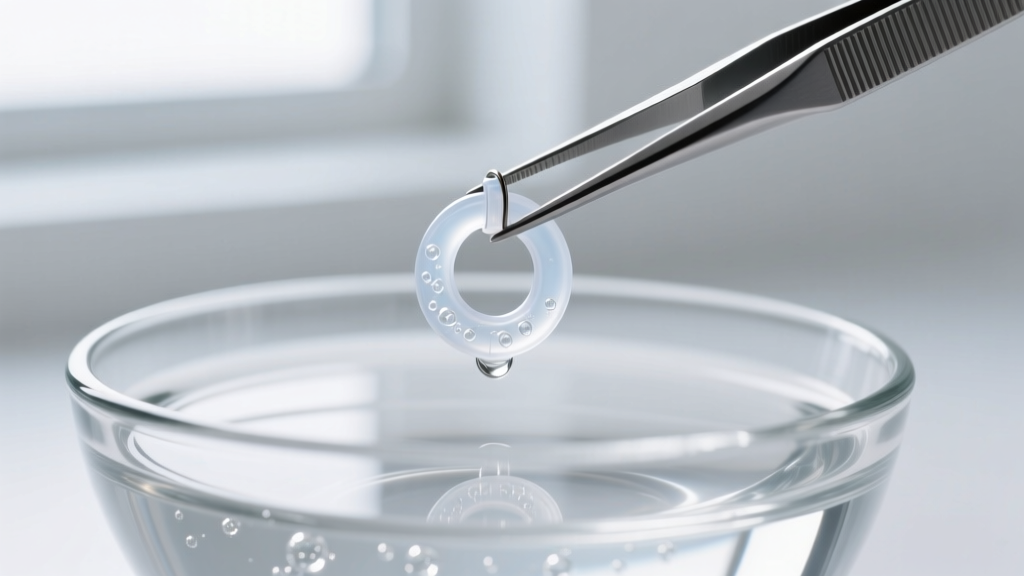
The Fix: If you are wearing 20-gauge or 22-gauge earrings and experiencing slipping, switch to silicone O-rings instead of traditional bullet-shaped friction backs. Silicone O-rings (often used in body piercing) stretch to grip the post and snap back to their original shape, maintaining tension far longer than rigid PVC tubes. A pack of medical-grade silicone O-rings typically costs between $5 and $8 for 50 pieces, making them a highly cost-effective upgrade.
Solving the 'Stuck Back' Emergency
When a clear back gets pushed on too tightly, or when sebum acts as a glue inside the plastic tube, removing it can feel like a surgical procedure. Yanking on the earring post will tear the delicate fistula (the piercing hole) and cause bleeding.
Step-by-Step Safe Removal Protocol
- Soften the Debris: Soak a cotton pad in sterile saline wound wash (0.9% NaCl) and hold it against the back of the earlobe for 3 to 5 minutes. This softens oxidized sebum and dead skin trapped inside the plastic tube.
- Apply Warmth: The warmth from the saline will also slightly expand the plastic and soften any hardened oils.
- Use the Right Tools: Do not use your fingernails. Use a pair of clean, smooth-tipped stainless steel tweezers.
- The Twist-and-Pull Method: Grip the clear back firmly with the tweezers. Hold the earring stud steady with your other hand. Gently twist the back back-and-forth (like unscrewing a bottle cap) while applying mild outward pressure. The twisting motion breaks the vacuum seal created by trapped oils.
Infection Control: Cleaning vs. Replacing
Many people attempt to sanitize their clear earring backs by boiling them or soaking them in harsh chemicals. This is a critical mistake. Boiling PVC or low-grade silicone will warp the microscopic inner ridges, ruining the friction fit. Furthermore, harsh chemicals like hydrogen peroxide create micro-fissures in the plastic where Staphylococcus aureus and Pseudomonas bacteria can hide, completely out of reach of surface cleaning.
The Association of Professional Piercers (APP) strongly advises against reusing porous or degraded plastics in healing or irritated piercings. Because clear friction backs are incredibly inexpensive (often less than $3 for a pack of 100), they should be treated as single-use or short-term disposable items. Replace your clear backs every 3 to 4 months, or immediately if you notice any cloudiness, stiffness, or odor.
Superior Alternatives to Standard Clear Backs
If you are tired of troubleshooting slipping, yellowing, and stuck backs, it is time to upgrade your earring hardware. The jewelry industry has developed far superior mechanisms that eliminate the need for clear plastic entirely.
1. Threadless (Push-Pin) Flat-Back Labrets
Originally designed for cartilage piercings, threadless jewelry is now the gold standard for standard lobe piercings. The decorative front features a slightly bent pin that pushes into a hollow titanium back. The tension of the bent metal against the inside of the tube holds the jewelry securely. They never slip, they are made of implant-grade titanium (ASTM F-136), and they cost between $15 and $40 per set.
2. Internally Threaded Screw-On Backs
For those who prefer traditional studs, internally threaded backs screw onto the post. Because the threading is machined into the metal, there is zero friction loss over time. They are slightly more expensive ($10-$20) but offer a lifetime of secure wear without the risk of plastic degradation.
3. Silicone Ear Nuts with Metal Cores
If you must use a friction back due to the design of your earring post, look for silicone backs that feature a stainless steel or titanium inner sleeve. The metal sleeve grips the earring post, while the outer silicone provides comfort against the neck and prevents the earring from drooping. These typically retail for $8 to $12 for a small pack and solve the drooping issue common with heavy gemstone studs.
Expert Verdict
Clear earring backs are a convenient, low-cost solution for temporary wear, but they are fundamentally flawed for long-term, daily use. The inevitable yellowing, friction loss, and bacterial trapping make them a liability for both your jewelry security and your ear health. By understanding the material limitations of PVC and silicone, you can troubleshoot existing issues safely. However, the ultimate solution is to transition your fine jewelry to threadless, internally threaded, or metal-core alternatives, ensuring your earrings remain secure, hygienic, and comfortable for years to come.


