Troubleshooting Penny Earrings: Fix Tarnish, Green Skin & Heavy Lobes
Learn how to troubleshoot common penny earring problems. Fix copper tarnish, prevent green skin, secure earring posts, and reduce lobe strain.

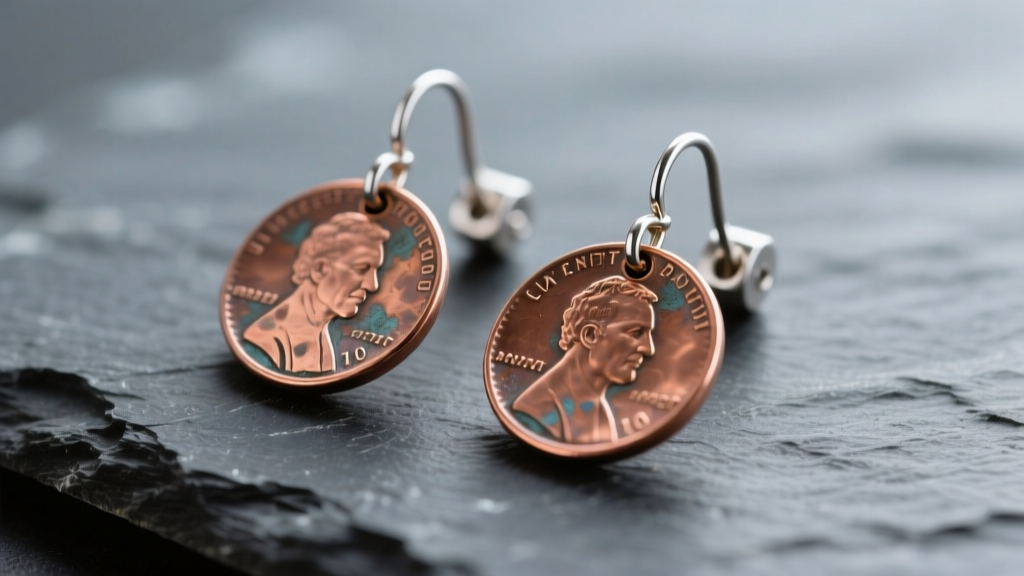
The Hidden Complexities of Upcycled Copper Jewelry
As we navigate the sustainable jewelry trends of 2026, upcycled accessories remain at the forefront of eco-conscious fashion. Among these, penny earrings hold a unique, nostalgic appeal. Whether hammered into delicate discs, cut into intricate silhouettes, or polished to a high mirror shine, repurposed Lincoln cents make for striking statement pieces. However, crafting and wearing coin jewelry introduces a specific set of metallurgical and dermatological challenges that mass-produced jewelry simply does not face.
Many DIY jewelers and boutique buyers quickly discover that working with circulating currency is not as simple as gluing a post to a coin. From rapid oxidation and the dreaded "green ear" effect to catastrophic adhesion failures and lobe strain, penny earrings require a rigorous troubleshooting approach. This comprehensive guide will dissect the most common failures associated with copper coin jewelry and provide exact, actionable protocols to solve them.
Problem 1: The Metallurgical Divide (Pre-1982 vs. Post-1982)
Before troubleshooting any physical or chemical issue with penny earrings, you must verify the mint year of your source material. The United States Mint fundamentally altered the composition of the Lincoln cent in 1982, creating two entirely different metals that behave differently in jewelry applications.
- Pre-1982 Pennies: Composed of 95% copper and 5% zinc. These weigh 3.11 grams. They are ideal for hammering, annealing, and soldering, as the high copper content allows for malleability and a rich, warm patina.
- Post-1982 Pennies: Composed of 97.5% zinc with a microscopic 2.5% copper plating. These weigh 2.5 grams. They are highly problematic for jewelers. If you attempt to solder a post onto a post-1982 penny, the heat will melt the zinc core, causing the coin to bubble, warp, and release toxic zinc oxide fumes.
The Fix: Always sort your coins using a digital gram scale. Reserve pre-1982 coins for soldered designs and heavy hammering. Use post-1982 coins strictly for cold-connection techniques, wire-wrapping, or adhesive-mounted lightweight studs.
Problem 2: The "Green Ear" Phenomenon and Contact Dermatitis
The most frequent complaint regarding copper penny earrings is the green or black discoloration left on the earlobe. This is frequently misdiagnosed as a metal allergy, but it is actually a predictable chemical reaction.
The Chemistry of Copper Oxidation
When bare copper reacts with the oxygen, moisture, and sodium chloride (salt) present in human sweat, it forms copper chloride and copper carbonate. These compounds are green and easily transfer to the skin. While harmless, it is cosmetically undesirable. Furthermore, if the earring posts themselves are made of cheap brass or nickel-silver alloys, the wearer may develop actual allergic contact dermatitis, a condition extensively documented by the American Academy of Dermatology.
The Troubleshooting Protocol: Barrier Sealants
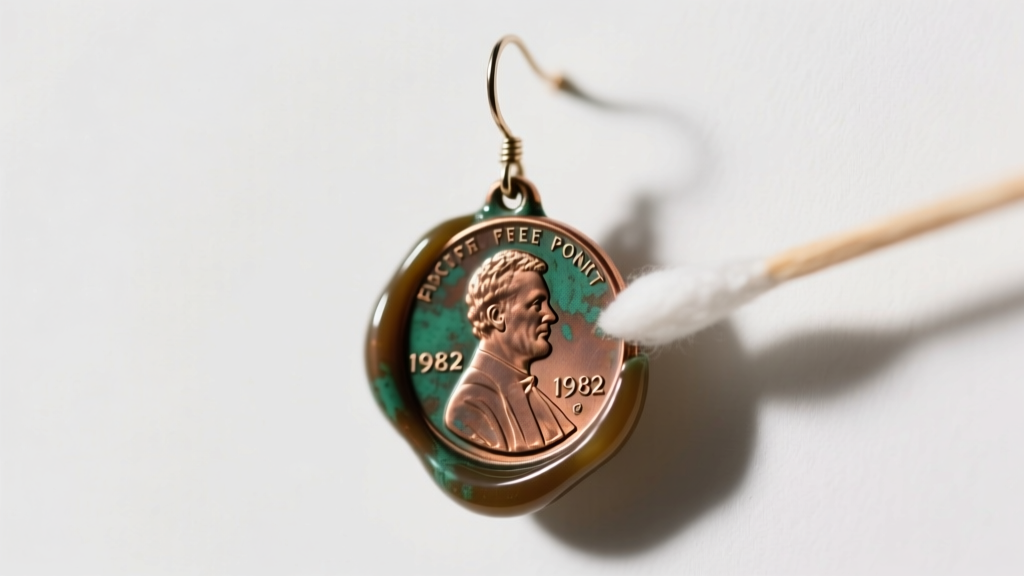
To stop the green transfer, you must create an impermeable barrier between the copper and the skin. Clear nail polish is a common DIY myth; it degrades within days when exposed to skin oils and UV light. Instead, use professional-grade sealants:
"For high-wear copper jewelry, micro-crystalline waxes or cross-linked acrylic coatings are the only reliable barriers against human sebum and environmental humidity."
- Prep the Surface: Polish the back of the penny earring to 1000-grit smoothness. Wipe thoroughly with pure acetone to remove all polishing compounds and skin oils.
- Apply ProtectaClear: This is a skin-safe, cross-linked acrylic coating specifically designed for jewelry. Apply two thin coats with a foam brush, allowing 24 hours of cure time between coats.
- Alternative (Renaissance Wax): For a more natural matte finish, apply a thin layer of Renaissance micro-crystalline wax. Buff it with a microfiber cloth. Note that wax requires reapplication every 3 to 4 weeks with regular wear.
Problem 3: Earring Posts Popping Off (Adhesion Failures)
Because pennies are relatively heavy and have a smooth, non-porous surface, standard jewelry glues often fail. The shear force of pulling a sweater over your head or sleeping in your earrings can easily snap a poorly bonded post. The secret to permanent adhesion lies in surface preparation and choosing the correct chemical binder.
Surface Preparation Workflow
Copper oxidizes rapidly, creating a microscopic layer of tarnish that prevents adhesives from bonding to the raw metal. Before applying any glue, you must score the back of the penny with 220-grit sandpaper to create a mechanical "tooth" for the adhesive to grip. Immediately after sanding, wipe the area with isopropyl alcohol (99%) and apply the adhesive within 5 minutes before flash-oxidation occurs.
Adhesive Comparison Matrix
| Adhesive / Method | Cure Time | Shear Strength | Best Application | Primary Failure Mode |
|---|---|---|---|---|
| E6000 Jewelry Glue | 24-72 Hours | Moderate | Lightweight wire-wrapped designs | Degrades and turns gummy when exposed to skin oils and acetone |
| J-B Weld ClearWeld | 5 Min / 24 Hr | High | Heavy gauge flat-pad posts | Brittle snap under sudden lateral torque or impact |
| Silver Solder (Hard) | Instant (Heat) | Maximum | Pre-1982 Copper Coins Only | Melts zinc core and destroys post-1982 coins |
Expert Tip: If you must use epoxy (like J-B Weld) on a heavy penny earring, use a post with a wide, flat, 6mm pad. Score both the pad and the coin, mix the epoxy precisely at a 1:1 ratio, and use a silicone jig to hold the post at exactly 90 degrees while it cures for a full 24 hours at room temperature (70°F/21°C).
Problem 4: Lobe Strain and the "Cheese Cutter" Effect
A standard pre-1982 penny weighs 3.11 grams. While this seems light, when multiplied by two and subjected to the kinetic energy of walking, talking, and moving, it creates significant downward drag on the earlobe. Over time, heavy penny drop earrings can cause the piercing hole to stretch, elongate, and eventually migrate downward—a painful process known in the body modification community as the "cheese cutter" effect.
Troubleshooting Heavy Lobes
If your penny earrings feature dangles or are simply too heavy for standard friction backs, you must upgrade your support hardware.
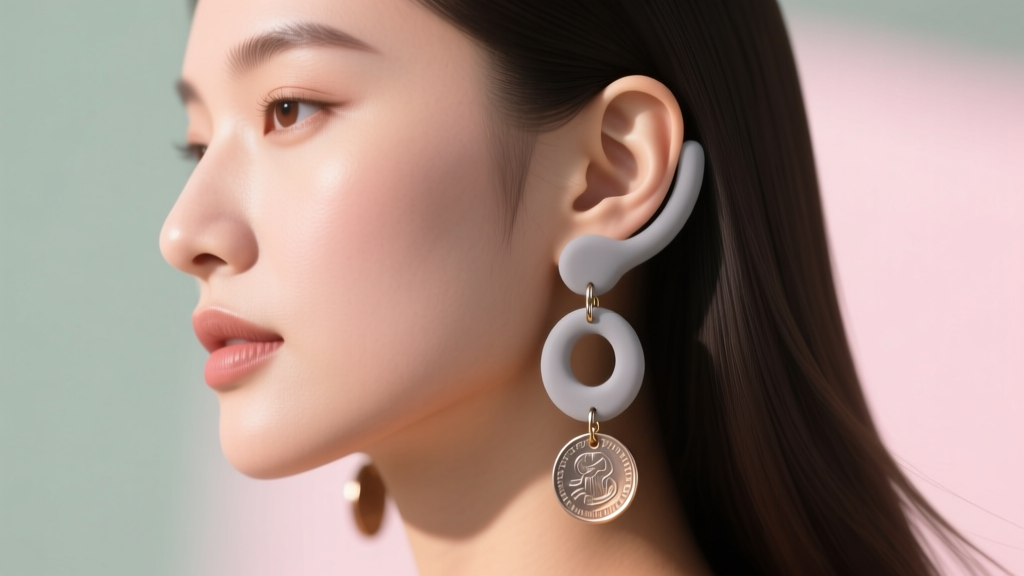
- Upgrade the Wire Gauge: Never use 20-gauge or 22-gauge wire for penny drops. The thin wire will slice through the lobe. Mandate the use of 16-gauge (1.2mm) or 14-gauge (1.6mm) surgical steel or titanium ear wires to distribute the weight across a wider surface area of the piercing fistula.
- Utilize Silicone Jumbo Backs: For stud-style penny earrings, discard the tiny metal butterfly backs. They provide insufficient surface area and dig into the neck. Replace them with 10mm to 12mm silicone jumbo earring backs or flat silicone disc stabilizers. These wide discs distribute the 3.11g weight across the entire back of the earlobe, preventing sagging.
- Employ Earlobe Support Patches: For vintage or heavily hammered oversized penny cuffs, apply invisible adhesive earlobe support patches (such as BlingDots) behind the ear before inserting the earring. The patch bears the brunt of the kinetic drag, protecting the actual piercing.
Problem 5: Uncontrolled Tarnish and Patina Loss
Copper is a highly reactive metal. Even when sealed on the back, the front face of a penny earring will react with sulfur compounds in the air, turning from a bright salmon-pink to a dull brown, and eventually to a dark, muddy black. While some artists desire this antique look, many consumers prefer the bright, shiny copper aesthetic.
Restoring and Locking in the Shine
If your penny earrings have tarnished, do not use harsh commercial brass dips, as they contain ammonia and can cause micro-pitting on the coin's surface. Instead, use a gentle, controlled reduction method:
- The Citric Acid Bath: Dissolve two tablespoons of pure citric acid powder in a cup of warm distilled water. Submerge the pennies for no more than 3 to 5 minutes. The acid strips the copper oxide layer without damaging the underlying metal.
- Neutralization: Immediately remove the coins and drop them into a baking soda and water bath to neutralize the acid. If you skip this step, residual acid will cause rapid, aggressive green spotting within hours.
- Polishing: Use a jeweler's rouge on a felt buffing wheel to bring the copper to a mirror shine.
- Sealing: Apply a UV-resistant clear coat (such as Everbrite ProtectaClear) within 10 minutes of polishing to lock out atmospheric sulfur and oxygen.
Final Thoughts on Mastering Coin Jewelry
Troubleshooting penny earrings requires a shift in mindset from simple crafting to applied metallurgy and chemistry. By respecting the differences between pre- and post-1982 compositions, utilizing professional-grade acrylic sealants to halt copper chloride formation, and engineering robust mechanical support for heavy lobes, you can transform a simple pocket change into high-end, durable, and skin-safe wearable art. The key to success in upcycled jewelry is never relying on guesswork; it is about applying precise, tested solutions to the unique properties of your materials.


