How Do I Make Earrings: Troubleshooting Heavy Drops and Allergies
Learn how do I make earrings that stay upright and won't irritate sensitive ears. Expert troubleshooting for sagging posts, jump rings, and allergies.

The Core Dilemma: Why DIY Earrings Fail in the Real World
When beginners first ask, 'how do i make earrings,' they are usually met with simplistic tutorials focusing on stringing beads or gluing cabochons to flat pads. However, as any seasoned jewelry designer will tell you, the real challenge begins after assembly. You might craft a visually stunning piece, only to find that it sags forward uncomfortably, the post bends under the weight of a gemstone, or the wearer develops contact dermatitis within hours. In 2026, the DIY jewelry market has seen a massive influx of 3D-printed resins, polymer clays, and ethically sourced heavy crystals. While visually stunning, these materials often create unexpected center-of-gravity issues and require advanced structural troubleshooting.
This guide moves past basic assembly and dives deep into the structural engineering and material science of earring making. We will troubleshoot the three most common failure points in DIY earring construction: forward-leaning posts, mechanical jump ring failures, and hidden metal allergies.
Troubleshooting Sagging and Forward-Leaning Posts
Nothing ruins the elegance of a drop earring or a heavy stud faster than a post that bends downward, causing the earring to point at the floor rather than sitting flush against the lobe. This is almost always a failure of physics and gauge selection.
The Physics of Earring Balance
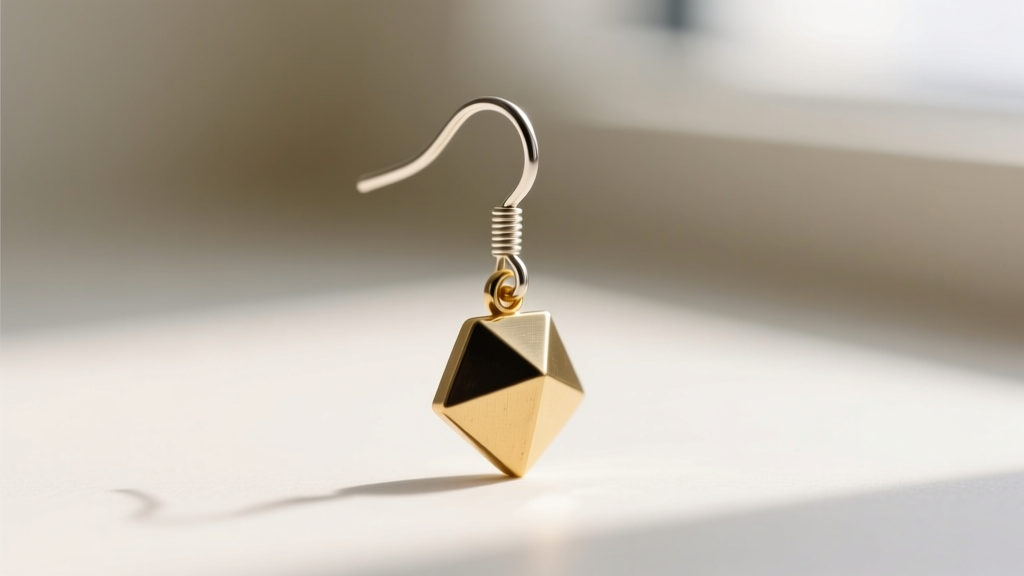
Every earring has a center of gravity. If the embellishment extends too far below the earlobe without adequate counterbalance, gravity will pull the post downward. Standard earring posts are typically 22-gauge (0.64mm). This thickness is entirely insufficient for any component weighing more than 2 grams. When you attach a 15mm polymer clay drop or a heavy glass bead, the 22-gauge wire acts as a lever, slowly bending under the kinetic energy of the wearer's movements.
Upgrading Your Post Gauges and Friction Backs
To solve the sagging issue, you must increase the tensile strength of the post and the surface area of the clutch. According to jewelry manufacturing standards outlined by Rio Grande, moving up just one or two gauge sizes drastically increases structural integrity.
- 20-Gauge (0.81mm): The ideal standard for most DIY drops and medium-weight studs. It is thick enough to resist bending but thin enough to fit through standard healed lobe piercings comfortably.
- 18-Gauge (1.02mm): Required for heavy statement pieces, large gemstone clusters, or long chandelier drops exceeding 2 inches in length. Note that some tight piercings may require a brief stretching period to accommodate 18G.
Furthermore, standard 'butterfly' friction backs have a microscopic surface area that digs into the back of the earlobe when supporting heavy earrings. Swap them out for jumbo silicone clutches or La Pousette locking backs, which distribute the weight across a wider 8mm to 10mm surface area, effectively neutralizing the forward pull.
Solving the Contact Dermatitis Problem (Metal Allergies)
One of the most devastating troubleshooting scenarios for a jewelry maker is a customer reporting an allergic reaction. The culprit is almost always nickel, and the confusion stems from misleading marketing terminology.
'The term hypoallergenic is not regulated by the FDA or FTC in the jewelry industry. It simply means the manufacturer believes it is less likely to cause an allergic reaction, not that it is entirely nickel-free or safe for compromised skin barriers.'
The 'Surgical Steel' Trap
Many DIY kits include '316L Surgical Steel' posts. While 316L is excellent for watch casings and medical tools, it contains between 8% and 10% nickel. When the skin's moisture and natural salts interact with the steel, nickel ions leach into the epidermis, triggering allergic contact dermatitis. If you are making earrings for sensitive ears, surgical steel must be entirely avoided for the post component.
Material Safety and Sourcing Chart
| Material Grade | Nickel Content | Best Use Case | Relative Cost |
|---|---|---|---|
| 316L Surgical Steel | 8-10% | Display-only or over-the-ear cuffs | $ |
| Raw Brass / Bronze | 0-2% | Plated components, vintage styles | $$ |
| Niobium | 0% | Hypoallergenic ear wires and hooks | $$$ |
| ASTM F136 Titanium | 0% | Implant-grade posts for sensitive ears | $$$$ |
To guarantee safety, source posts certified to the ASTM International F136 standard (Ti-6Al-4V ELI). This is the exact grade of titanium used in surgical bone implants. It is completely nickel-free, highly resistant to corrosion, and will not trigger contact dermatitis, making it the gold standard for professional earring makers.
Mechanical Failures: Jump Rings and Adhesive Breakdowns
Even if your earring is perfectly balanced and hypoallergenic, it will fail if the mechanical connections give way. Jump rings pulling apart and glued components snapping off are the hallmarks of amateur construction.
Wire Temper and the Lateral Pull Mistake
A jump ring is only as strong as the wire's 'temper' (hardness) and the technique used to open it. Wire is sold in three main tempers: dead soft, half-hard, and full-hard. Dead soft wire is highly malleable but will easily pull open under the weight of a dangling earring. Always use half-hard wire (typically 20-gauge or 18-gauge) for jump rings connecting heavy drops.
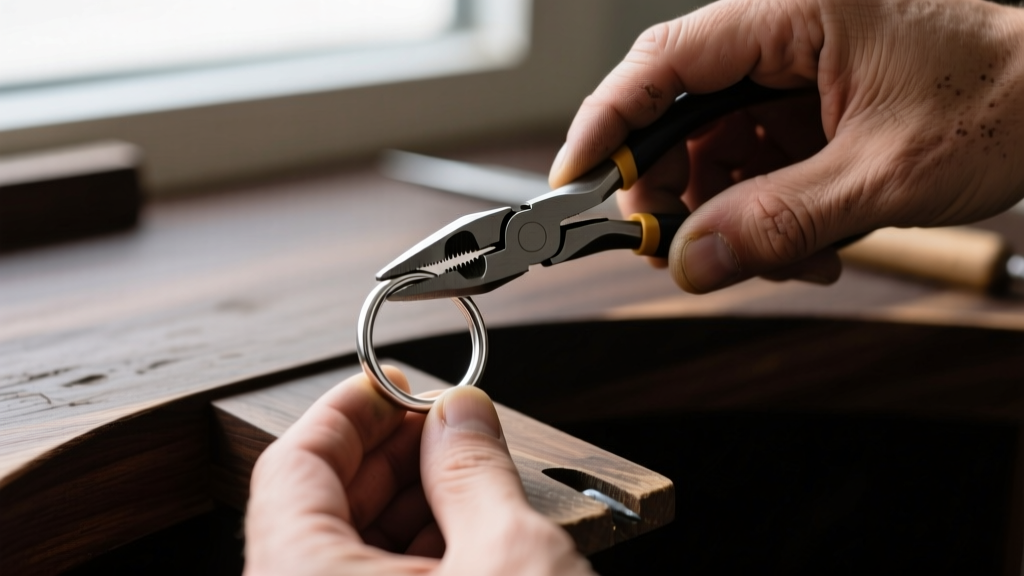
More importantly, the failure usually occurs during assembly. Never pull a jump ring apart laterally (side-to-side). This distorts the circle and weakens the metal's crystalline structure. Instead, use two pairs of flat-nose pliers to twist the ring open in a torsional motion (one hand pushes away, the other pulls toward you). When closed, the ends should snap together with a satisfying click, indicating a flush, secure seam.
Why E6000 is Failing Your Heavy Drops
For years, crafters have relied on E6000 adhesive for attaching embellishments to earring posts. However, E6000 cures into a flexible, rubber-like state. When subjected to the sheer force of a heavy drop swinging on an earlobe, the adhesive eventually peels away from smooth metal surfaces like stainless steel or brass pads.
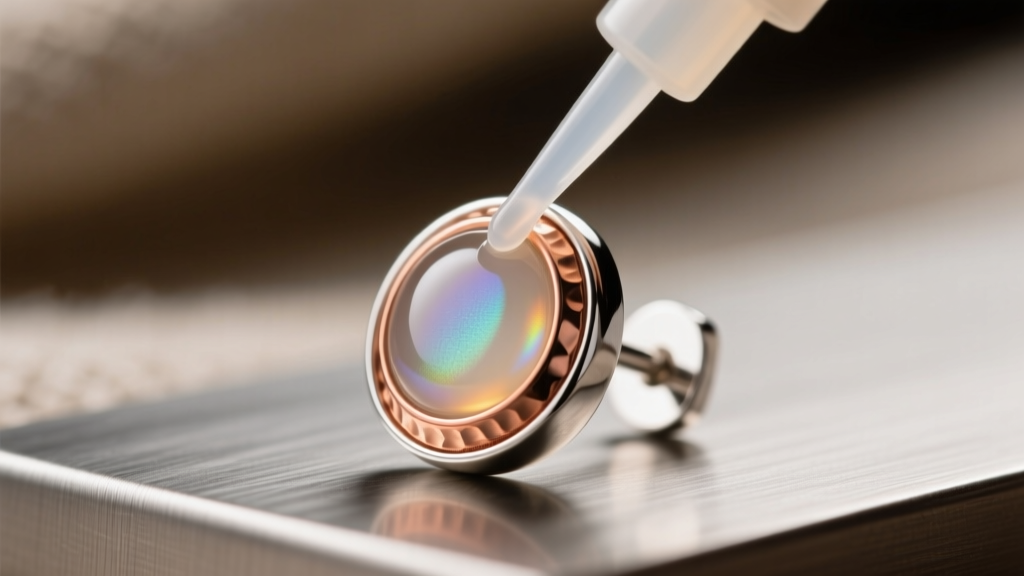
For permanent, rigid bonds on metal-to-metal or metal-to-glass connections, you must use a two-part structural epoxy (such as Gorilla 2-Part Epoxy or JB Weld ClearWeld). These resins cure into a hard, glass-like acrylic that resists sheer forces. For the absolute highest quality, professional jewelers bypass glue entirely, opting instead for laser welding or mechanical riveting to attach heavy pendants to their posts.
Final Assembly and Quality Control Checklist
Before packaging or wearing your DIY creations, run them through this professional troubleshooting checklist to ensure longevity and comfort:
- The Drop Test: Hold the earring by the post horizontally. Does the heavy end immediately plummet downward? If so, your center of gravity is off. Shorten the drop chain or add a counterweight bead near the post.
- The Torsion Check: Gently twist the jump rings. If they show any sign of gaping at the seam, replace them with a thicker, half-hard gauge or solder them shut.
- The Post Polish: Run your fingers along the earring post. If there are any microscopic burrs or scratches from cutting the wire, they will micro-tear the earlobe fistula. Polish all posts with a fine-grit buffing compound before assembly.
- The Material Audit: Verify that every component touching the skin (posts, ear wires, and friction backs) is either ASTM F136 Titanium, Niobium, or high-karat gold. Never rely on the 'hypoallergenic' label alone.
Mastering how do i make earrings is not just about aesthetic design; it is an exercise in wearable engineering. By respecting the physics of weight distribution, understanding the metallurgy of skin-safe alloys, and executing flawless mechanical connections, you elevate your craft from simple DIY projects to professional-grade, heirloom-quality jewelry.


