Troubleshooting Polymer Clay Earrings Ideas: Fixing Breakage & Flaws
Discover expert troubleshooting for polymer clay earrings ideas. Fix breakage, scorching, and hardware failures with our technical jewelry guide.

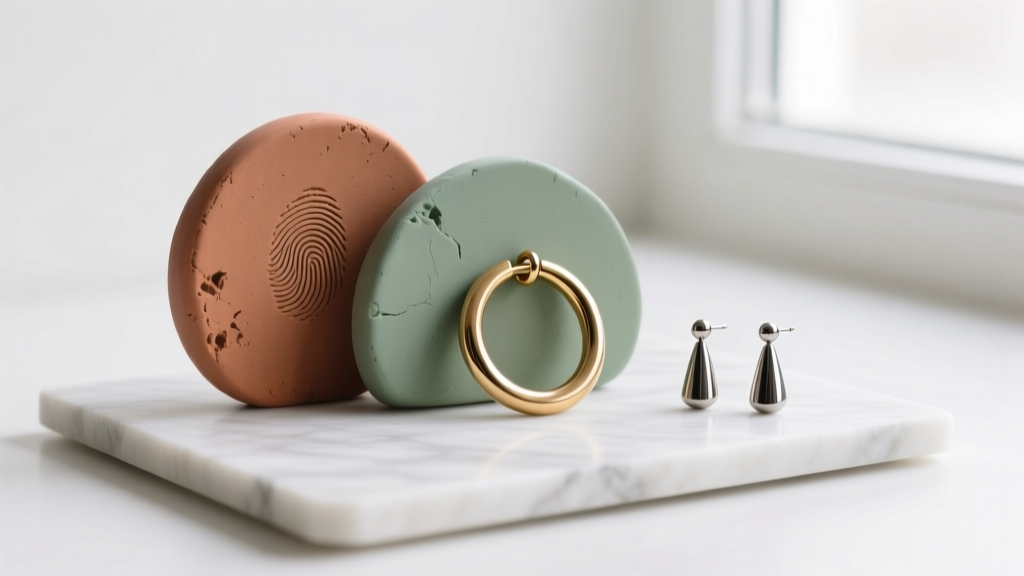
The Hidden Pitfalls of Trending Polymer Clay Earrings Ideas
When scrolling through social media for polymer clay earrings ideas, it is easy to be captivated by the stunning, intricate arches, delicate floral motifs, and bold geometric statements that dominate the 2026 jewelry market. However, the transition from a digital mood board to a durable, wearable accessory is fraught with technical challenges. Polymer clay is not merely a modeling material; it is a specialized PVC-based compound that relies on precise thermal dynamics to achieve structural integrity. Executing complex polymer clay earrings ideas requires more than just aesthetic vision—it demands a rigorous understanding of plasticizer fusion, hardware integration, and surface finishing.
Many trending polymer clay earrings ideas fail in the real world because creators ignore the structural limitations of the medium. A beautifully marbled teardrop earring is useless if it snaps at the jump ring after two wears, or if the earring post peels away from the clay body due to improper adhesive curing. As a jewelry maker, your reputation hinges on the longevity and safety of your pieces. Below, we break down the most common failure modes encountered when bringing ambitious clay designs to life, providing actionable, expert-level solutions to ensure your creations are as durable as they are beautiful.
Diagnostic Chart: Identifying Your Clay Failure Mode
Before attempting a fix, you must accurately diagnose the root cause of your material failure. Use this troubleshooting matrix to identify where your process is breaking down.
| Failure Symptom | Root Cause | Technical Solution |
|---|---|---|
| Snap breakage at thin points | Underbaking (plasticizers not fully fused) | Verify oven temp with a standalone thermometer; bake at 275°F (135°C) for 45-60 mins per 1/4 inch thickness. |
| Dark/brown edges on light clay | Heat spikes or direct element exposure | Use the "tenting" method with aluminum foil and an oven-safe tile to buffer direct radiant heat. |
| Jump ring pulls out easily | Insufficient embed depth or post-bake drilling | Embed 20-gauge rings at least 5mm deep into raw clay, or use a 1.5mm carbide bit for post-bake drilling. |
| Earring post detaches | Gluing to dusty/unsealed surfaces | Wipe clay with 99% isopropyl alcohol; use 1-part UV resin or flexible E6000 with a 72-hour cure time. |
Troubleshooting Structural Breakage at the Jump Ring
The most frequent point of catastrophic failure in lightweight statement earrings is the junction where the clay meets the metal hardware. When exploring ambitious polymer clay earrings ideas, designers often create elongated, top-heavy shapes that place immense tensile stress on the top connection point. If you are embedding jump rings directly into the raw clay before baking, the depth of insertion is critical. A standard 5mm outer diameter jump ring must have at least 50% of its surface area buried within the clay body. For heavier dangles, use a 20-gauge or 18-gauge stainless steel or brass jump ring; 22-gauge wire is simply too thin and will bend or slice through the cured clay under the weight of the earring.
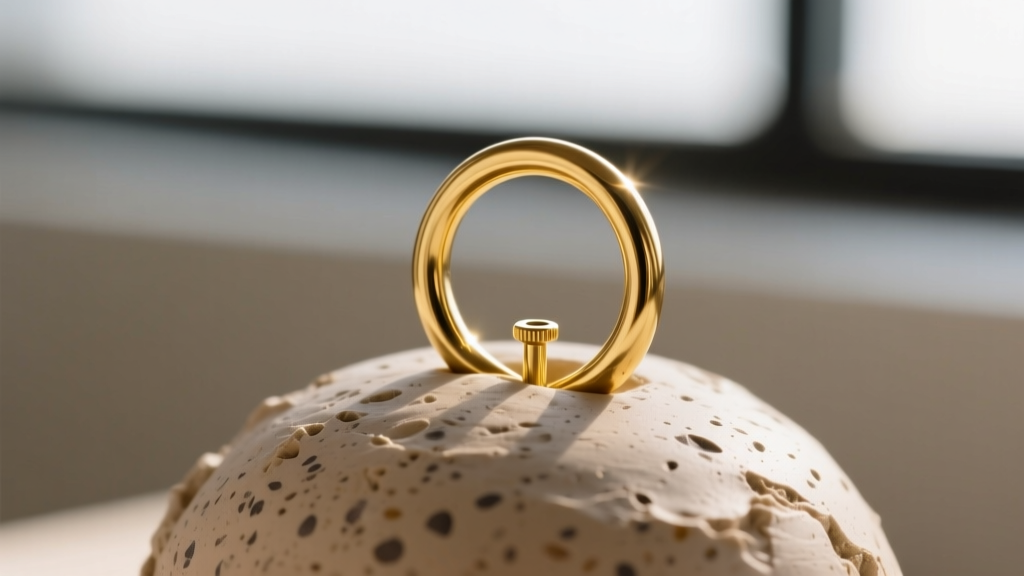
If your design requires post-bake hardware attachment, never use a standard steel twist drill bit, which can grab the clay and cause micro-fractures that lead to snapping. Instead, invest in a 1.5mm carbide PCB drill bit. Carbide bits shear the cured PVC cleanly without pulling or cracking the surrounding matrix. Always drill from the front of the earring to the back; if a blowout occurs on the exit hole, it will be hidden against the wearer's earlobe. According to hardware specialists at Fire Mountain Gems, matching the exact gauge of your wire to the drilled hole minimizes the adhesive gap, creating a significantly stronger mechanical bond when you apply your glue or resin.
Solving Surface Flaws: Bubbles, Cracks, and Scorching
Surface imperfections can ruin an otherwise flawless color palette. Air bubbles trapped during the conditioning phase will expand in the oven, creating unsightly craters or, worse, internal voids that compromise structural integrity. To prevent this, condition your clay thoroughly using a dedicated pasta machine, and always tear the clay rather than folding it when reducing air pockets. If you notice a bubble after baking, do not panic. You can carefully pop it with a pin, fill the void with a microscopic amount of liquid polymer clay (like Sculpey Bake Shop), and rebake for 10 minutes.
The "Tenting" Technique for Scorch-Free Curing
Scorching is the bane of pastel and translucent clay blends. Even if your oven is set to the manufacturer's recommended temperature, the heating elements cycle on and off, creating localized heat spikes that can exceed 350°F (175°C) for brief moments. This will instantly scorch light-colored clay. To combat this, employ the "tenting" technique. Place your clay pieces on a smooth, unglazed ceramic tile (which acts as a heat sink to buffer temperature fluctuations) and create a tent out of heavy-duty aluminum foil over the baking tray. The foil reflects the radiant heat from the top element, ensuring the clay cures evenly through ambient convection rather than direct radiation. Brands like Polyform Products explicitly recommend this method for their translucent and pearl lines to maintain optical clarity and prevent yellowing.
Hardware Integration: Earring Posts and Hypoallergenic Fixes
As consumer awareness regarding metal allergies continues to rise in 2026, integrating hypoallergenic hardware is no longer optional—it is a business requirement. Surgical steel is often mislabeled as hypoallergenic but contains nickel, which triggers contact dermatitis in sensitive ears. Always source pure titanium or 14k/18k gold-filled flat-pad earring posts. The flat pad provides a wider surface area for adhesive bonding compared to traditional cup pads, which require precise clay doming that can distort delicate designs.
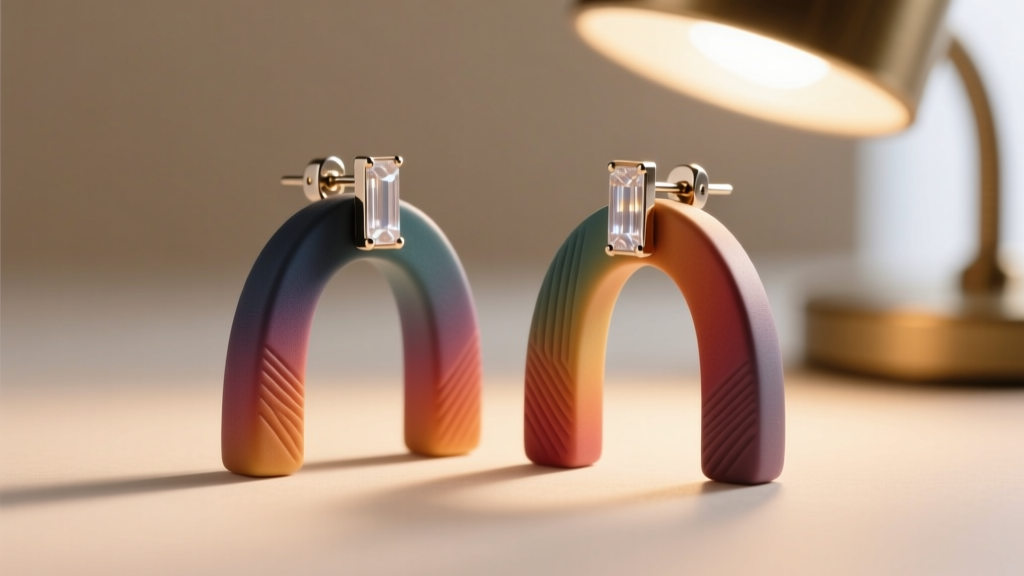
The adhesive you choose dictates the lifespan of the earring. Cyanoacrylate (super glue) is entirely unsuitable for polymer clay; it cures brittle and will shatter upon impact. E6000 is a flexible, industrial-strength adhesive that works beautifully, but it requires strict clamping and a full 72-hour cure time in a well-ventilated area to allow solvents to off-gas. For a faster, highly durable alternative, use a high-quality 1-part UV resin. Apply a thin layer of UV resin to the titanium pad, press it into the raw clay, and flash-cure it under a 48W UV/LED lamp for 60 seconds. The resin chemically bonds with the uncured plasticizers on the clay's surface, creating a weld-like hold that survives drop tests.
Expert Sealing: When to Glaze and When to Leave Matte
The final step in troubleshooting your design is determining the appropriate surface sealant. Many beginners default to spray varnishes or cheap acrylic glazes, which often turn tacky in humid weather or peel off in sheets over time. If your polymer clay earrings ideas feature a raw, matte, or sanded finish, you may not need a liquid sealant at all. By wet-sanding your cured clay through progressive micro-mesh grits (starting at 400 and moving up to 12,000), you can achieve a glass-like, tactilely smooth finish that requires no chemical topcoat.
If you must seal the piece—perhaps to protect delicate mica powder transfers or gold leaf accents—avoid polyurethane varnishes that contain harsh solvents. Instead, opt for a water-based, non-toxic jewelry sealant like DuraClear Gloss, or encapsulate the piece in a thin, even layer of UV resin. Resin provides a thick, glassy dome that is waterproof, scratch-resistant, and UV-stable, ensuring your intricate earrings remain pristine for years of daily wear.
Pro-Tip for 2026: Always test your chosen sealant on a scrap piece of clay baked under the exact same conditions as your final earring. Some sealants react poorly to the plasticizers that migrate to the surface of certain clay brands over time, leading to a sticky finish weeks after the initial application.


