How to Upcycle Michaels Earrings: A Step-by-Step Custom Guide
Learn how to upcycle Michaels earrings into hypoallergenic, high-end statement pieces with our step-by-step custom jewelry guide.

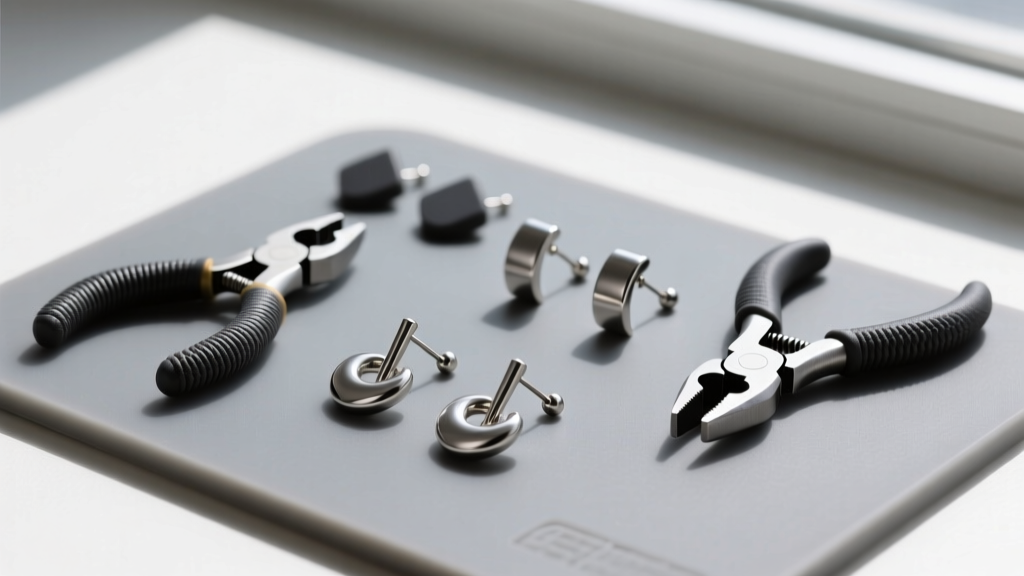
Craft stores are a haven for DIY jewelry makers, but the pre-made fashion jewelry found in the aisles often falls short in wearability and material quality. If you have ever purchased basic Michaels earrings—whether from their Bead Landing kits, ArtMinds collections, or pre-assembled fashion displays—you likely know the struggle: beautiful designs that irritate sensitive skin or break after a few wears. In 2026, the sustainable jewelry movement has made upcycling and customizing craft store findings a major trend. By combining affordable Michaels bases with professional-grade jewelry techniques, you can transform mass-produced pieces into high-end, hypoallergenic statement earrings.
This step-by-step guide will teach you how to deconstruct, upgrade, and reassemble Michaels earrings, focusing on material safety, structural integrity, and advanced adhesive selection.
The Material Reality: What You Are Actually Buying
Before taking a pair of pliers to your craft store finds, it is crucial to understand the metallurgy of budget-friendly jewelry. Most silver-tone Michaels earrings are crafted from zinc alloys or brass with a thin rhodium or silver plating over a nickel flash. According to the American Academy of Dermatology, nickel is the leading cause of allergic contact dermatitis, affecting up to 18% of adults. When the thin plating wears off from friction and skin oils, the nickel flash is exposed, leading to red, itchy earlobes.
Furthermore, the National Library of Medicine notes that prolonged exposure to base metal alloys can cause chronic localized dermatitis. The goal of upcycling is not just aesthetic; it is about replacing the skin-contact components with biocompatible metals like Grade 23 Titanium (Ti-6Al-4V) or 316L implant-grade stainless steel.
Essential Tools for the Upcycling Workbench
To successfully modify Michaels earrings without destroying the delicate base metals, you need precision tools. Skip the hardware store pliers and invest in jewelry-specific equipment:
- Nylon Jaw Pliers: Essential for gripping soft brass findings and jump rings without leaving teeth marks or scratching the plating.
- Flush Cutters (e.g., Tronex or Lindstrom): These provide a perfectly flat cut when removing old earring posts, minimizing the filing required later.
- Cup Burrs and Pin Vise: Used to smooth down the sharp edges of snipped metal posts so they do not tear the earlobe.
- Metal Files (Swiss Cut #4): For scoring the base of the earring pad to create a mechanical bond for adhesives.
Step 1: The Hypoallergenic Post Swap
The most critical upgrade you can make to any pair of Michaels stud earrings is replacing the base metal post with a hypoallergenic alternative. Standard craft store posts are usually 20-gauge (0.81mm) or 21-gauge (0.72mm), which can be too flimsy to support heavy resin or bead embellishments.
Removing the Old Post
Secure the earring face-down on a bench block. Using your flush cutters, snip the existing post as close to the base pad as possible. Next, use a metal file to grind the remaining stump completely flush with the pad. Once flush, use a piece of 400-grit sandpaper to scuff the entire back of the pad. This removes the oxidized plating and creates micro-abrasions for the adhesive to grip.
Bonding the Titanium Post
For standard lobe piercings, a 20-gauge titanium post is ideal. If you are upcycling a heavier drop earring into a stud, upgrade to an 18-gauge (1.02mm) post for added structural support. Apply a microscopic drop of adhesive to the scored pad, press the titanium post into place, and use a precision alignment jig or a simple piece of modeling clay to hold the post at a perfect 90-degree angle while it cures.
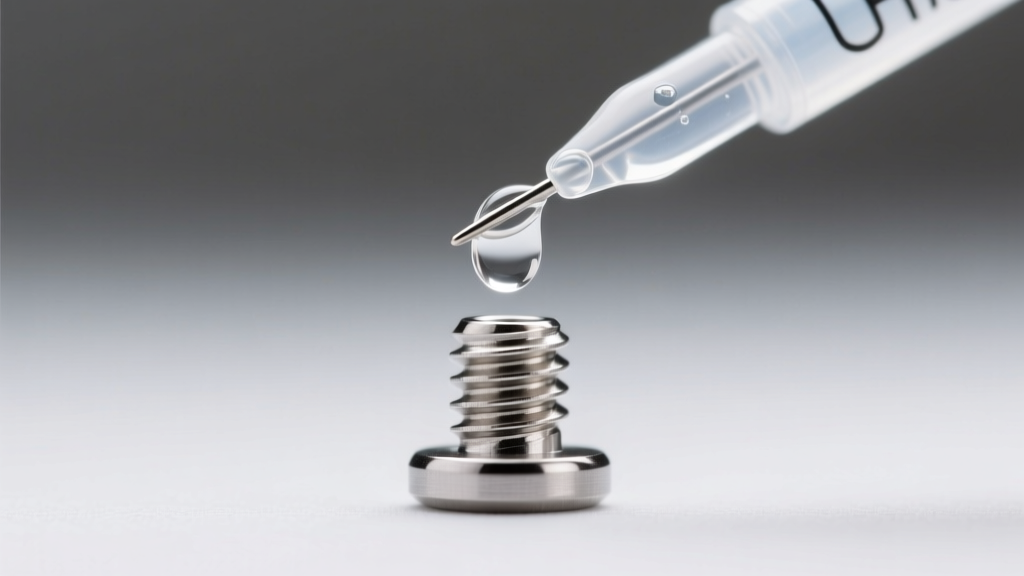
Step 2: Selecting the Right Adhesive for Jewelry
The number one reason DIY earrings fail is improper adhesive selection. Skin oils, temperature changes, and the sheer weight of dangles will compromise weak glues. Below is a comparison chart of the three most effective adhesives for upcycling craft store jewelry.
| Adhesive Type | Best For | Cure Time | Flexibility & Failure Mode |
|---|---|---|---|
| G-S Hypo Cement | Small post swaps, precision bead tipping | 10-15 mins | Low flexibility; fails under heavy shear stress |
| E6000 Jewelry & Bead | Heavy metal-to-metal bonding, jump ring sealing | 24-72 hours | High flexibility; fails if exposed to acetone |
| UV Curing Resin | Encapsulating bezels, coating porous stones | 2-5 mins (under UV) | Rigid; fails via yellowing or peeling on oily surfaces |
Pro Tip: Never use standard super glue (cyanoacrylate) for earring posts. It cures brittle and will shatter under the dynamic stress of an earring swinging against the neck.
Step 3: Converting Heavy Drops to Comfort-Fit Dangles
Michaels often sells beautiful glass beads and resin pendants, but stringing them directly onto cheap ear wires results in earrings that droop forward, stretching the piercing. To fix this, you must engineer a proper dangle mechanism using jump rings.
The Art of the Jump Ring
When opening a jump ring to attach a heavy bead to an ear wire, never pull the ends apart outward. This distorts the circle and weakens the work-hardened temper of the wire. Instead, use two pairs of chain-nose pliers to twist one end toward you and the other away from you. This lateral twist preserves the structural integrity of the ring.
Managing the Center of Gravity
If your upcycled Michaels earrings are front-heavy, the ear wire will rotate, pointing the decorative part toward the floor. To counteract this, add a small counterweight bead to the back loop of the ear wire, or swap the standard butterfly clutch for a jumbo silicone earring back (like those from Chrysmico). The wider surface area of the silicone back distributes the weight across the posterior earlobe, preventing the dreaded 'droop' and reducing piercing fatigue.
Step 4: Adding Resin and Bead Embellishments
One of the most popular ways to elevate basic Michaels earrings is by incorporating clear resin. Craft store bezels and cabochons can be transformed into glass-like statement pieces. When working with UV or two-part epoxy resins, surface preparation is vital. The ArtResin FAQ emphasizes that any moisture or oil on the substrate will cause the resin to cloud or peel.
Before pouring resin into a Michaels bezel tray, wipe the tray with 99% isopropyl alcohol. If you are embedding dried flowers or paper from Michaels' scrapbooking aisle, seal the porous materials with a thin layer of Mod Podge first; otherwise, the resin will soak into the fibers, creating dark, translucent wet spots.

Troubleshooting Common Craft Store Jewelry Failures
Even with the best techniques, upcycling budget findings comes with unique challenges. Here is how to troubleshoot the most common issues:
- The Plating is Flaking Off: If the brass underneath is exposed and causing irritation, you cannot simply glue over it. Use a fiberglass scratch pen to remove the remaining plating from the back of the earring, then coat the raw brass with a specialized jewelry shield or a layer of flexible UV resin to create a permanent barrier between the metal and the skin.
- The Jump Rings Keep Pulling Open: Craft store jump rings are often made from soft, dead-annealed wire. If your heavy dangles are pulling the rings open, switch to 'split rings' (which look like miniature keychains) or solder the jump rings shut using a micro-torch and easy-flow silver solder.
- Adhesive is Oozing Out the Sides: This happens when too much glue is applied, or the parts are clamped too tightly. Always apply a bead of adhesive slightly smaller than the surface area, and let capillary action draw it to the edges. Clean up excess immediately with a cotton swab dipped in isopropyl alcohol before it skins over.
Final Thoughts on Craft Store Jewelry
Upcycling Michaels earrings is an exercise in material science as much as it is an art form. By recognizing the limitations of mass-produced base metals and applying professional jewelry-making techniques—like hypoallergenic post swaps, proper jump ring manipulation, and precision adhesive selection—you can rescue beautiful designs from the bottom of the jewelry box. The result is a pair of custom, skin-safe, and structurally sound earrings that look and feel like they came from a high-end boutique, all for a fraction of the cost.


